
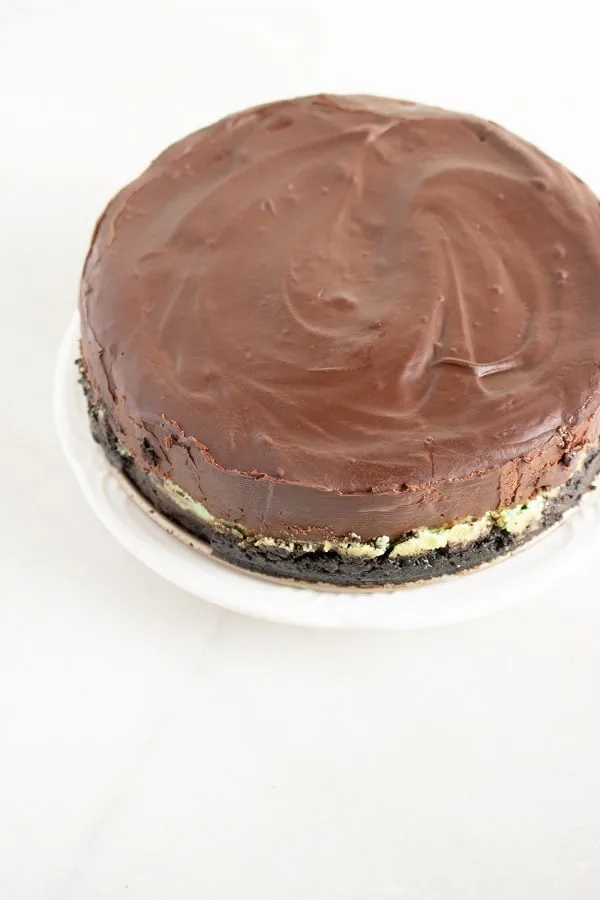
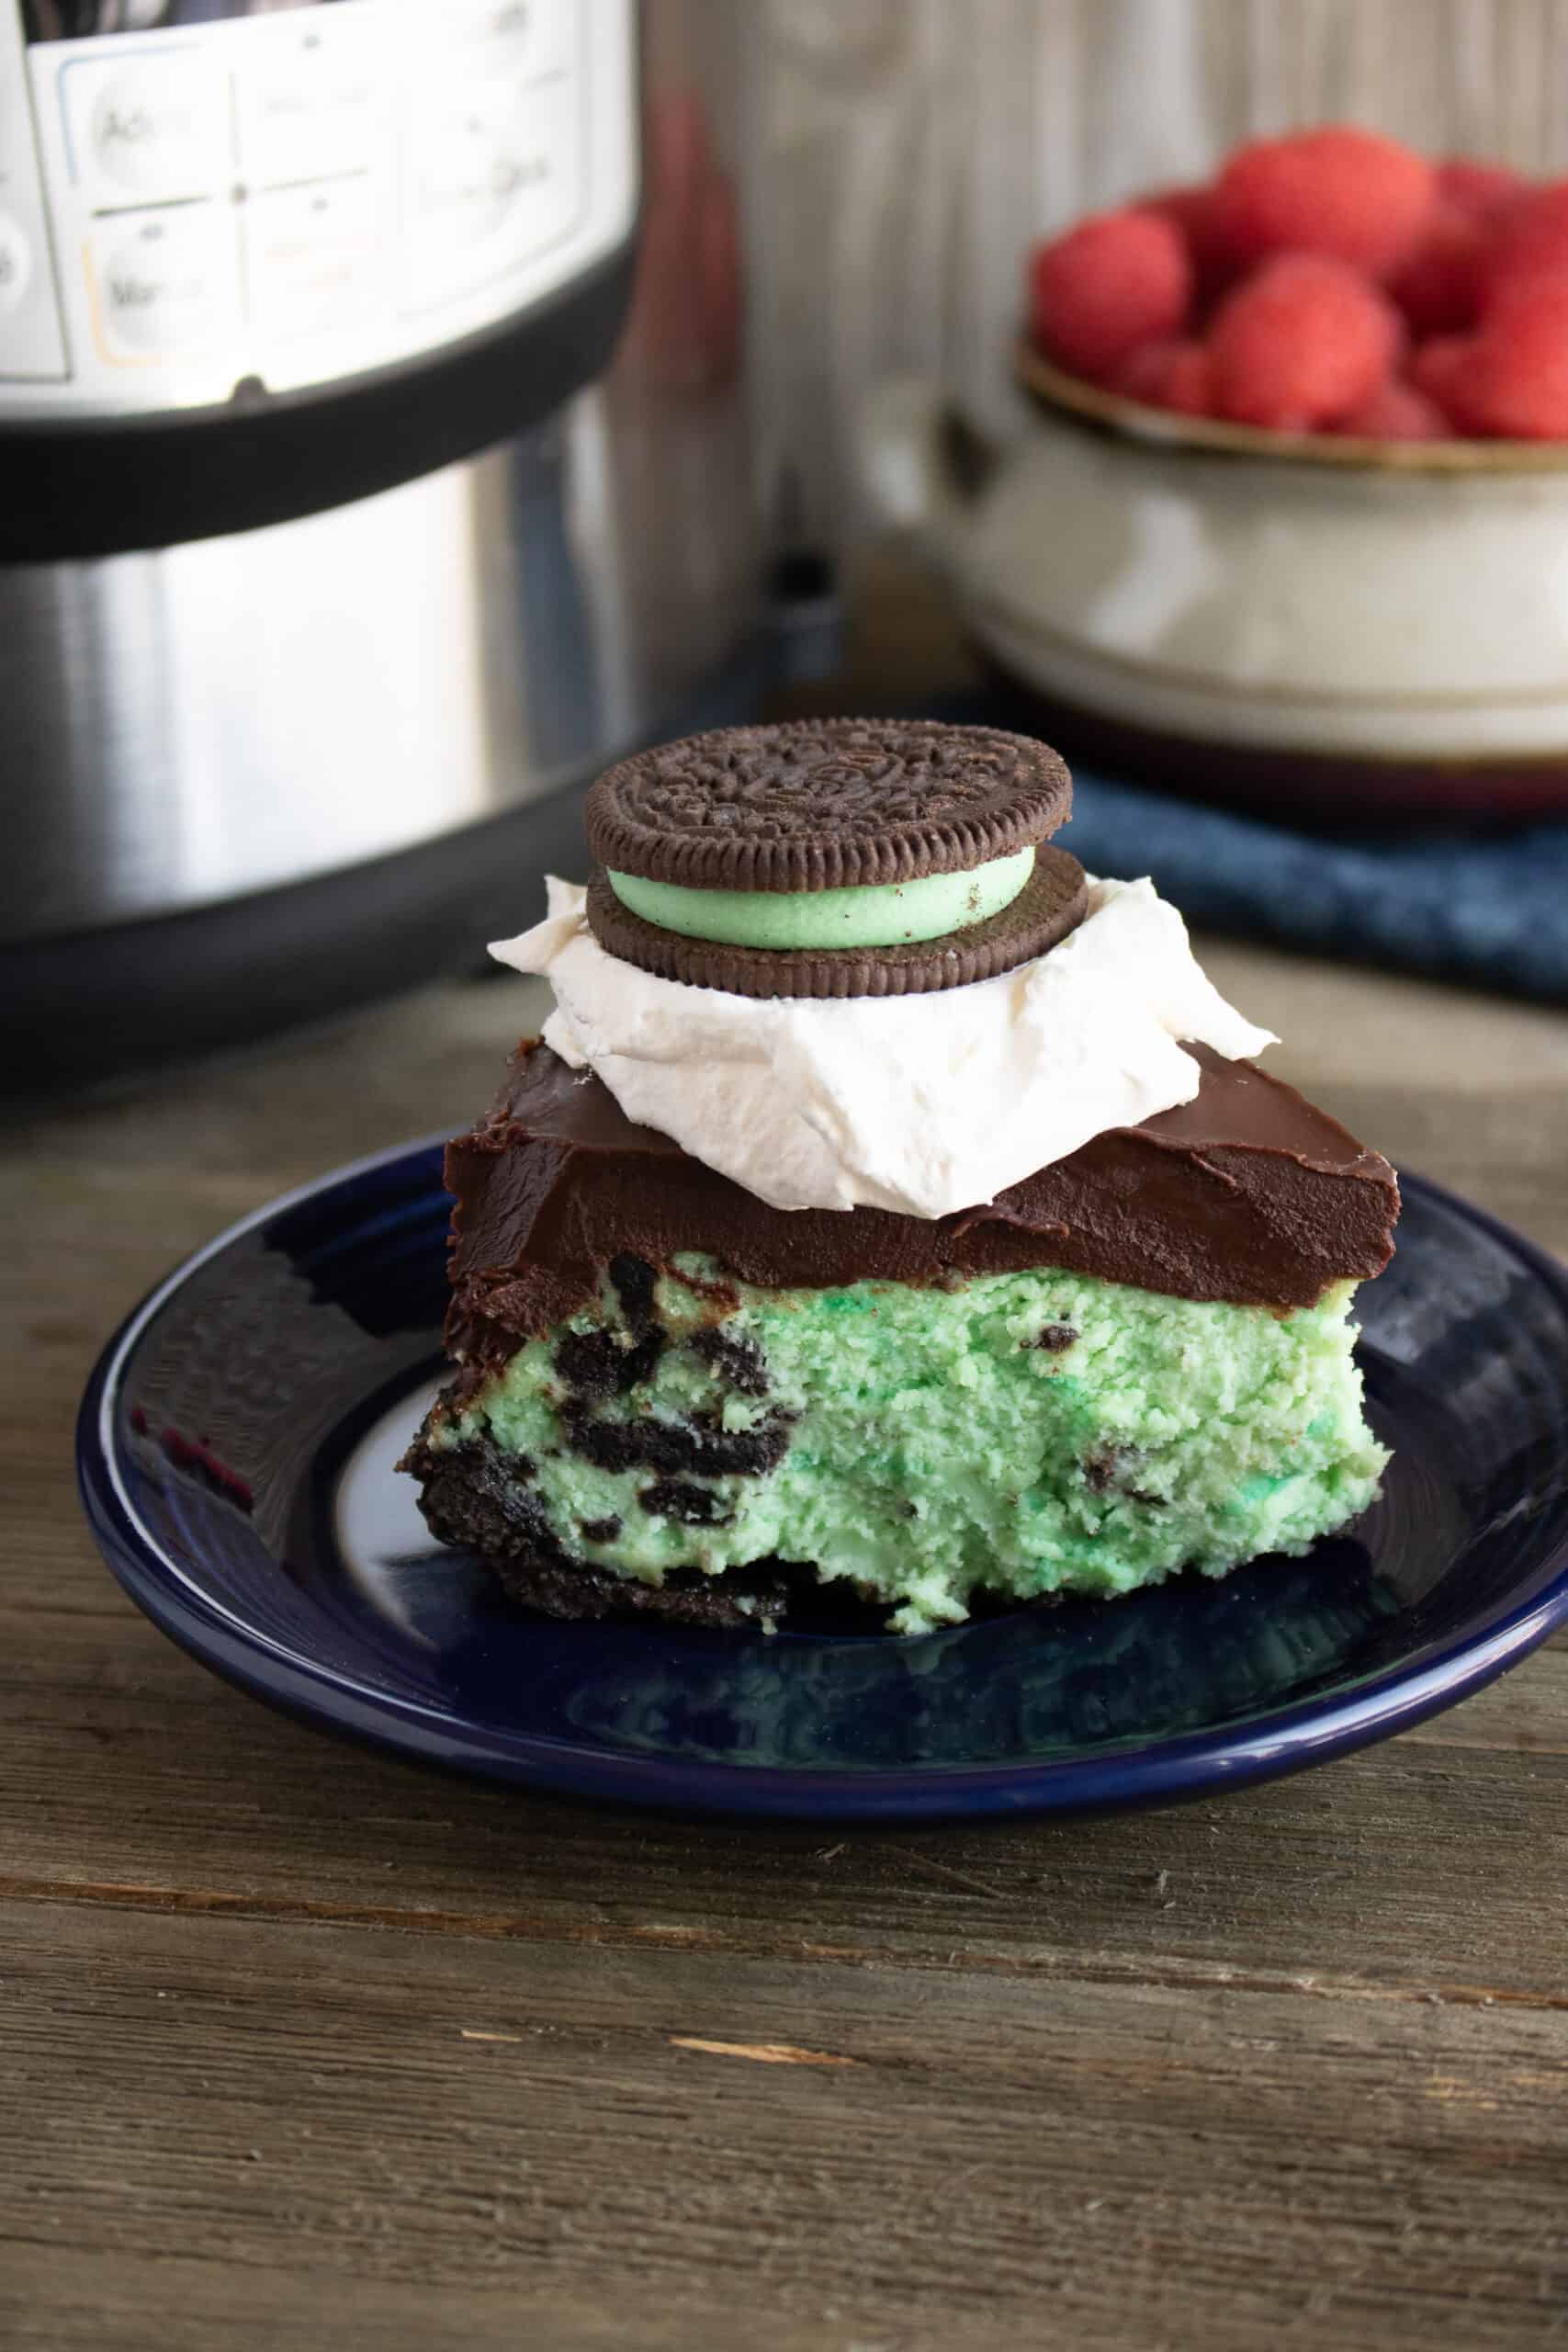
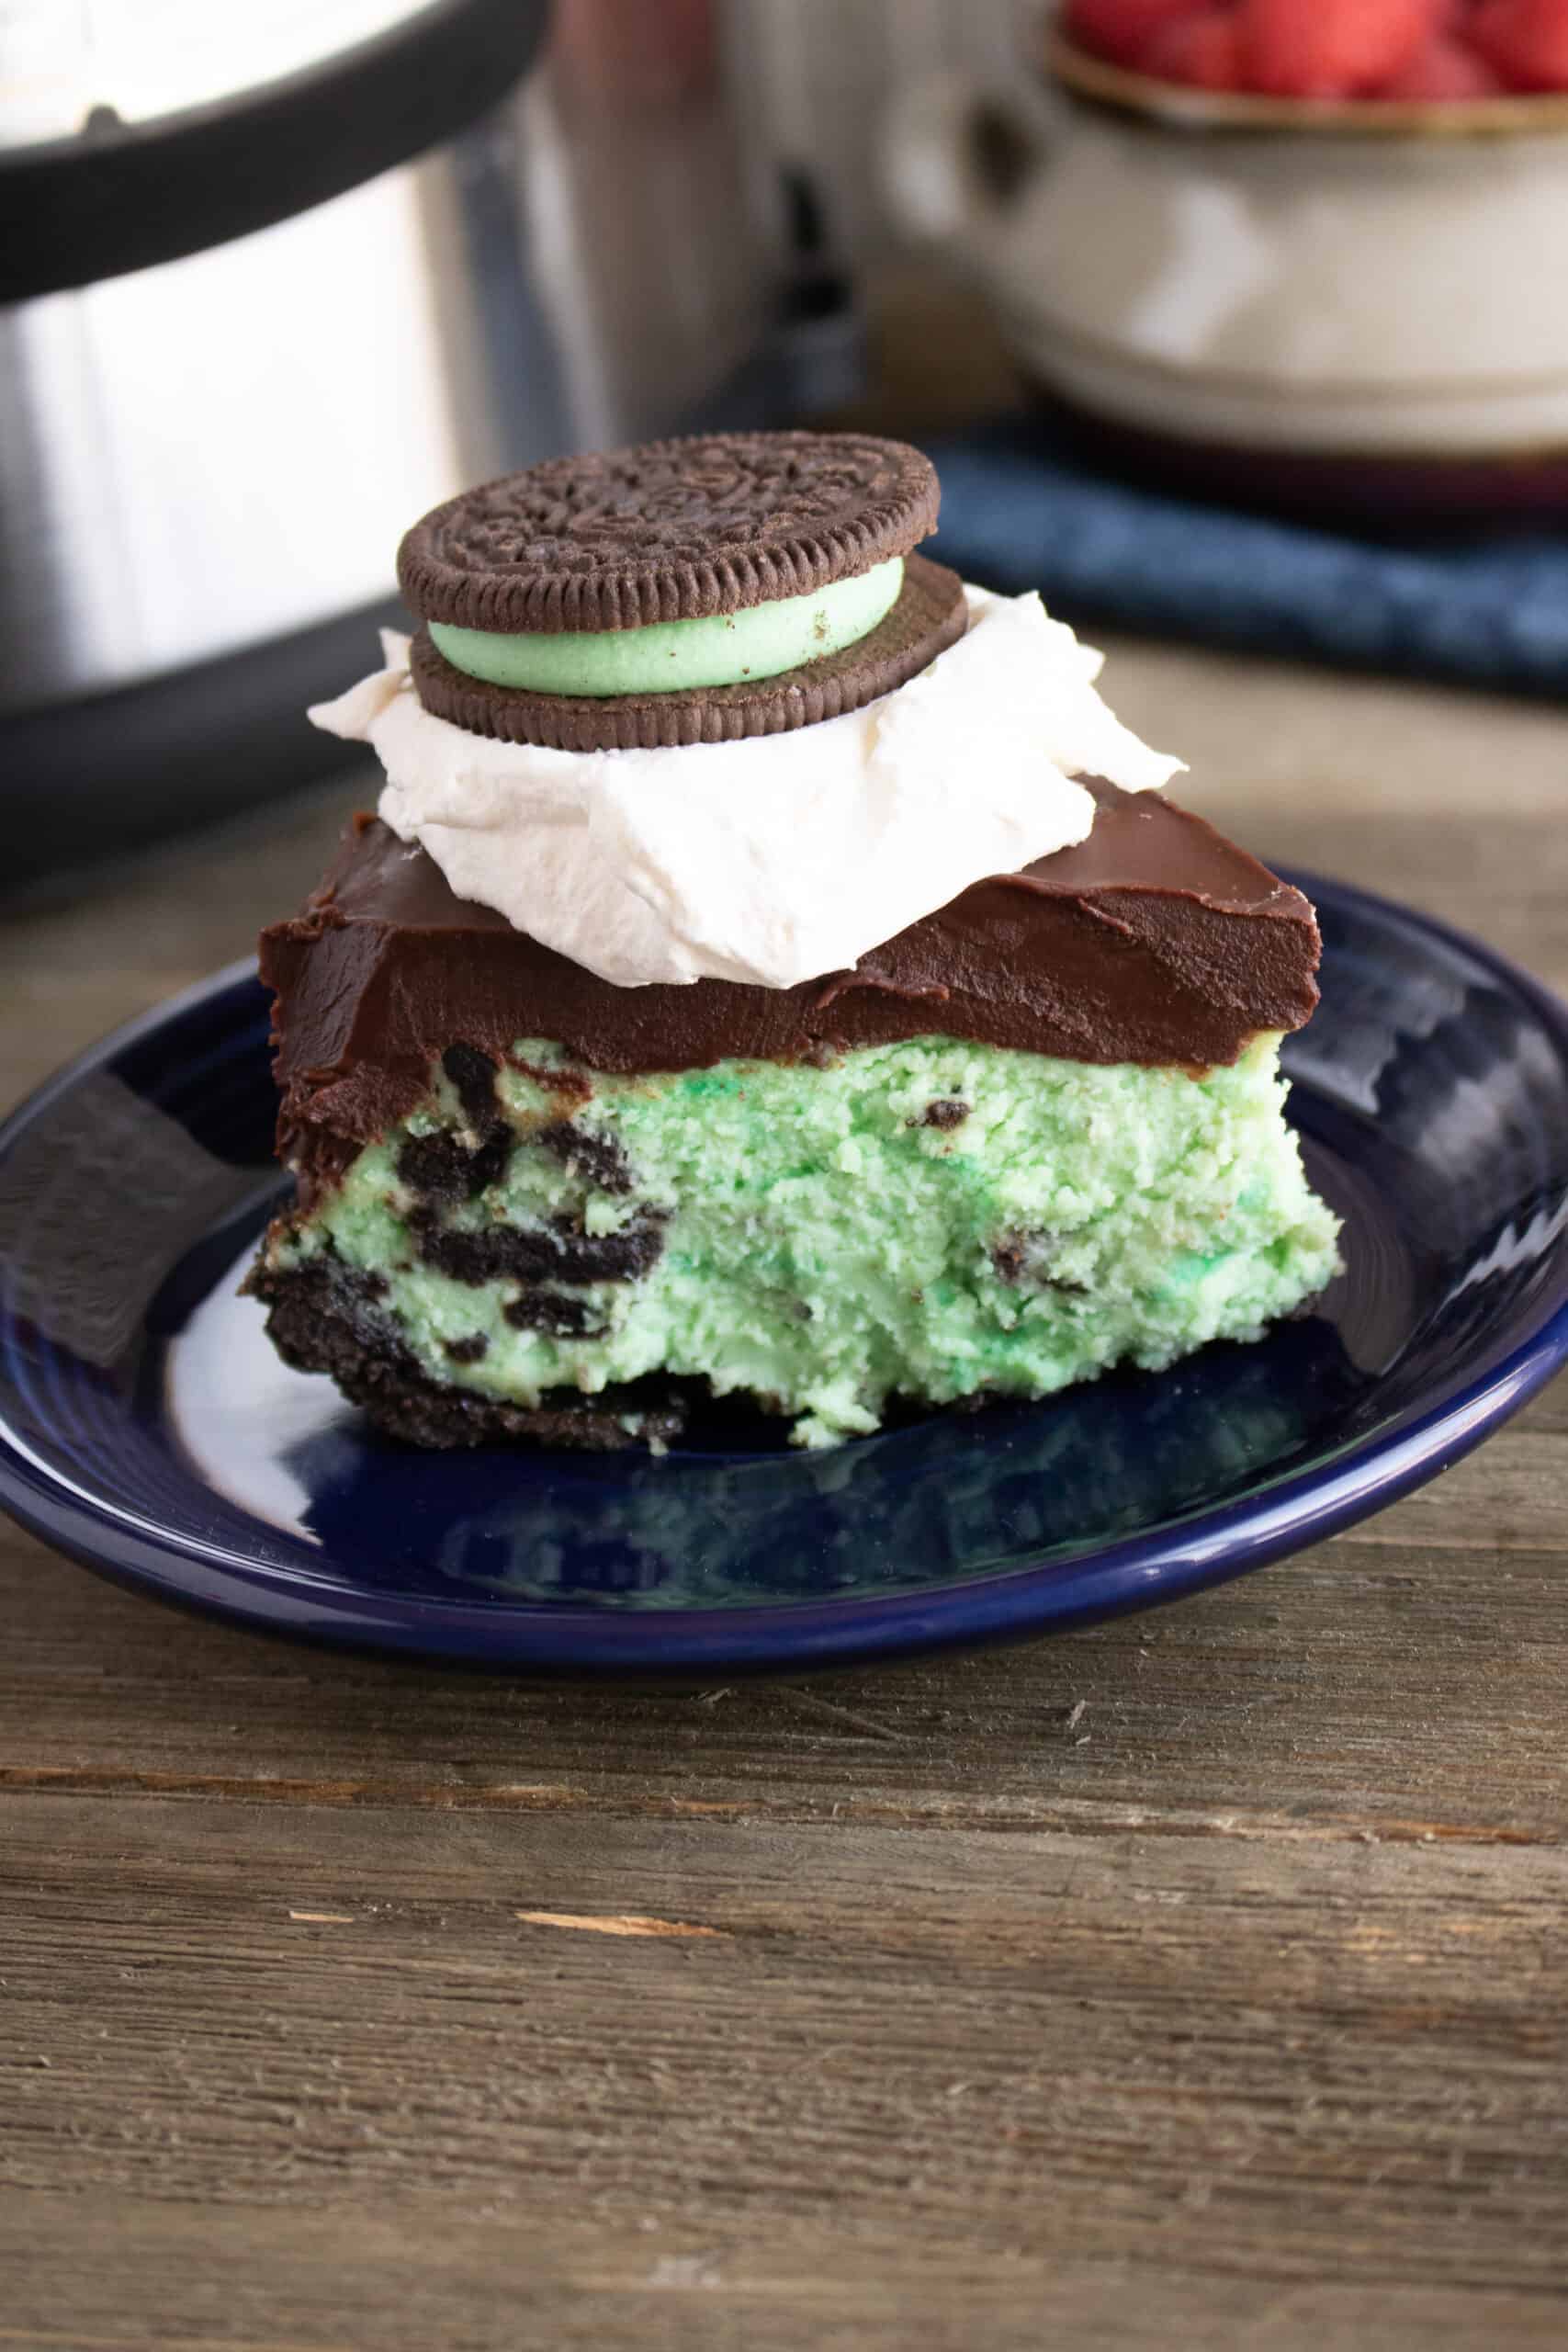
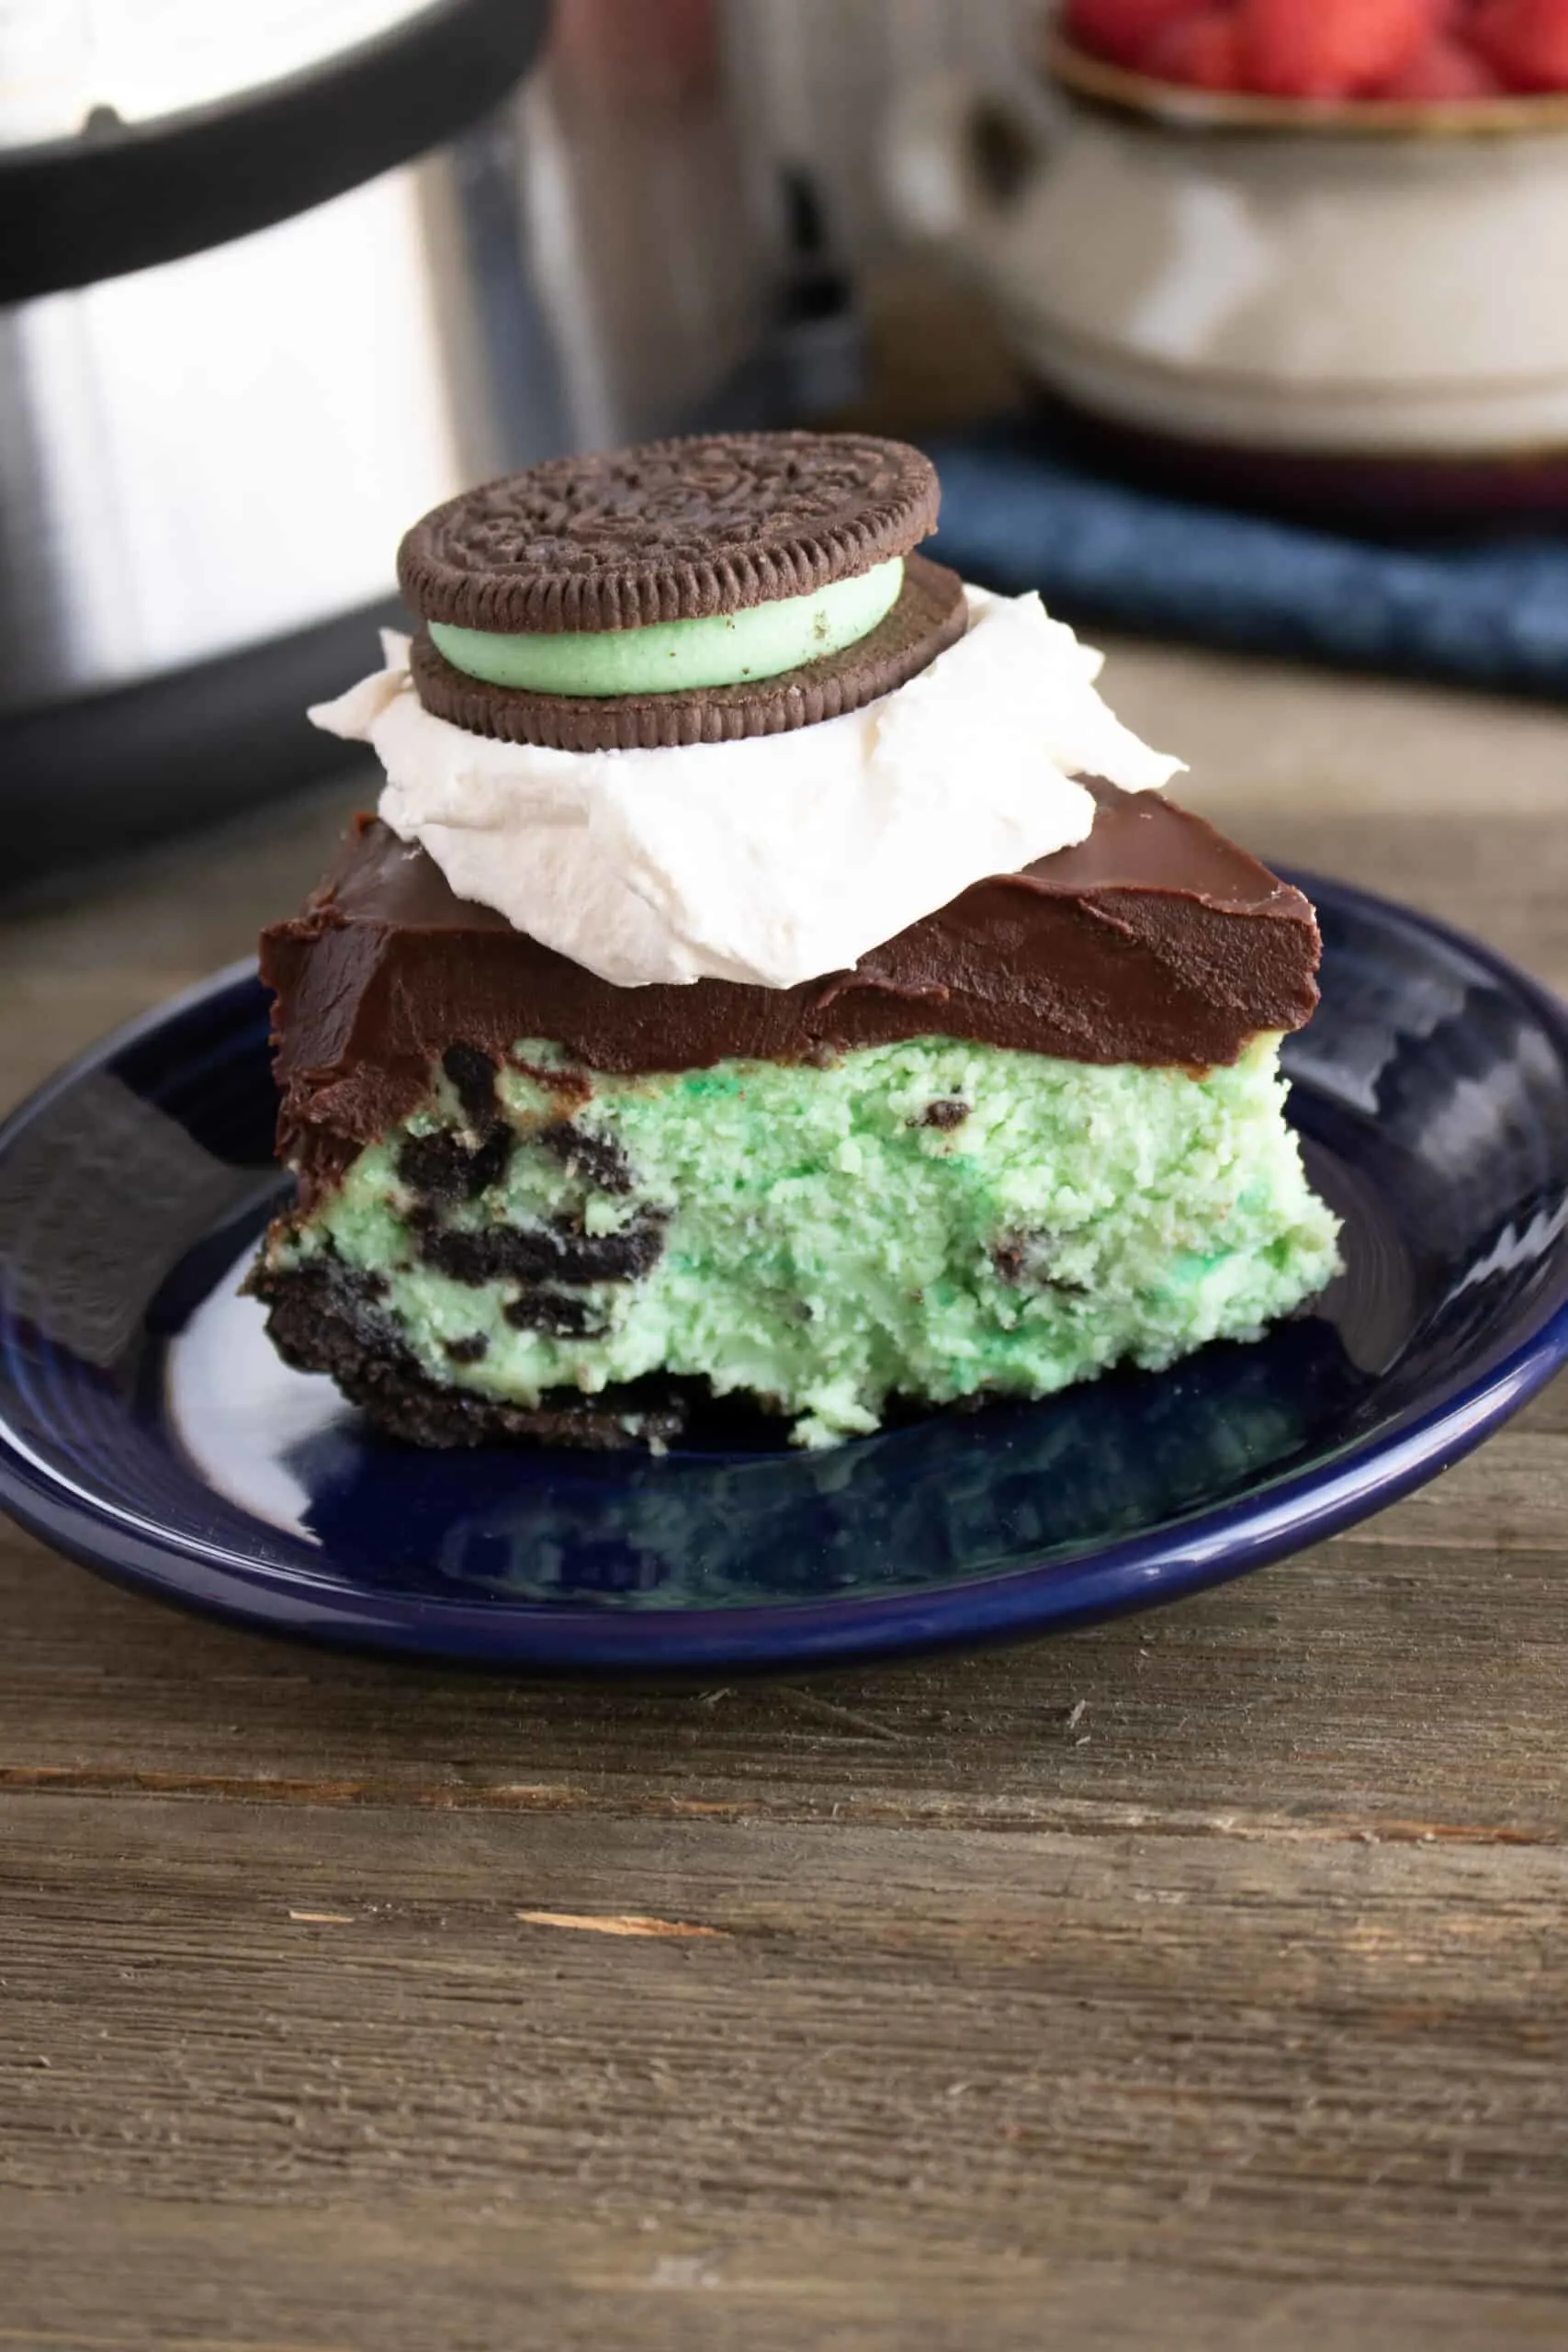
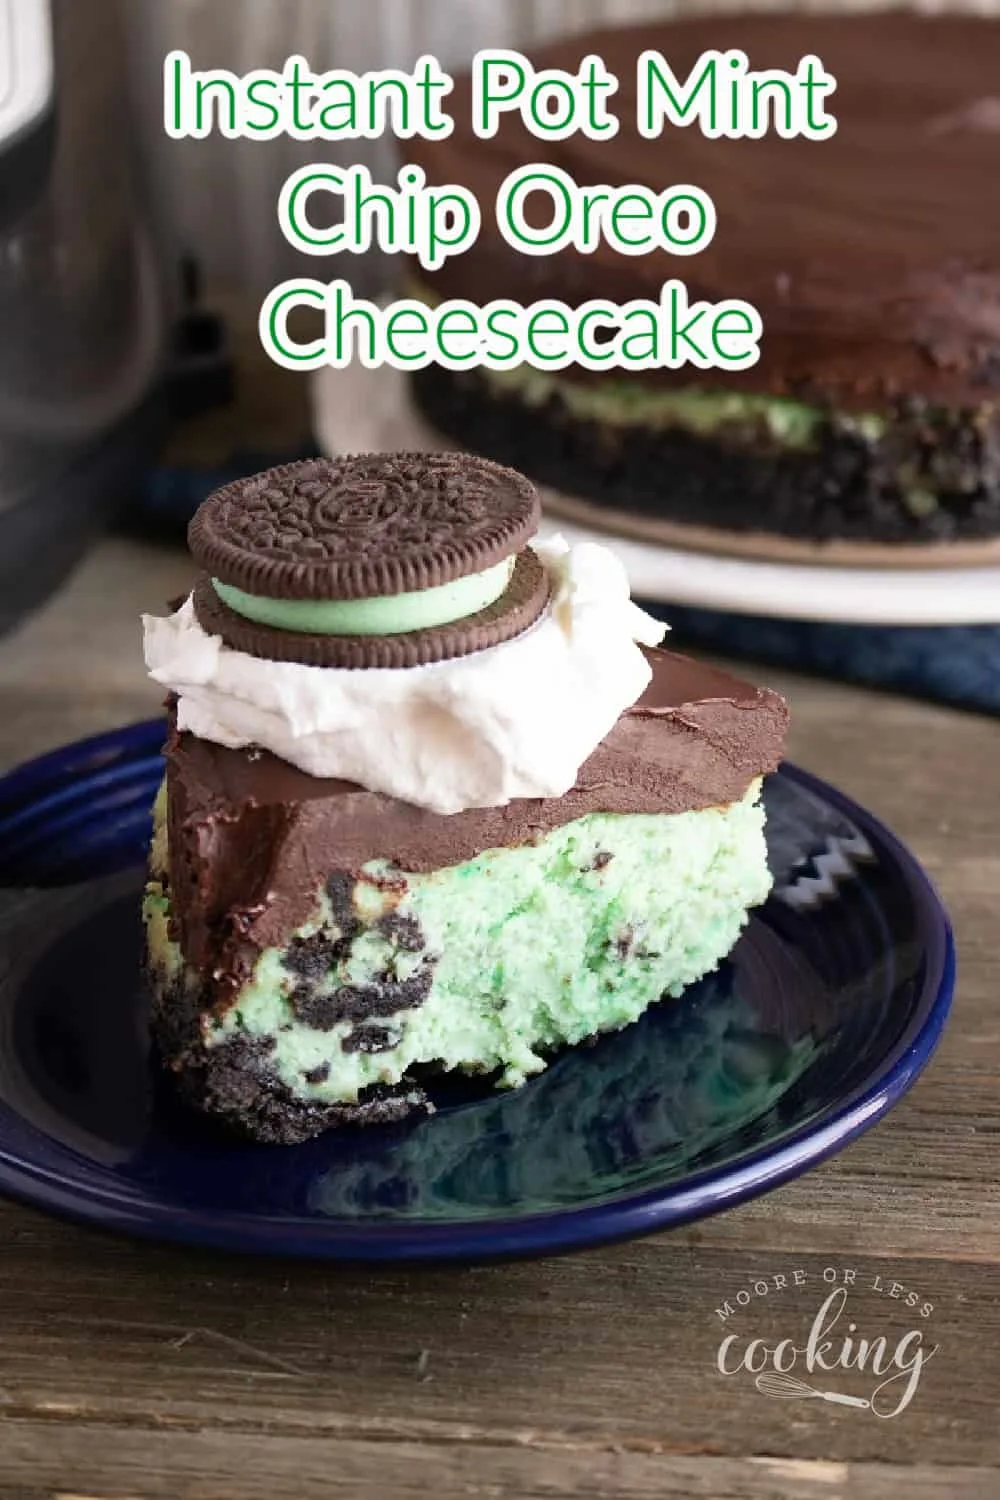
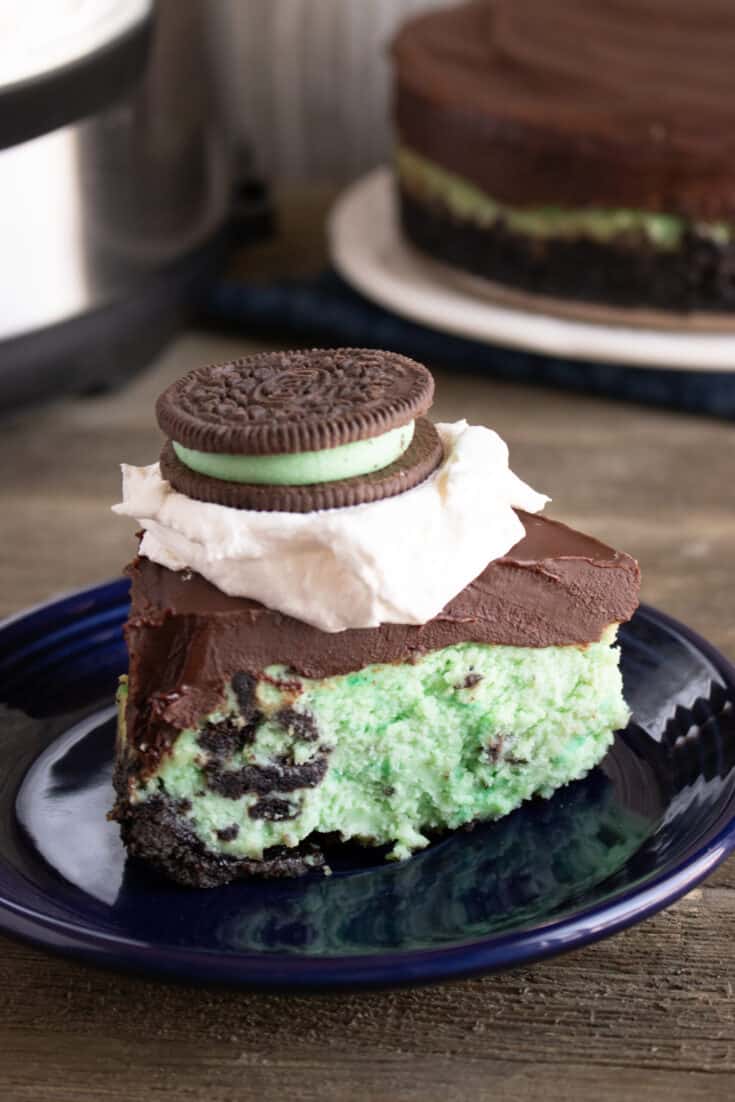
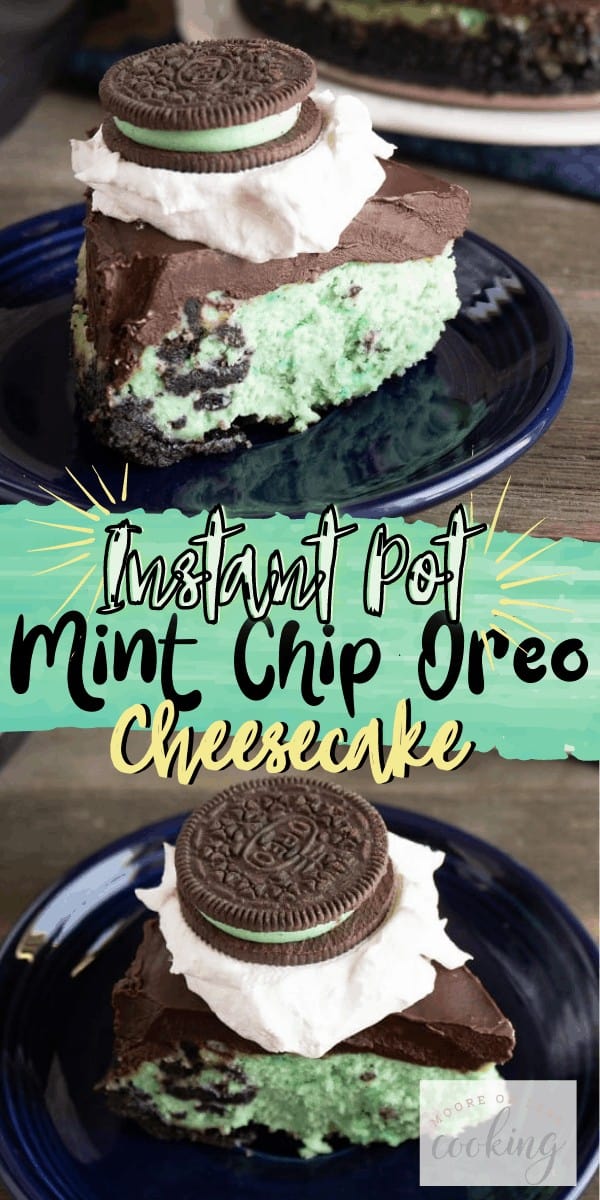
Let your Instant Pot make the most delectable mint Oreo cheesecake that you’ve ever tasted. An Oreo crust holds the minty cheesecake mixture that’s topped with a chocolate ganache. It’s a decadent dessert that’s made even easier by using your pressure cooker.
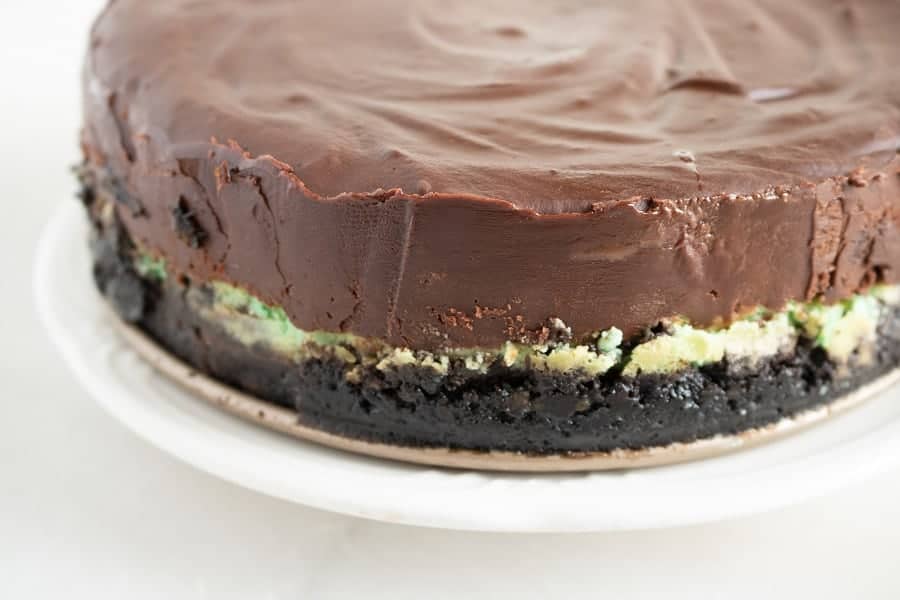

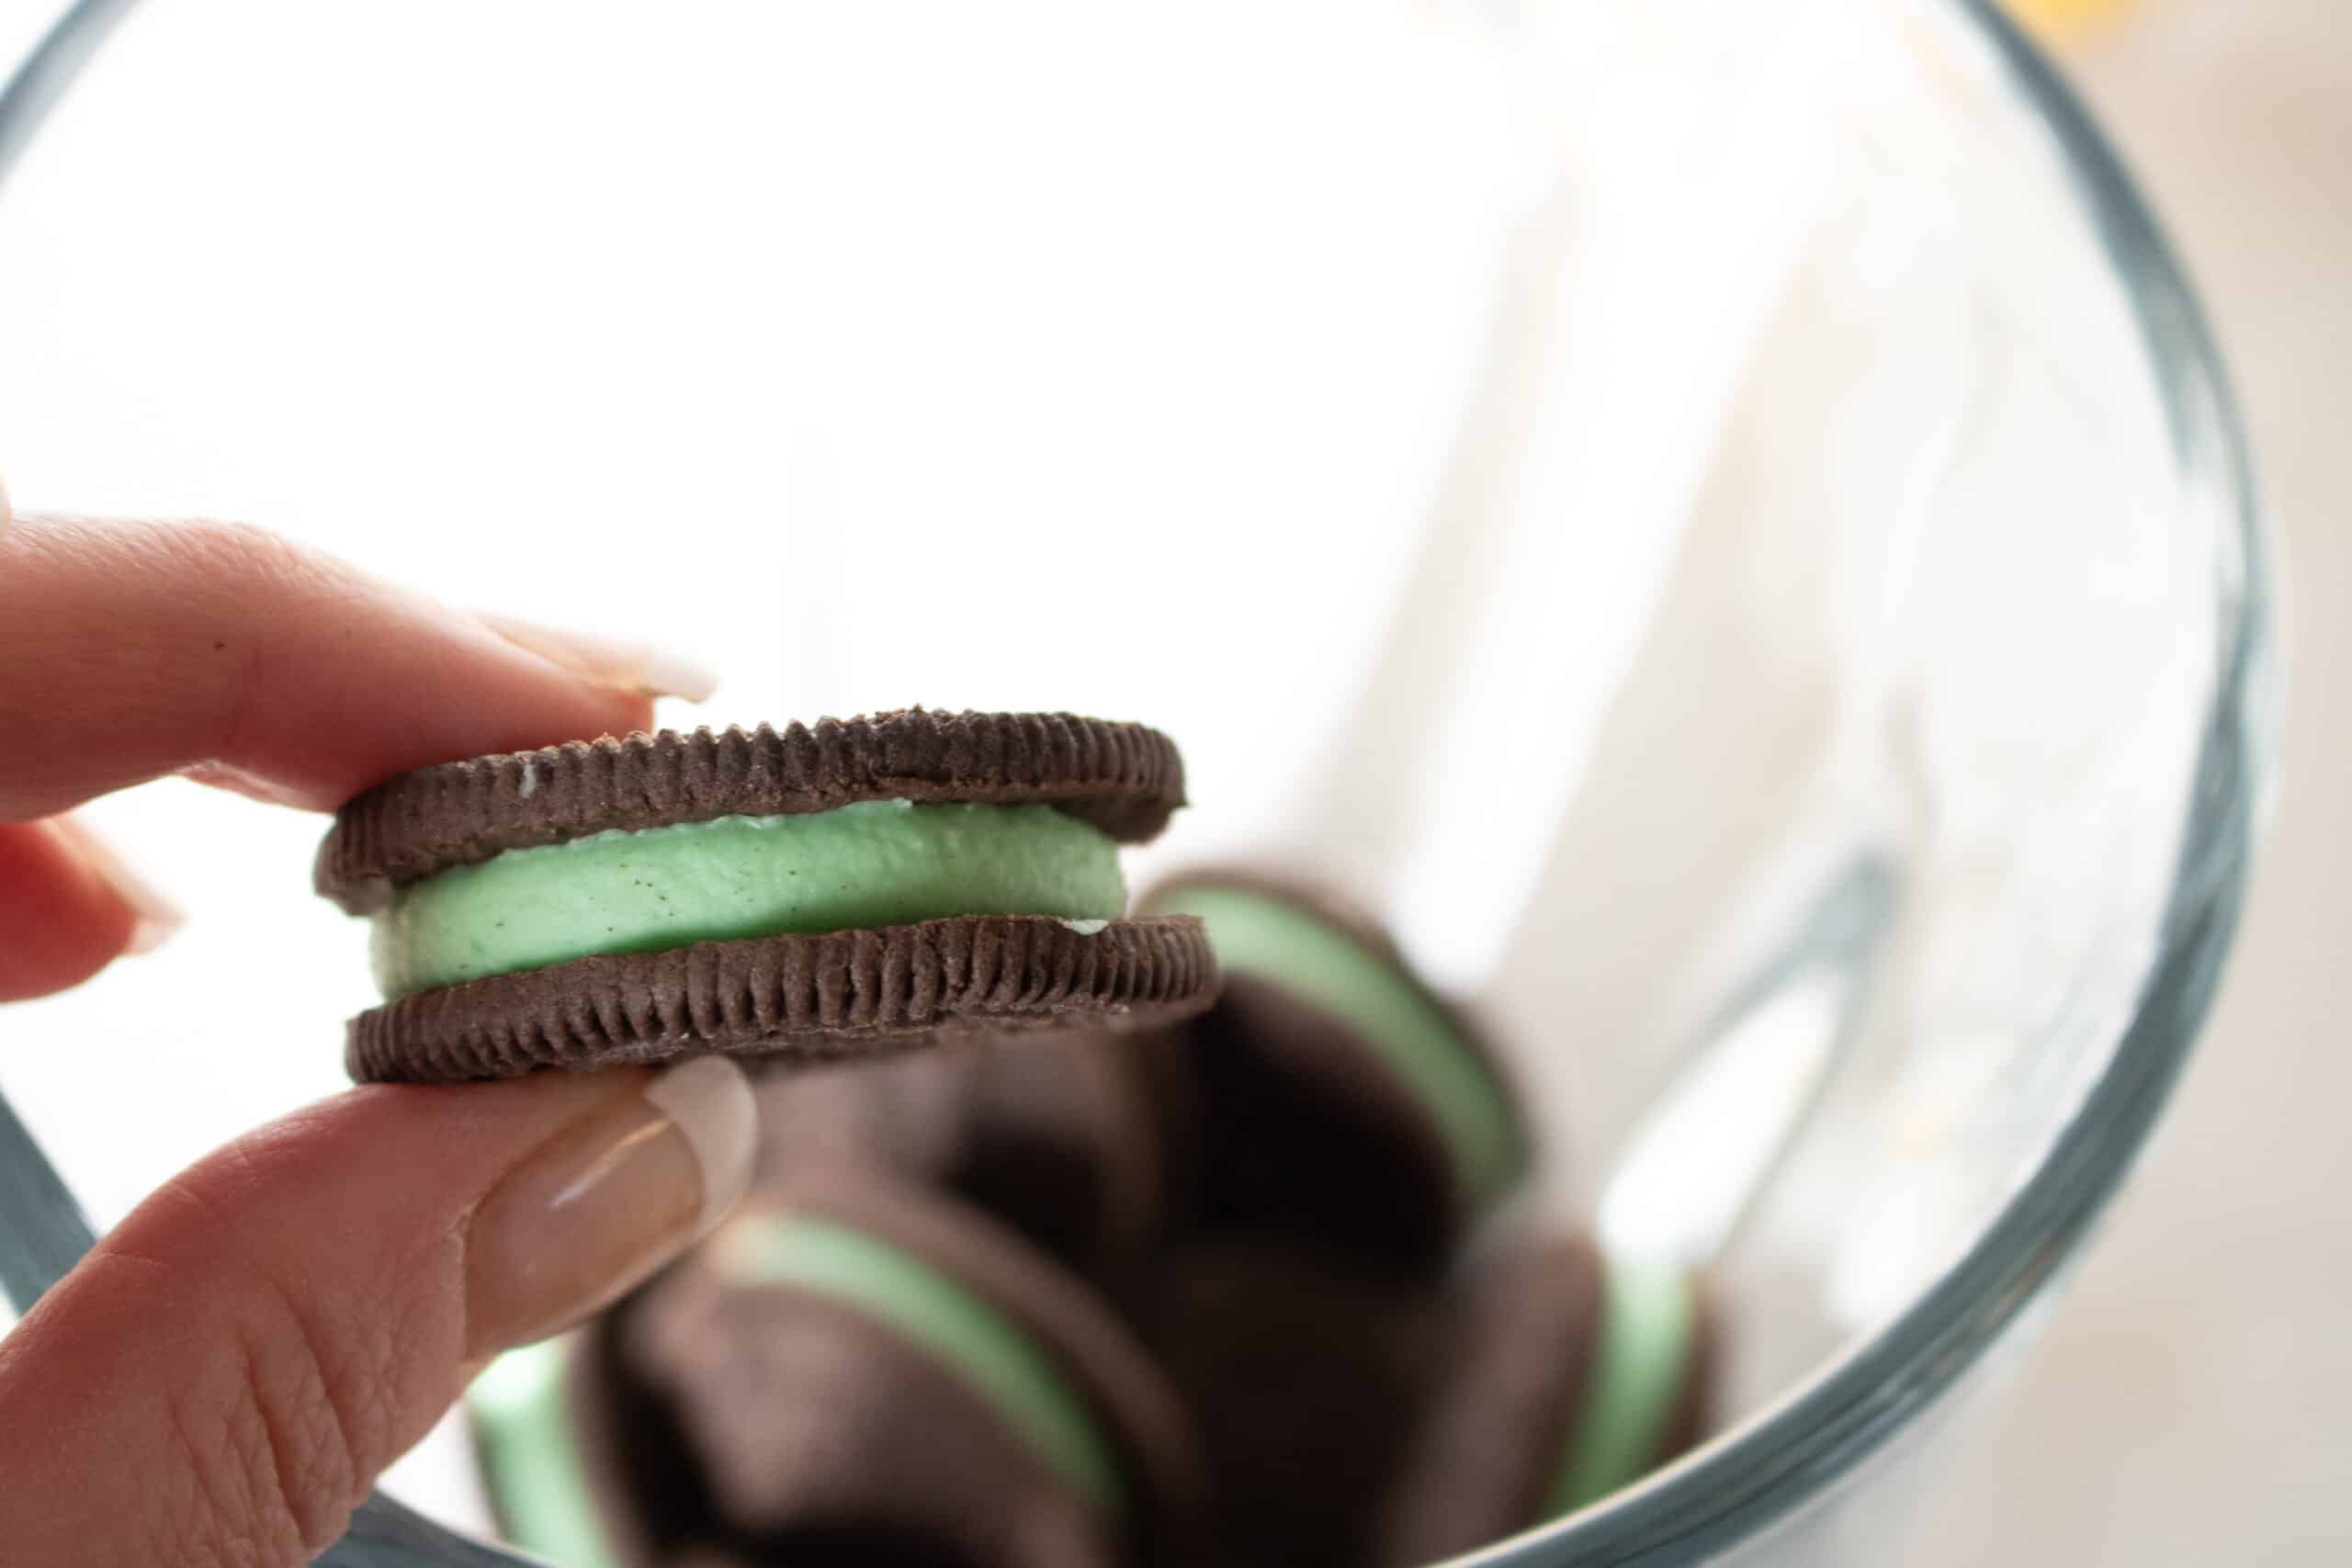
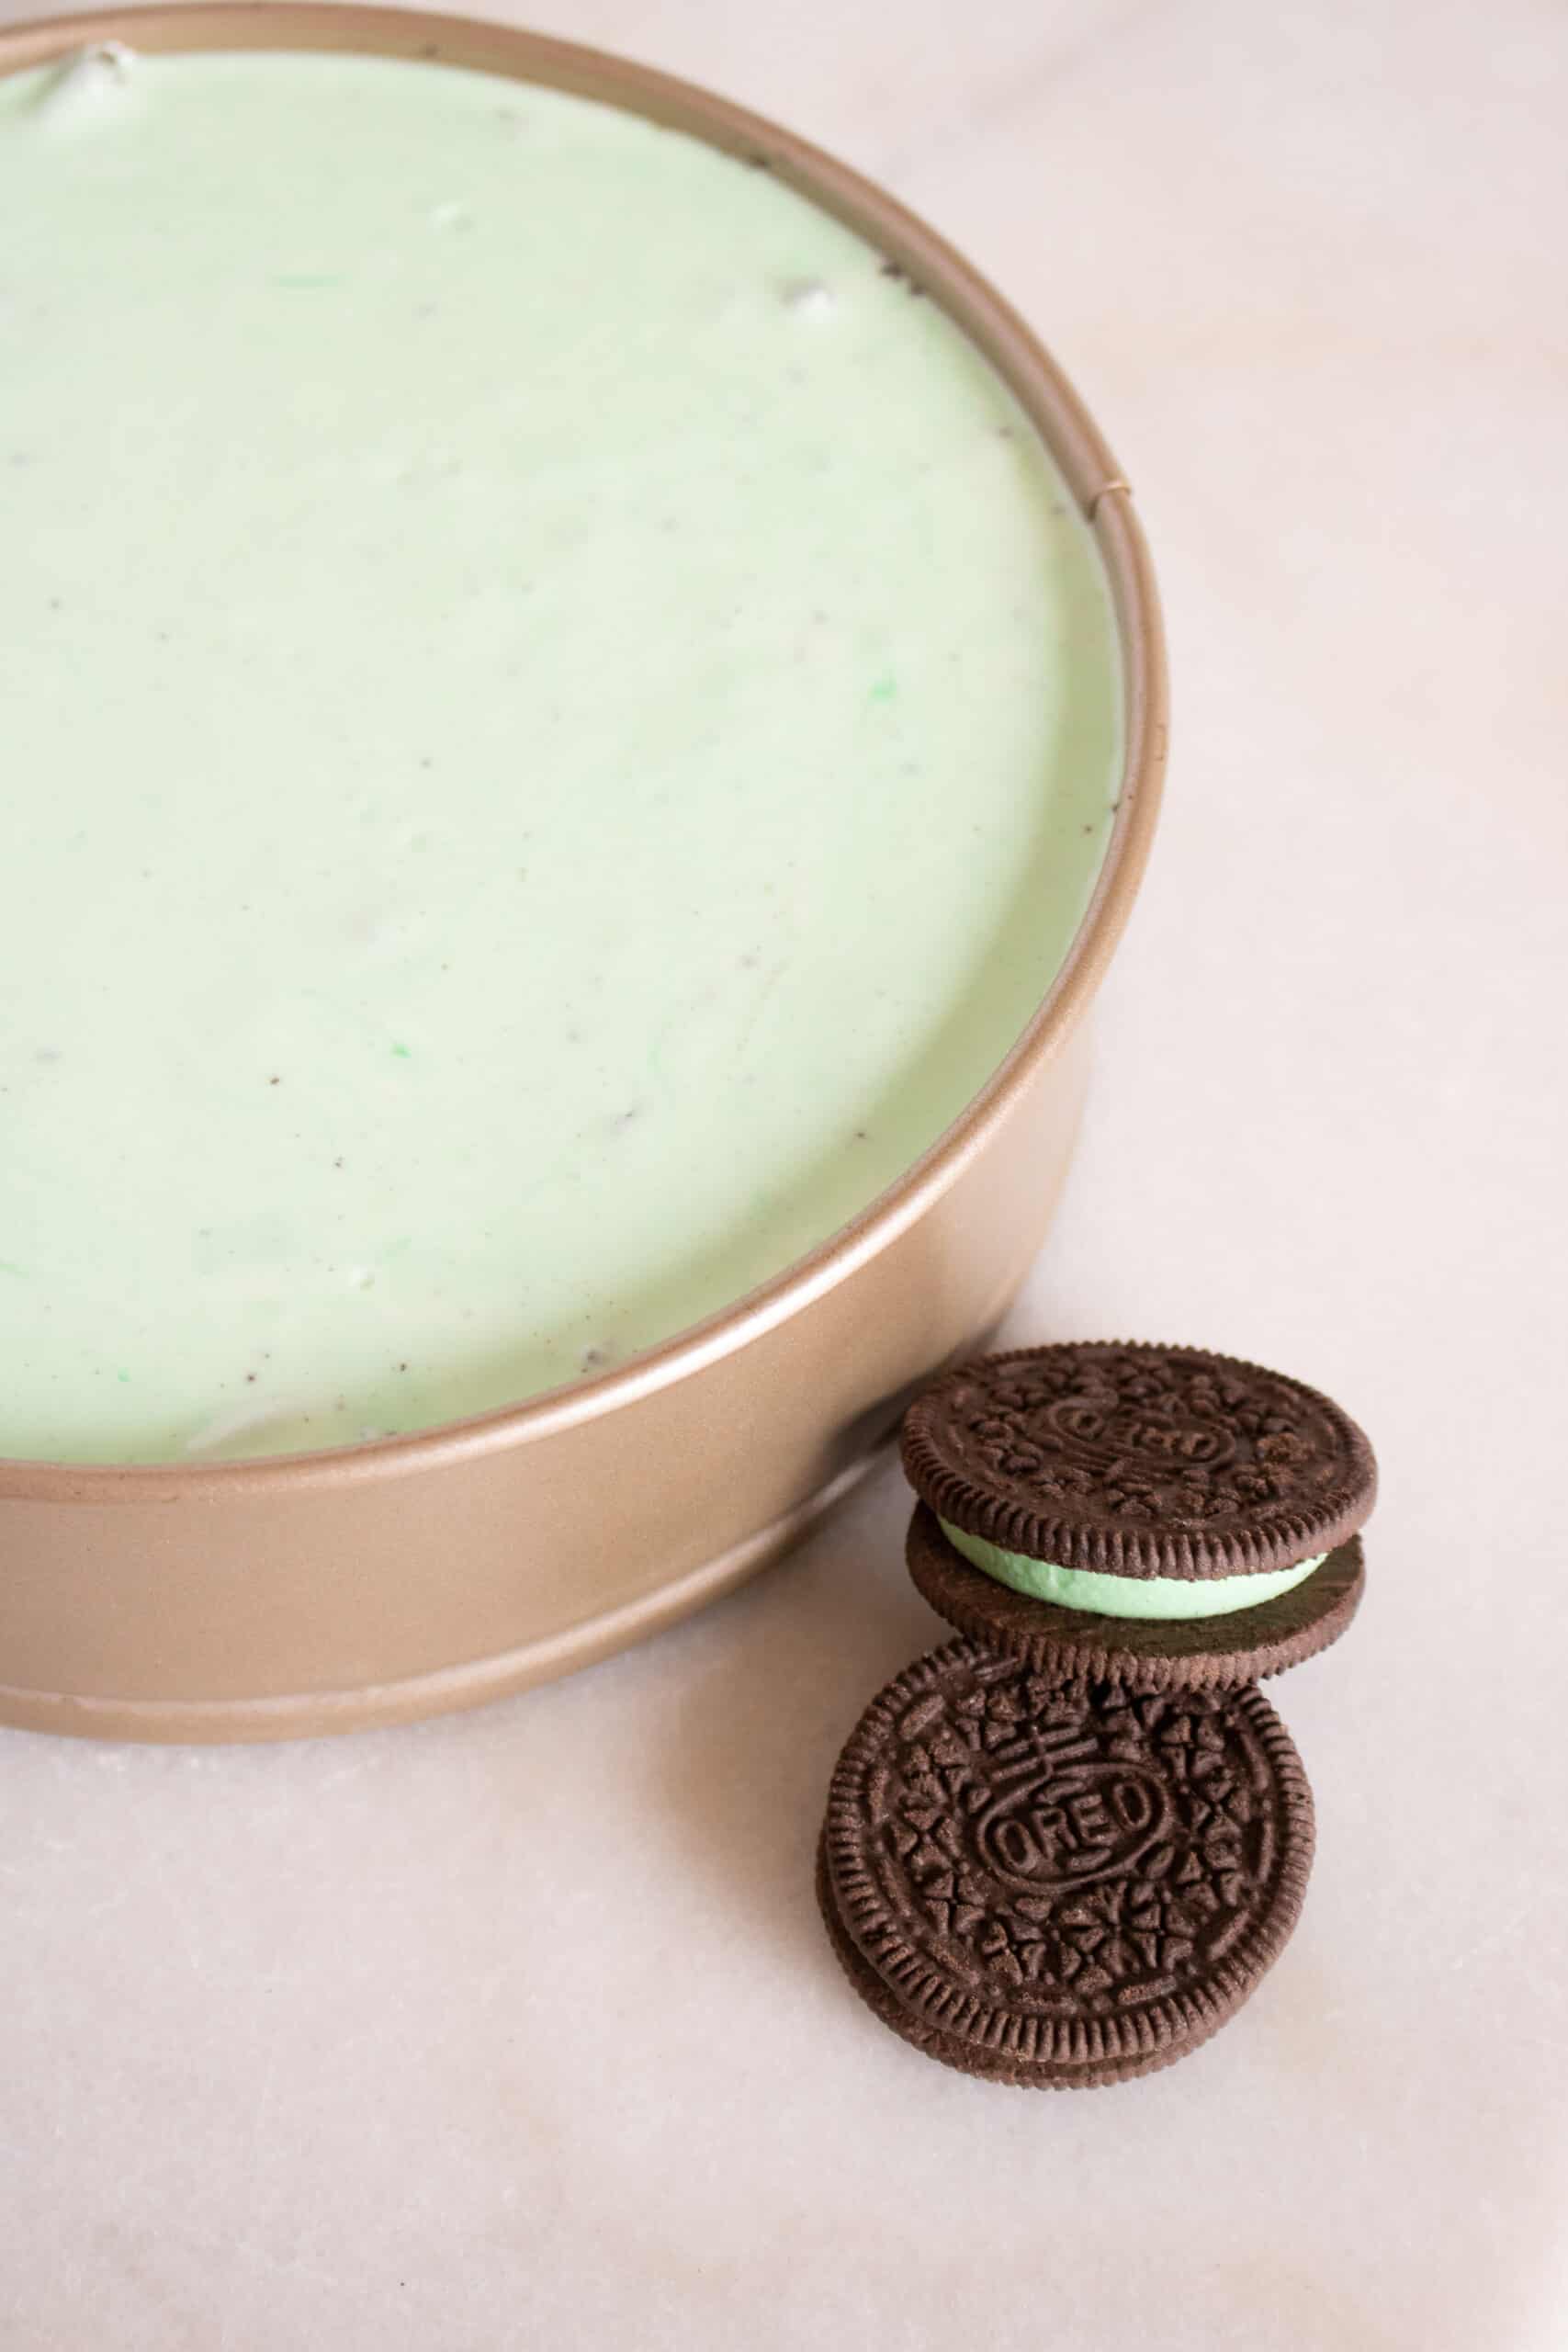
This swoon-worthy cheesecake is a sweet way to enjoy the holidays. Whether you make it for Christmas, St. Patrick’s day, or even a refreshing summertime treat, this recipe is a winner. Also known as a grasshopper cake, the mint filling gets its green hue from gel food coloring. The mint flavor is apparent in the crust, too. Mint-flavored crushed Oreo cookies are an excellent way to make this cheesecake even more flavorful.
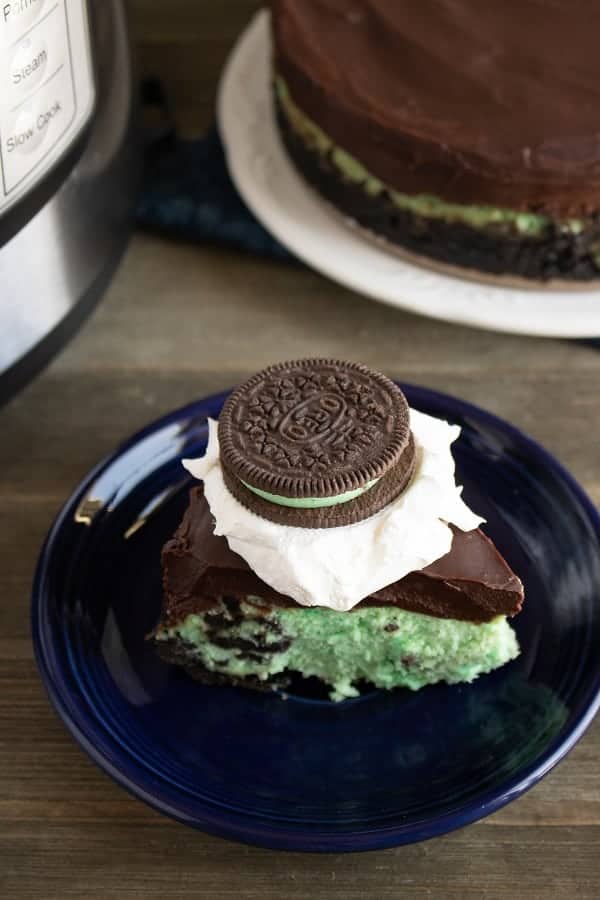
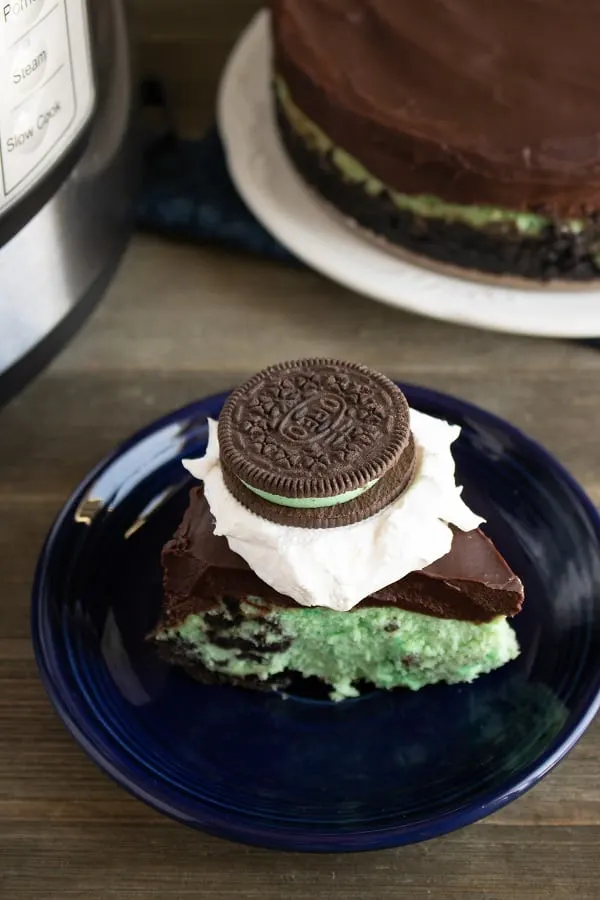
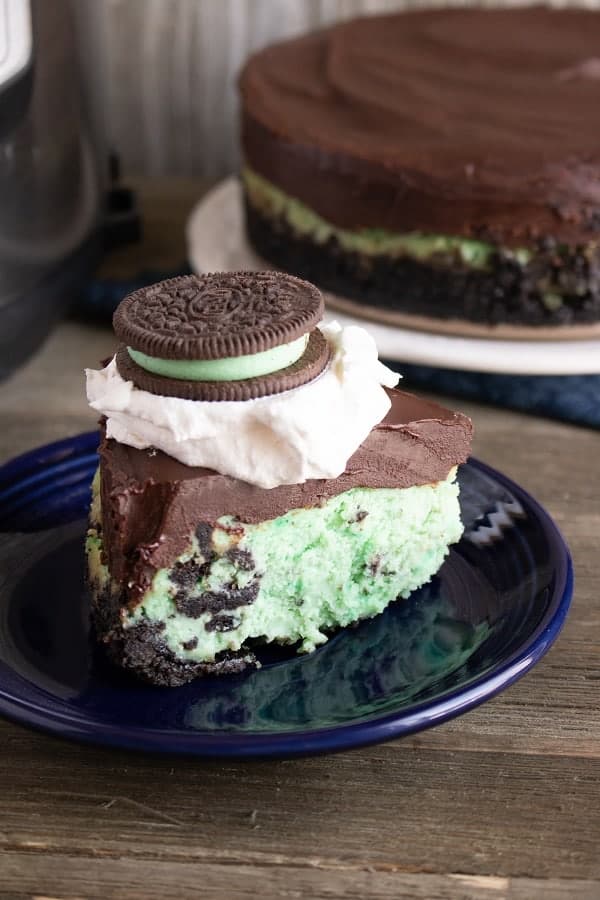
Chocolate ganache creates a decadent topping. Don’t stop there, though! Garnish it with a dollop of whipped cream and an Oreo cookie for a mouth-watering presentation.

Tips For Making Cheesecake In An Instant Pot
Making a cheesecake in your Instant Pot is actually easier than baking it in an oven. You’ll need to use a 7″ springform pan so that it will fit in your Instant Pot.
One of the best things about cooking your cheesecake in a pressure cooker is that you don’t need to worry about a water bath seeping into the springform pan. This is because you’ll actually add water to your Instant Pot and your pan will be suspended above the water. The easiest way to do this is to use an inexpensive sling accessory for your Instant Pot. You can even make a sling by folding a long piece of foil twice length-wise. This allows you to place the springform pan on top of the foil and use it to lift and lower the cheesecake into the inner pot.

Another great reason to use the Instant Pot for cooking a cheesecake is that the texture comes out amazingly perfect every time. Between the steam created from the water to the natural pressure release of a pressure cooker, there’s no cracking of the oven door which could create cracks on the top of your cheesecake. Using the Instant Pot will give you superior results every time.
How To To Make This Mint Oreo Cheesecake
Use a blender or the food processor to crush 14 Oreo cookies. Press the crumbs into the bottom and ¼ way up the sides of a 7-inch springform pan.


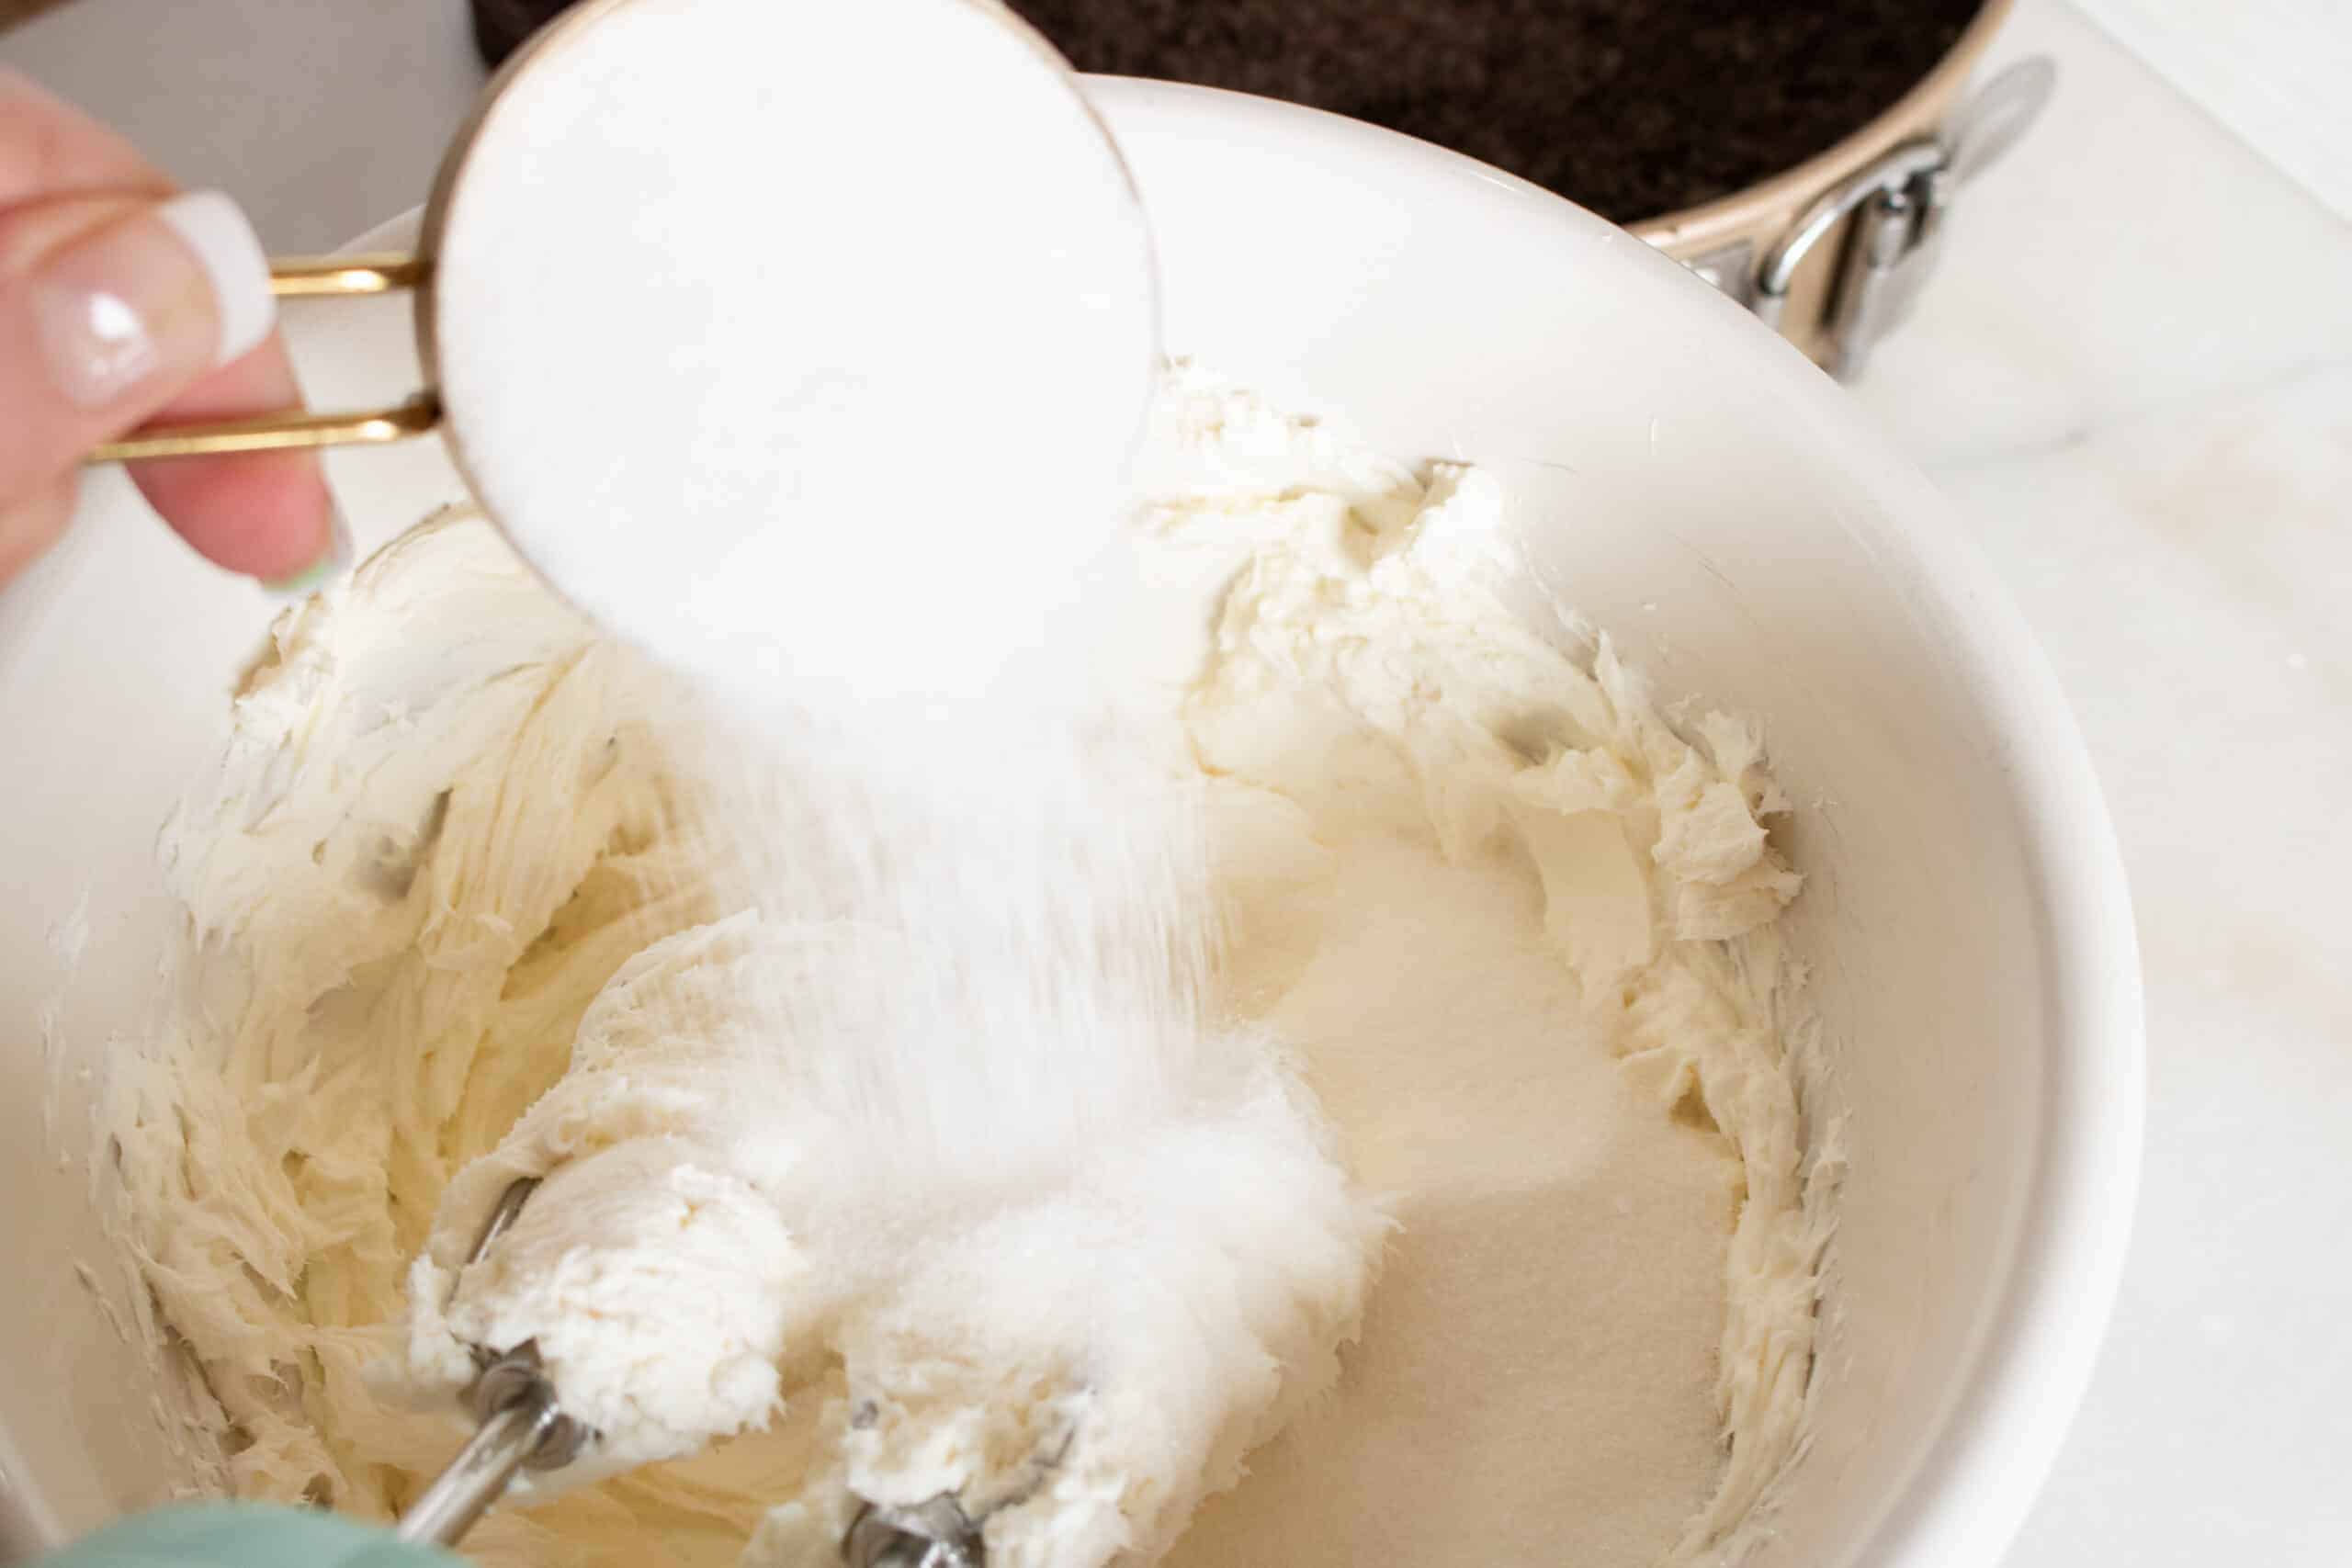
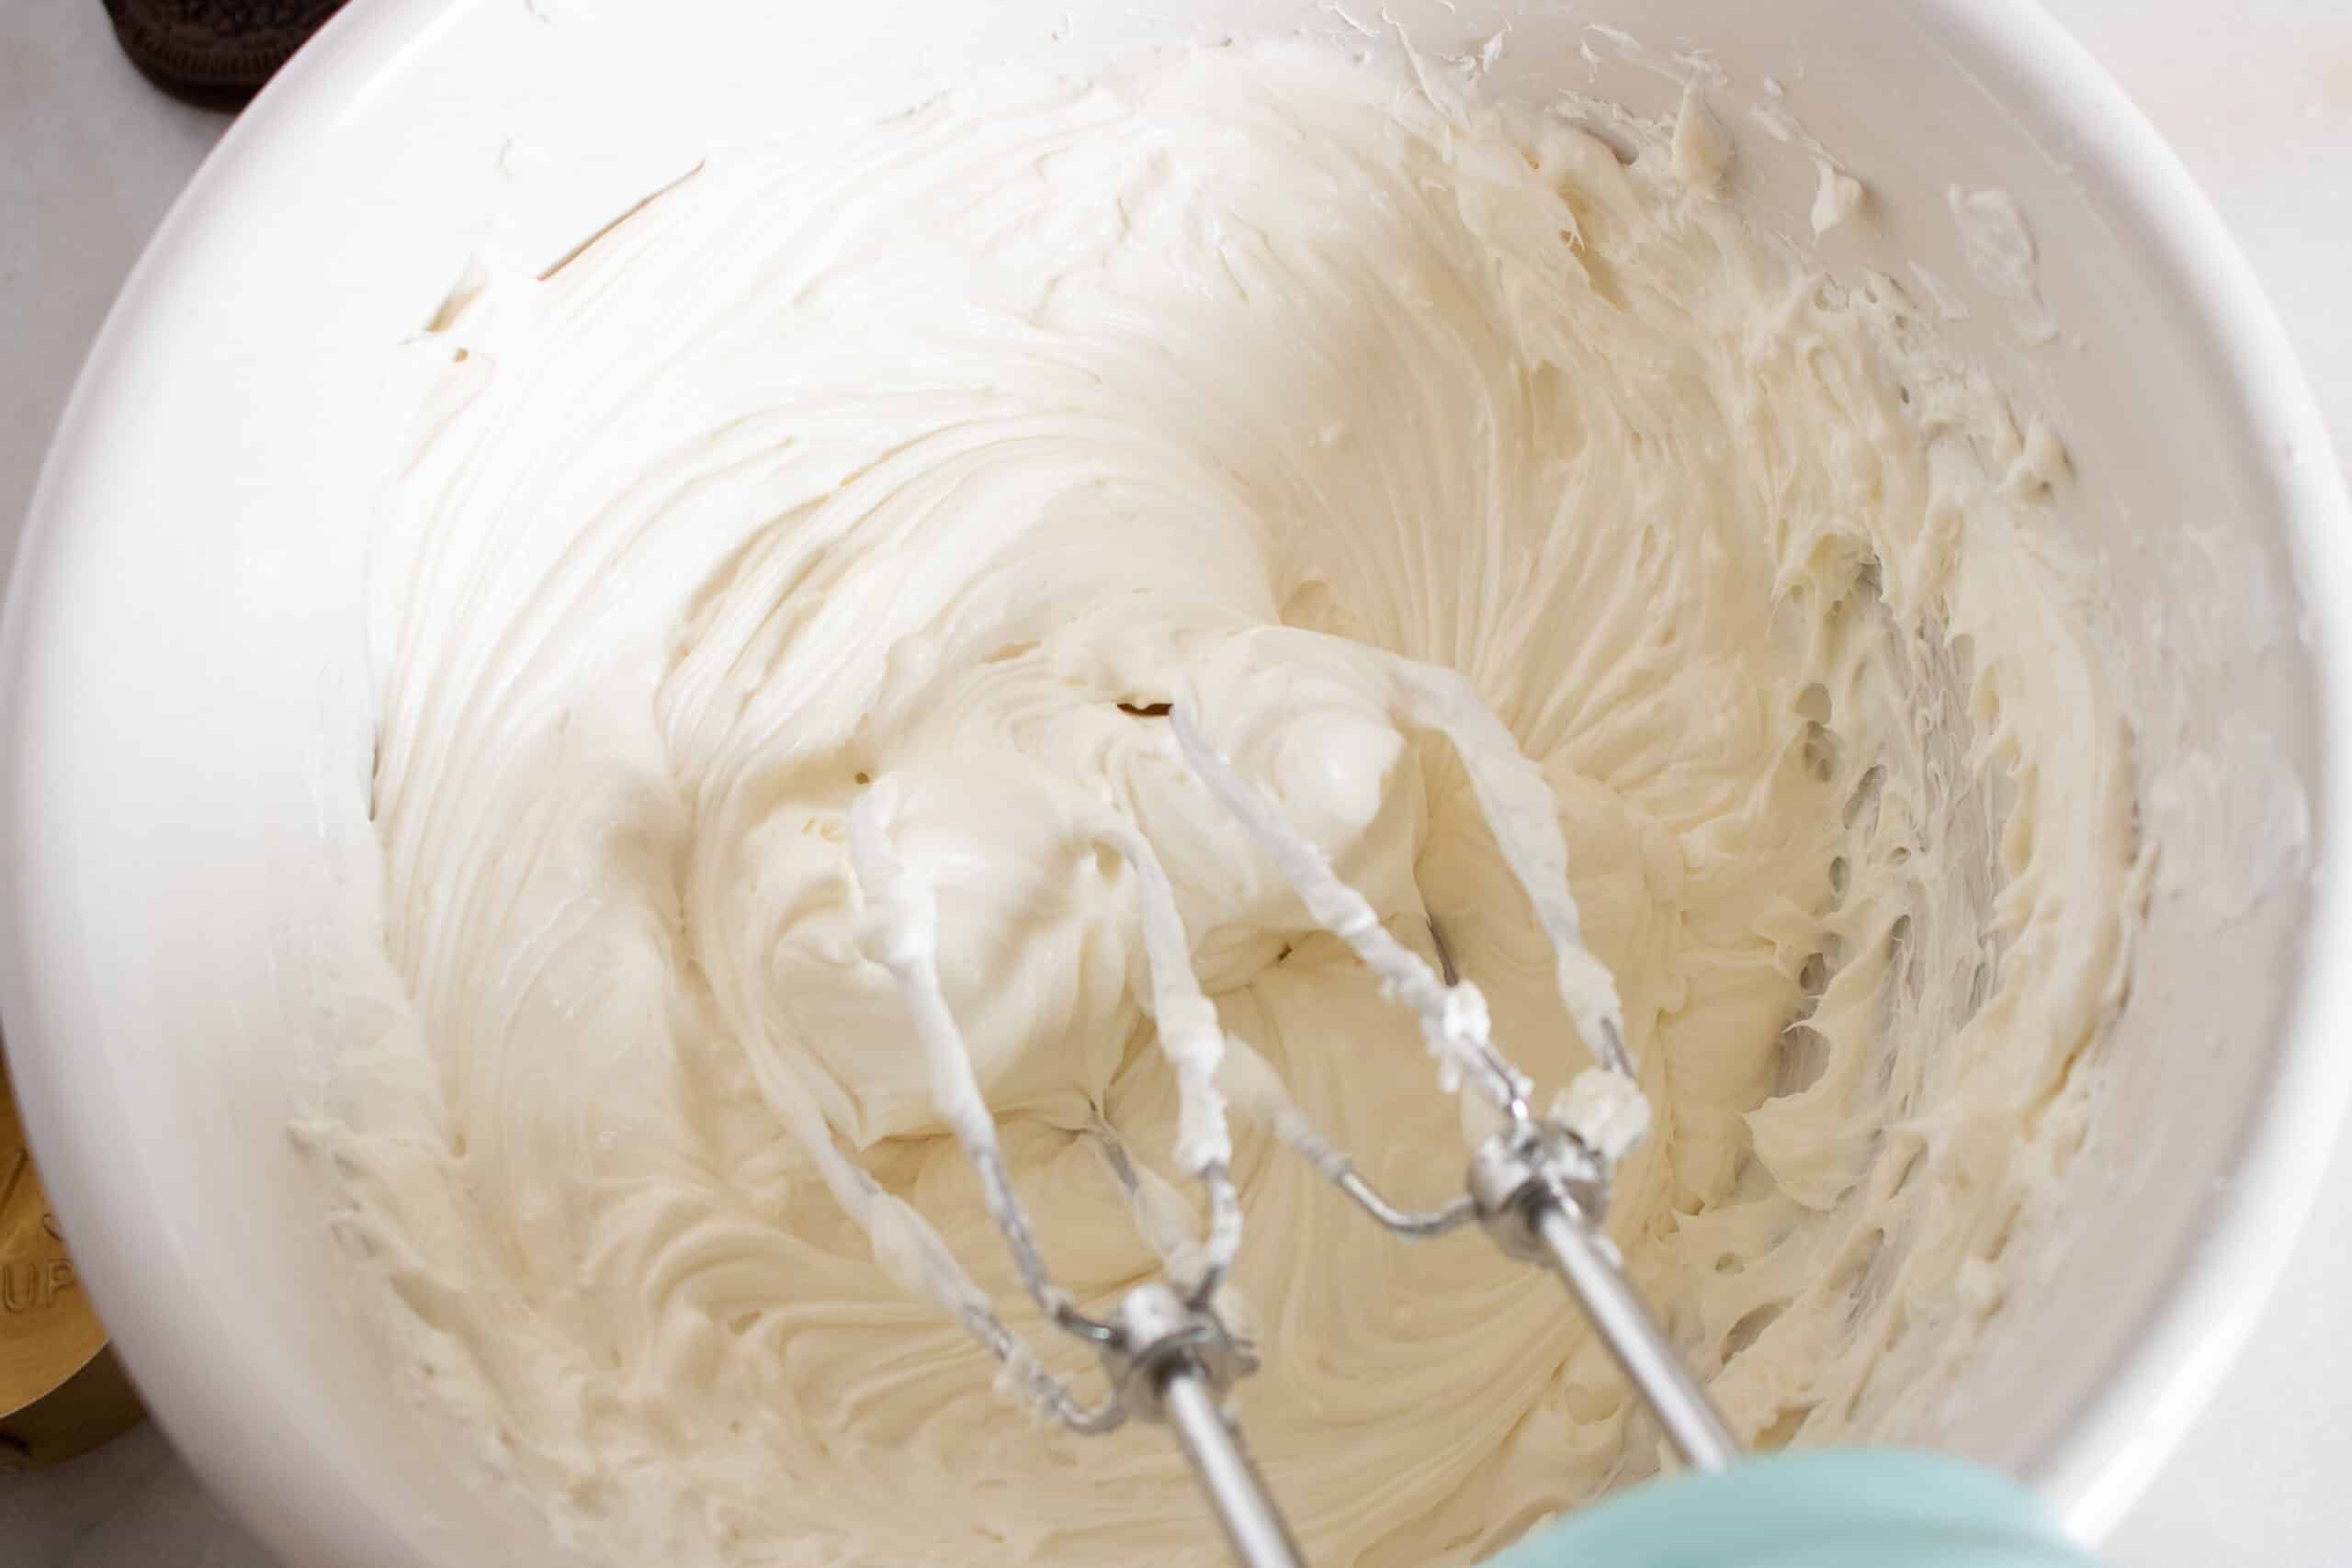
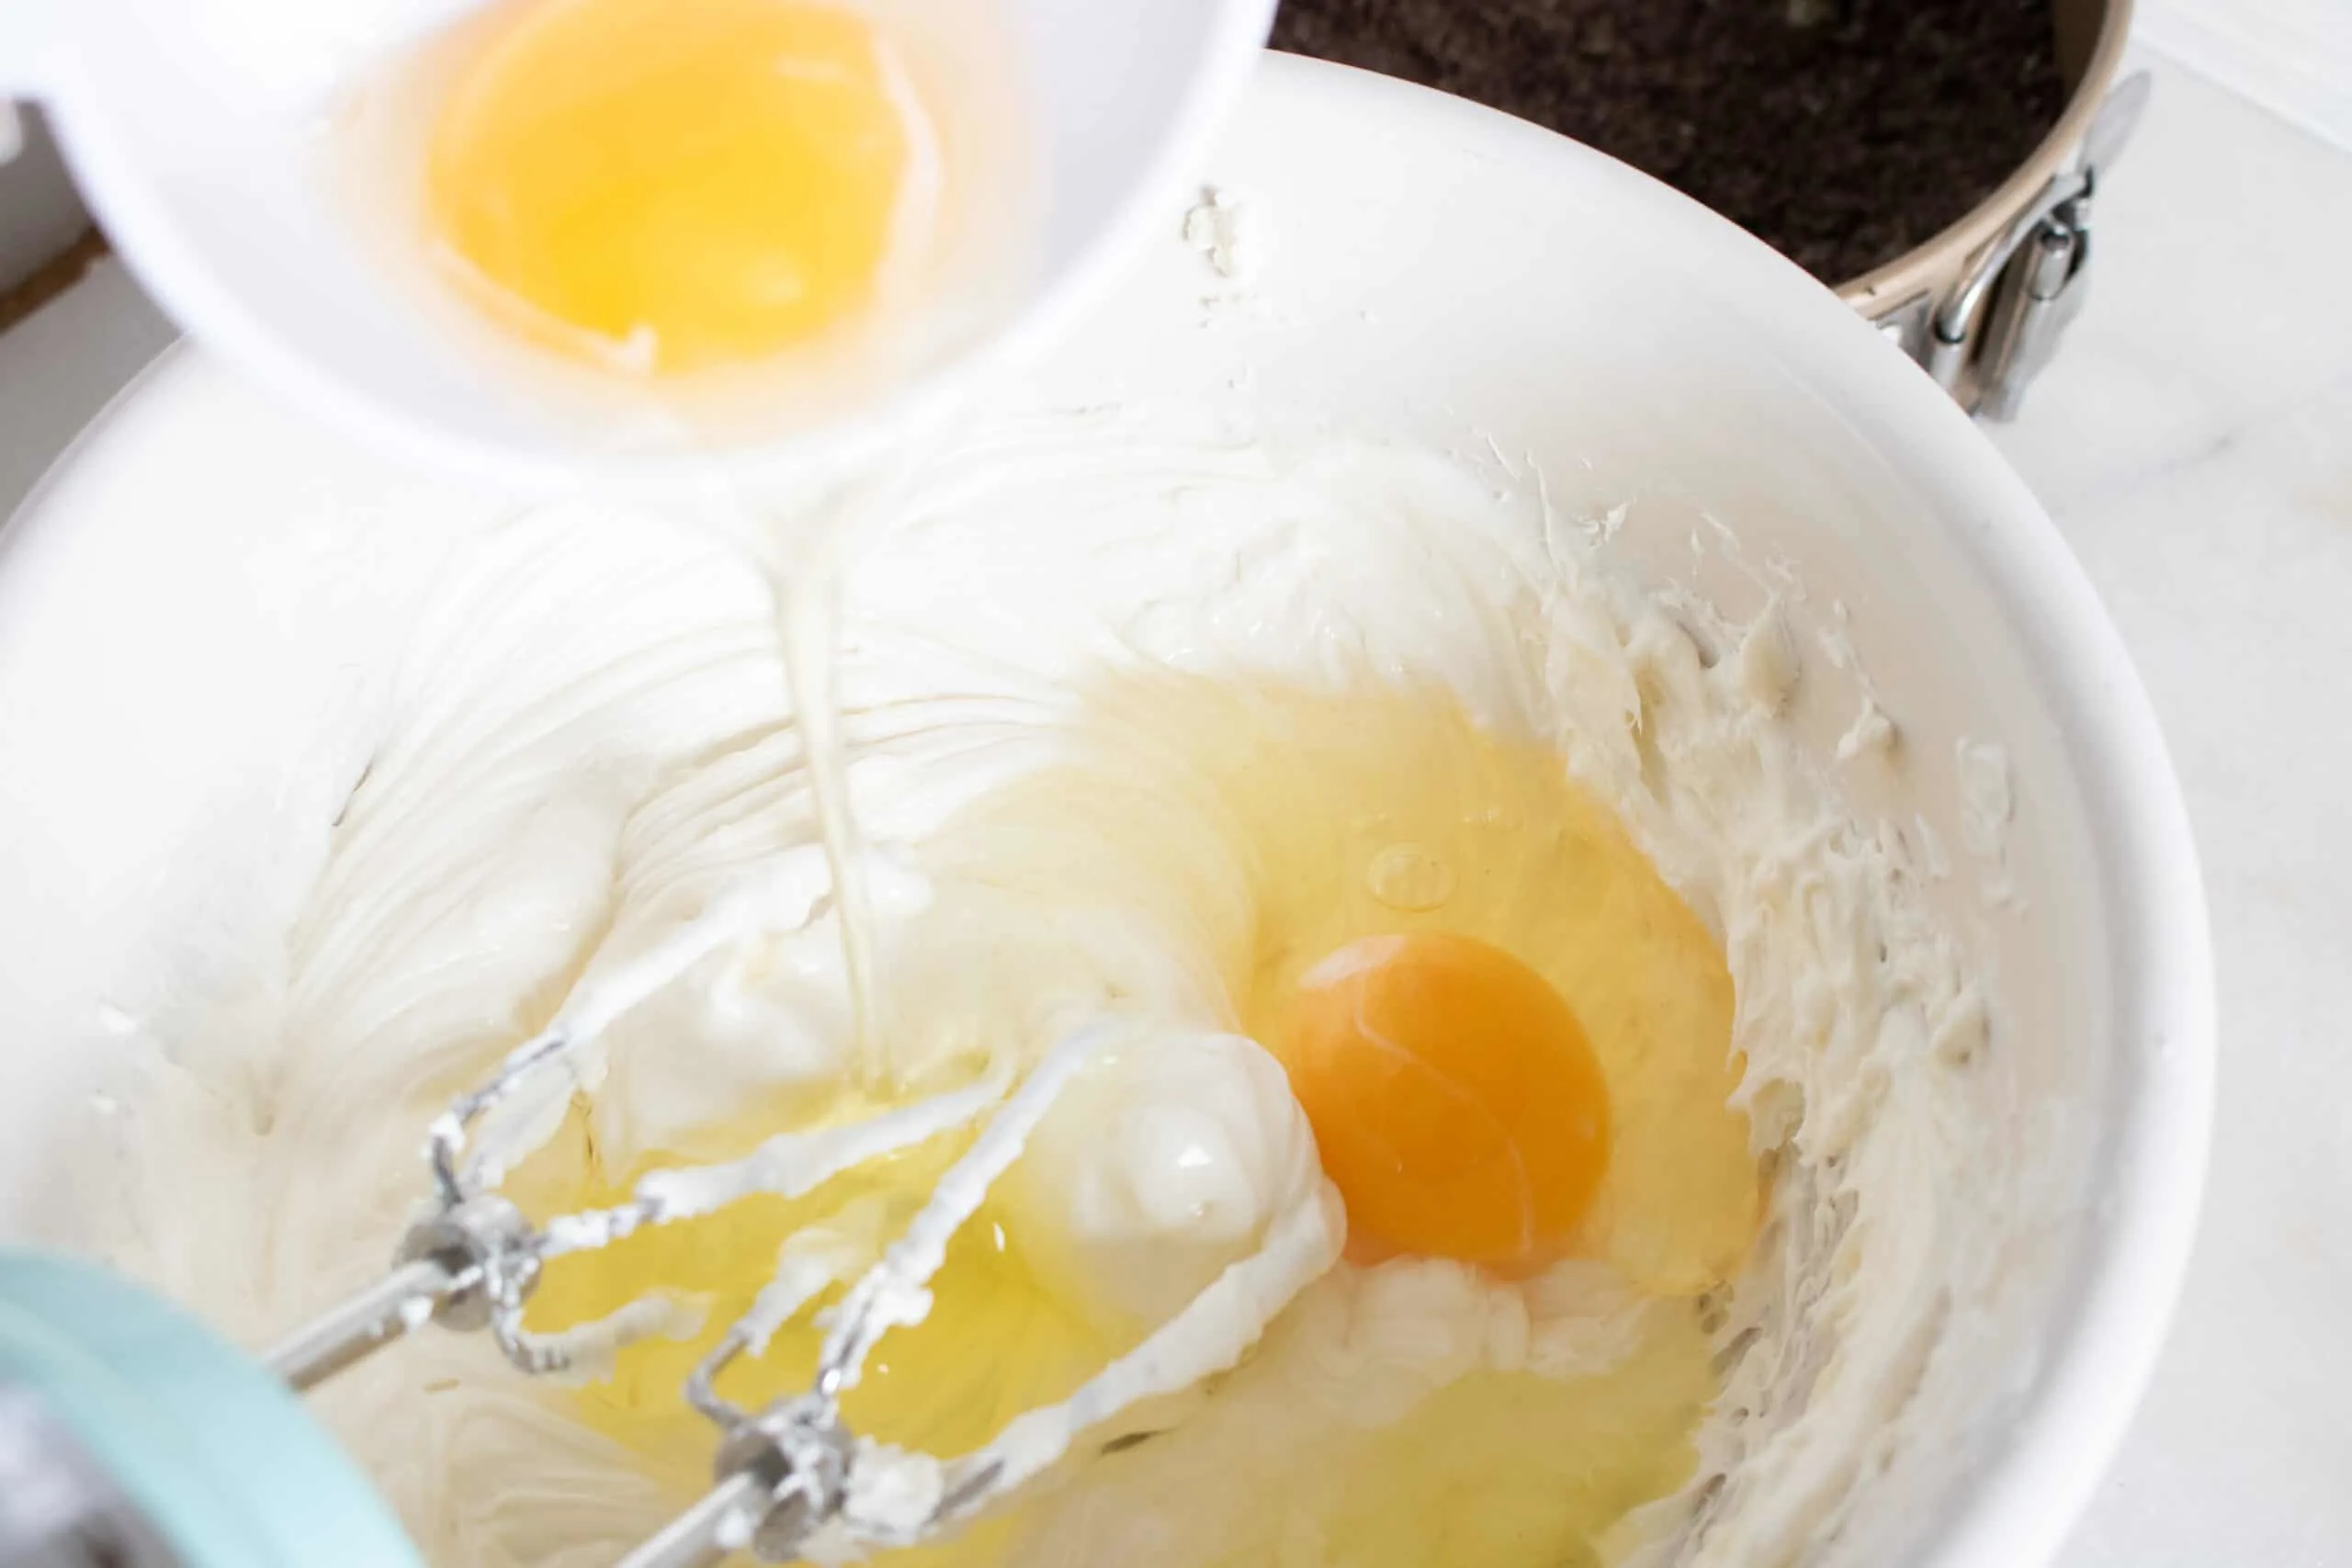
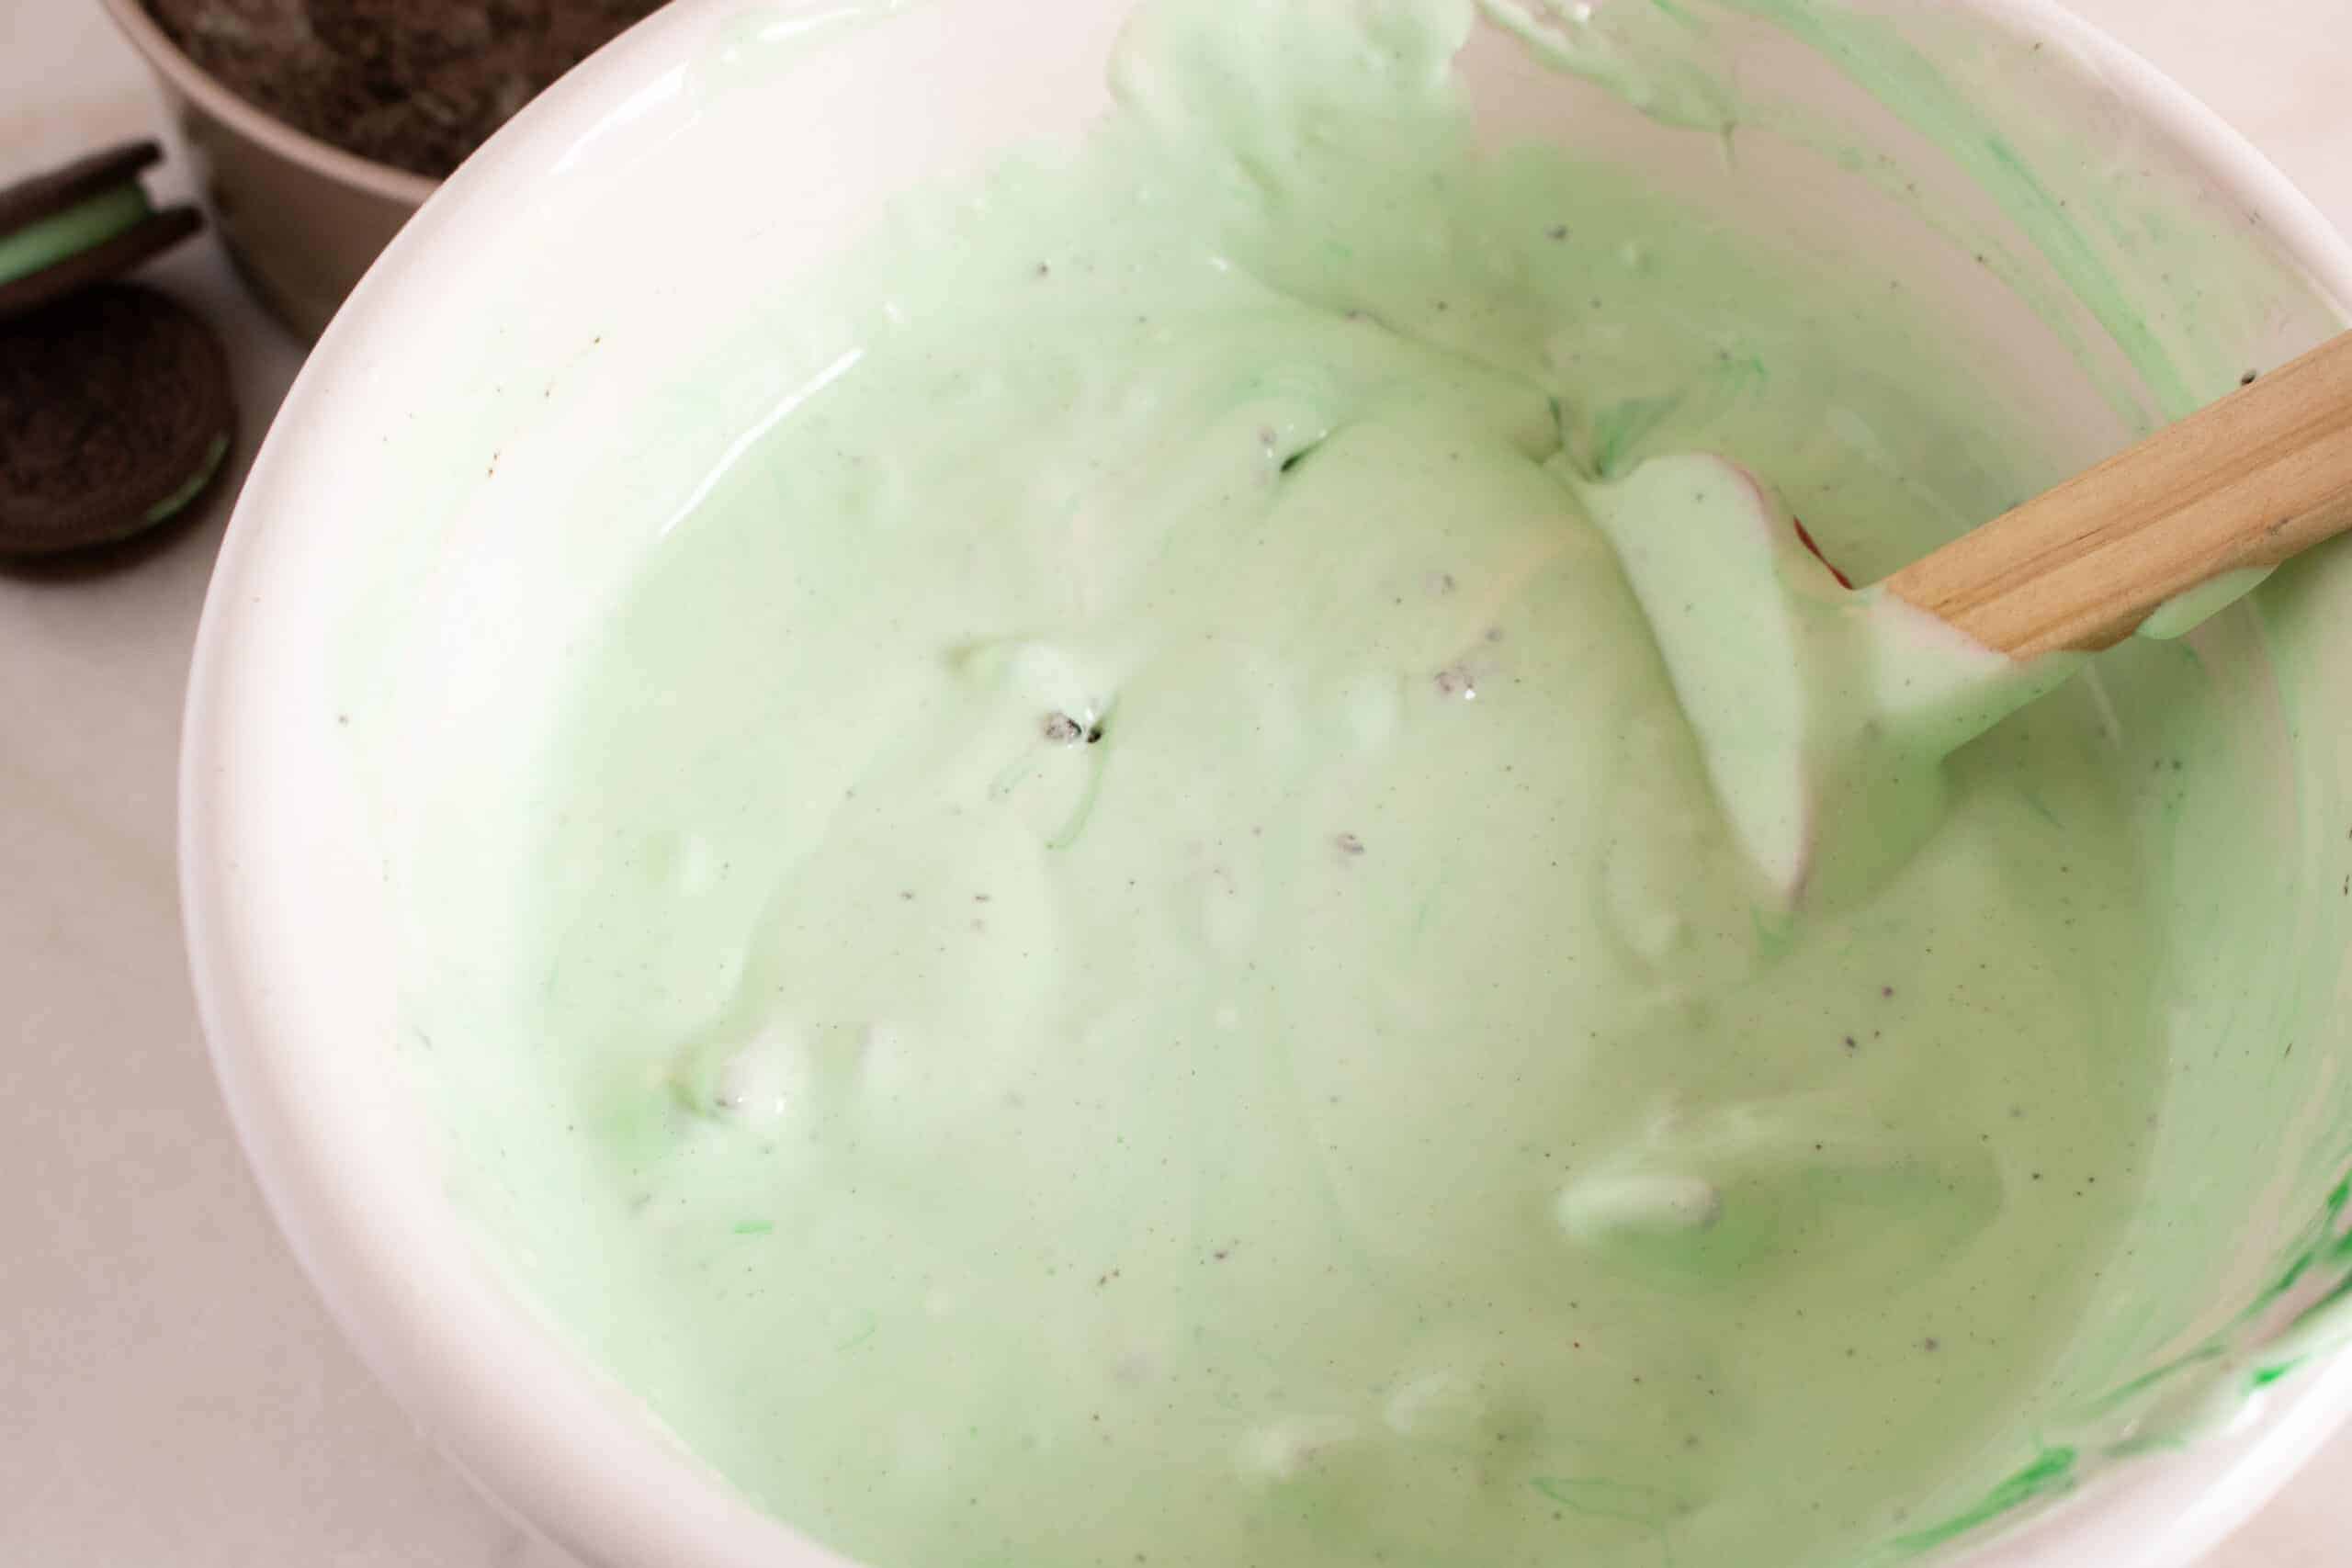
Using a hand-held mixer, mix the cream cheese until smooth. Add the sugar, and cream together. Mix in the extracts and sour cream and when that is smooth add in the eggs. Fold in the food coloring.

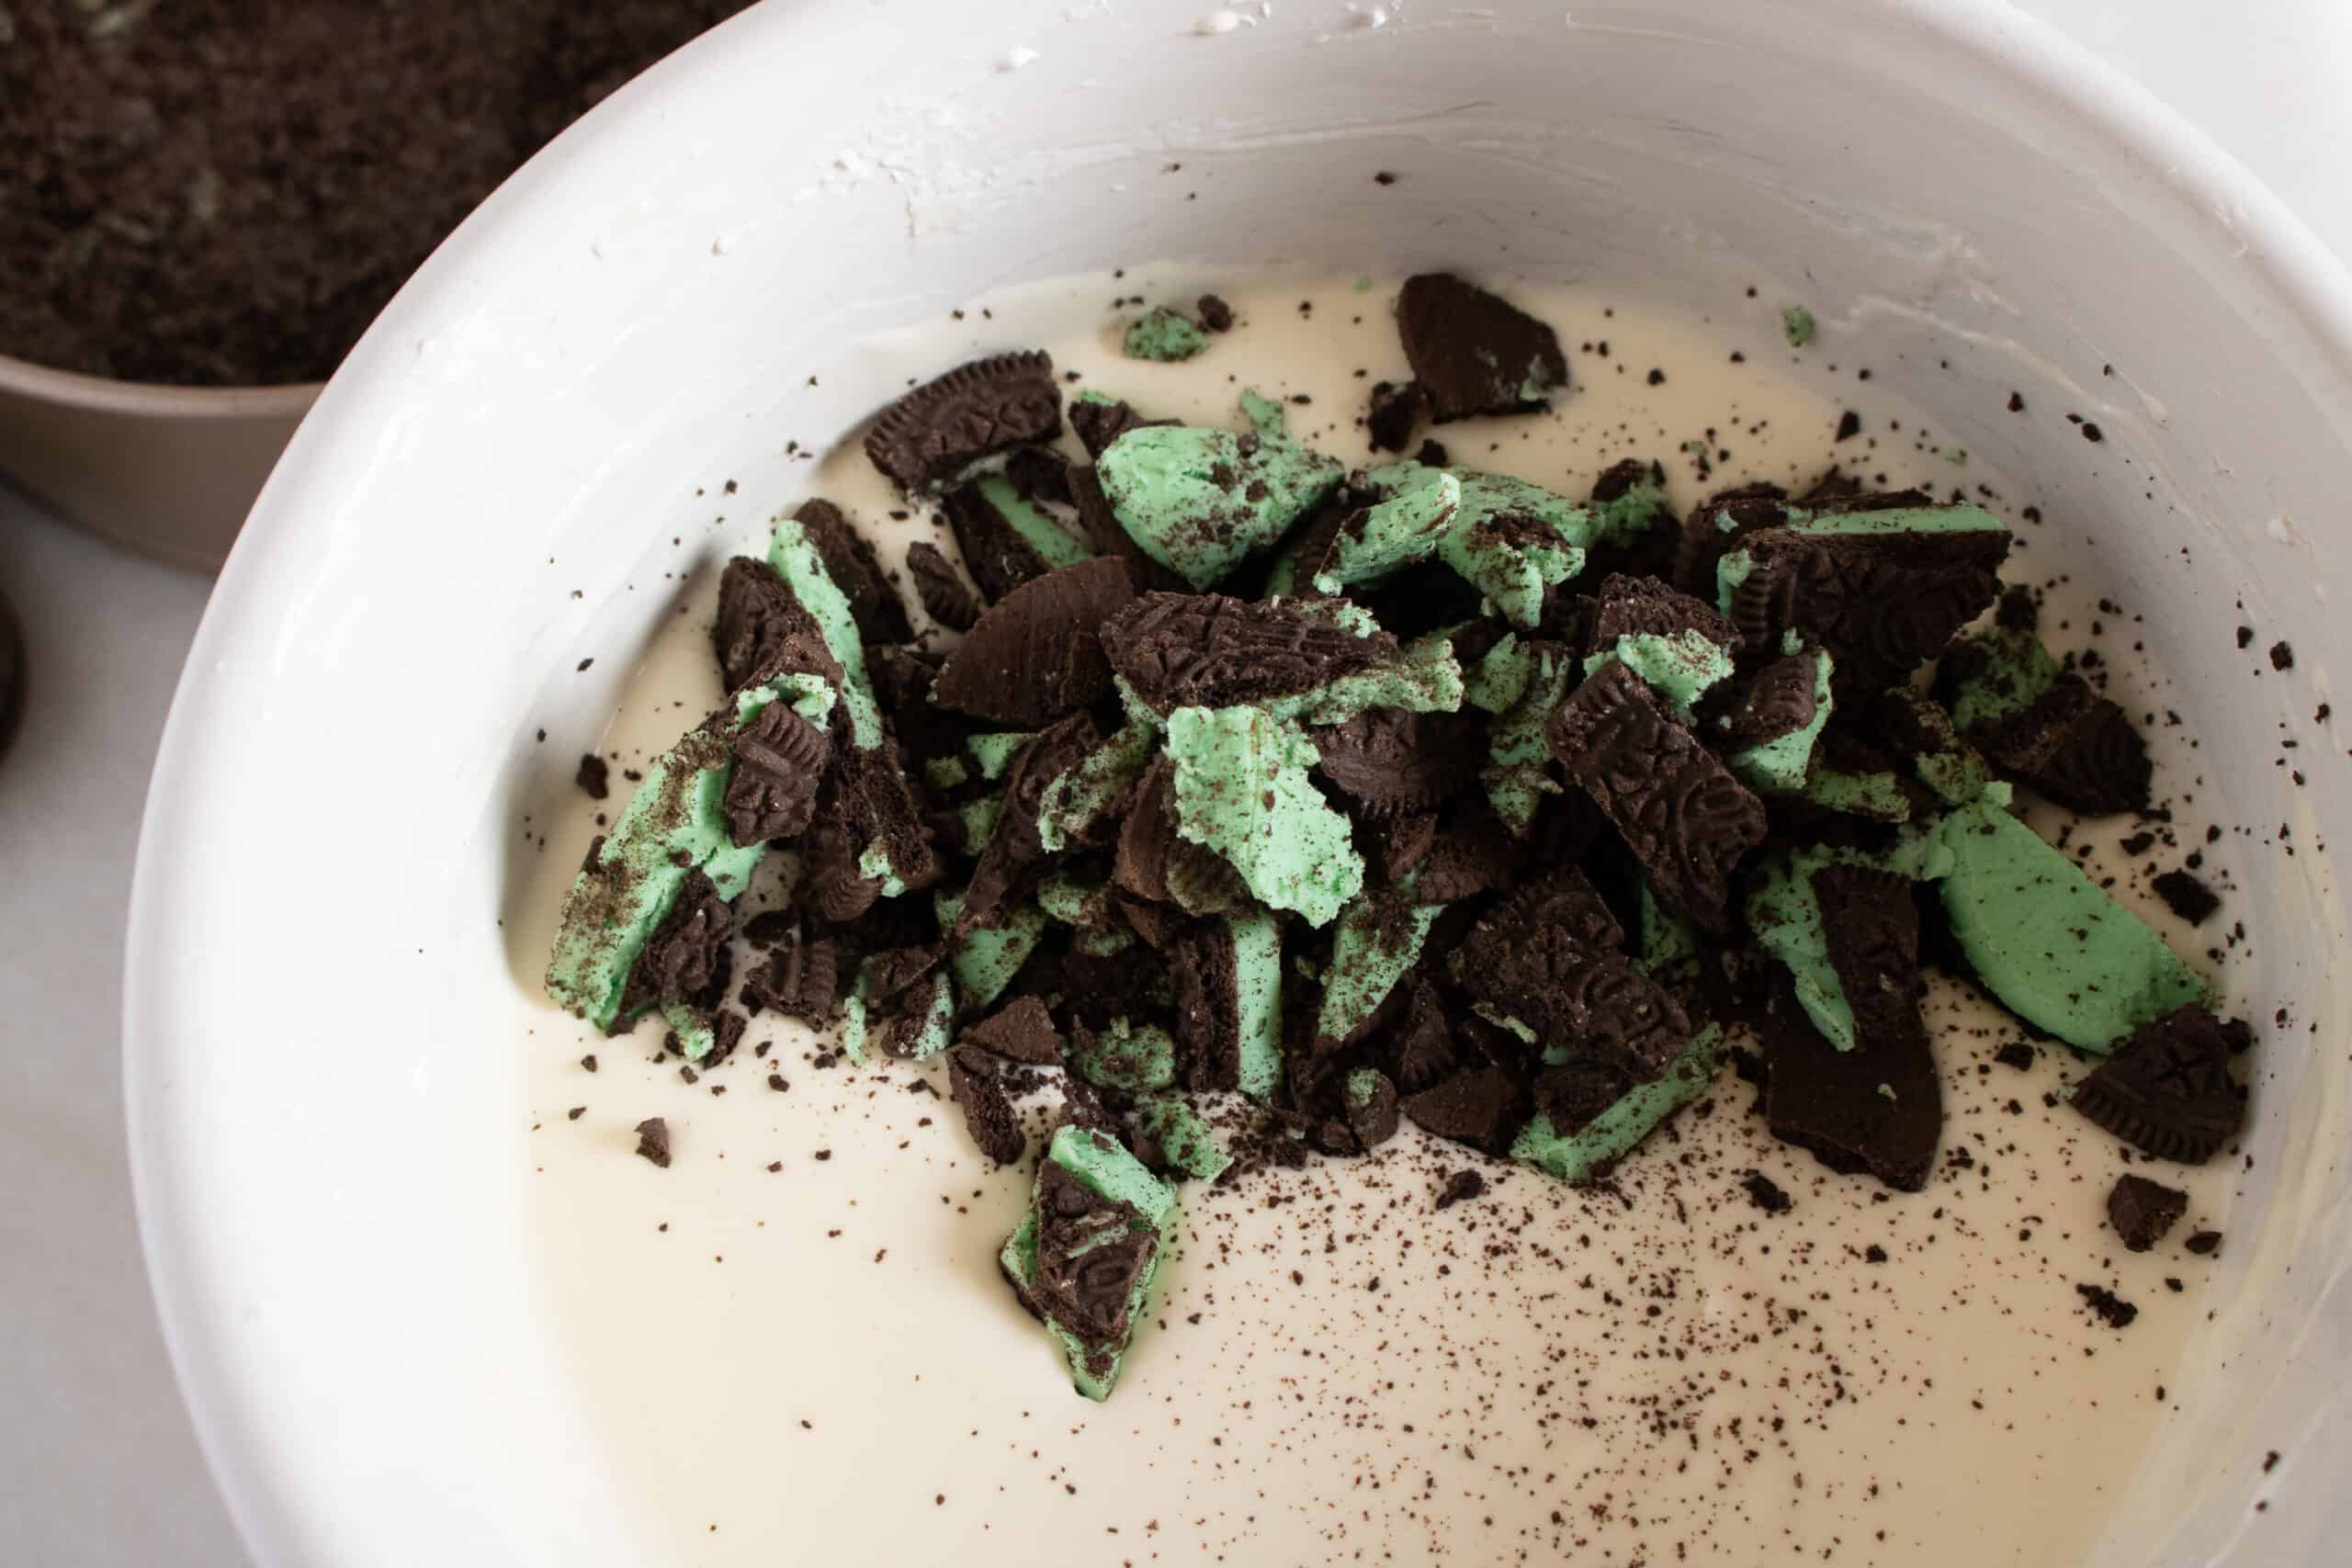
Chop up 6 Oreos and mix them into the cheesecake batter. Pour the batter into the springform pan.

Add 2 cups of water to the inner pot of the Instant Pot. Cover the springform pan with foil. Make a sling out of foil by folding a long piece of foil twice length-wise. Place the springform pan on top of the foil sling and use it to lift and lower the cheesecake into the inner pot.

Close the lid on the pressure cooker. Turn the pressure valve to sealing.

Set for a manual high-pressure time of 35 minutes, allowing for a 15-minute natural pressure release at the end of the cooking time, before releasing any remaining pressure.

Cool the cheesecake for 1 hour at room temperature before putting it in the refrigerator. For best results, let the cheesecake rest overnight, but no fewer than 4 hours.

When the cheesecake is done chilling, mix chocolate chips and heavy whipping cream in a saucepan over low heat. Heat while stirring until a smooth consistency has been reached. Pour the chocolate ganache over the top of the cheesecake and place it back in the refrigerator until the ganache has set. This should take 30 minutes to an hour.

To remove the cheesecake from the springform pan, slide a knife around the pan to loosen the ganache from the pan. Then you can release the spring as you normally would. If you skip this step, the ganache might crack.
Of course, you’ll still need to let your cheesecake cool at room temperature and then chill it in the refrigerator before adding any toppings.
I’m sure you’ve heard this before, but it really does make a difference when you leave your cold ingredients, such as the cream cheese and eggs, on the counter to come to room temperature before you begin the recipe. So plan ahead and you’ll be happy that you did!
Ingredients That You’ll Need To Make This Mint Oreo Cheesecake
- mint Oreos
- cream cheese
- granulated sugar
- vanilla extract
- mint extract
- sour cream
- eggs
- Kelly green gel food coloring
- water
- chocolate chips
- heavy whipping cream
How to store this cheesecake
This cheesecake should be stored in the refrigerator. It will keep for up to 5 days tightly covered.
The perfect duos
There’s no denying that mint and chocolate are the perfect duos and this cheesecake brings those flavors together in a delightfully delicious way. From its crushed and minty crust to its creamy green filling with just the right crunch of cookie in it, to the decadent chocolate ganache on top, this dessert is a mint lover’s dream.
if you’re looking for another way to enjoy mint and chocolate, this is it! If you swoon over mint chocolate chip ice cream or Andes mints, then you’ll want to make this Instant Pot mint Oreo cheesecake as soon as possible!
Related recipes
Copycat Cheesecake Factory Pumpkin Cheesecake
Creamy Peanut Butter Cheesecake
Nettie is a wife and mother who is passionate about cooking and baking. With 5 children, Nettie insists that all meals, snacks, and desserts come together quickly! You will find a wide variety of easy yet scrumptious recipes on her very popular website Moore or Less Cooking
Be sure to follow me on Instagram and tag #mooreorlesscooking so I can see all the wonderful recipes that YOU make from this site!
Did You Make This Recipe?
I would love for you to leave a rating and a comment below! How’d you do?!
Please remember to SHARE on Facebook and PIN IT!
FOLLOW ME ON PINTEREST BY CLICKING HERE

Instant Pot Mint Chip Oreo Cheesecake

Let your Instant Pot make the most delectable mint Oreo cheesecake that you’ve ever tasted. An Oreo crust holds the minty cheesecake mixture that’s topped with a chocolate ganache. It’s a decadent dessert that’s made even easier by using your pressure cooker.
Ingredients
- 20 mint Oreos, divided
- 2 (8 ounces) bricks of cream cheese, left out at room temperature for an hour
- 2/3 cup granulated sugar
- ½ teaspoon pure vanilla extract
- ½ teaspoon mint extract
- ¼ cup sour cream
- 2 eggs
- 2-3 drops Kelly green gel food coloring
- 2 cups water, for the Instant Pot
- 2 cups chocolate chips
- 1 cup heavy whipping cream
Instructions
- Using a blender or the food processor to crush 14 Oreo cookies. Press the crumbs into the bottom and ¼ way up the sides of a 7-inch springform pan.
- Using a hand-held mixer, mix the cream cheese until smooth. Add in the sugar, and cream together. Mix in the extracts and sour cream and when that is smooth add in the eggs. Fold in the food coloring.
- Chop up 6 Oreos and mix them into the cheesecake batter. Pour the batter into the springform pan.
- Add 2 cups of water to the inner pot of the Instant Pot. Cover the springform pan with foil. Make a sling out of foil by folding a long piece of foil twice length-wise. Place the springform pan on top of the foil sling and use it to lift and lower the cheesecake into the inner pot.
- Close the lid on the pressure cooker. Turn the pressure valve to sealing.
- Set for a manual high-pressure time of 35 minutes, allowing for a 15-minute natural pressure release at the end of the cooking time, before releasing any remaining pressure.
- Cool the cheesecake for 1 hour at room temperature before putting it in the refrigerator. For best results, let the cheesecake rest overnight, but no fewer than 4 hours.
- When the cheesecake is done chilling, mix chocolate chips and heavy whipping cream in a saucepan over low heat. Heat while stirring until a smooth consistency has been reached. Pour the chocolate ganache over the top of the cheesecake and place it back in the refrigerator until the ganache has set. This should take 30 minutes to an hour.
- To remove the cheesecake from the springform pan, slide a knife around the pan to loosen the ganache from the pan. Then you can release the spring as you normally would. If you skip this step, the ganache might crack.
Notes
This cheesecake should be stored in the refrigerator. It will keep for up to 5 days tightly covered.
Recommended Products
As an Amazon Associate and member of other affiliate programs, I earn from qualifying purchases.
-
 Land O Lakes Heavy Whipping Cream, 1 Pint
 -
 Nestle Toll House, Milk Chocolate Morsels, 23 oz
 -
 Chefmaster Liqua-Gel Food Color, 10.5-Ounce, Leaf Green
 -
 Daisy, Regular Sour Cream, 8 oz
 -
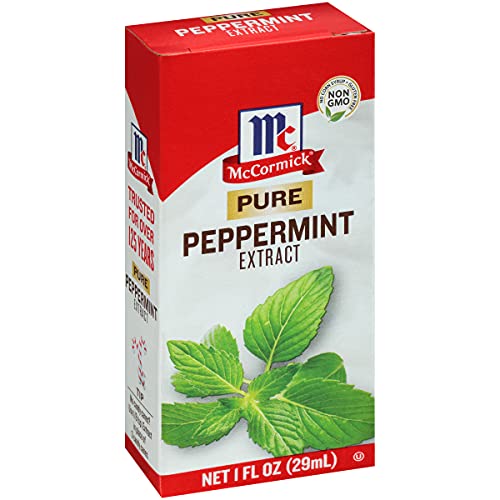 McCormick Pure Peppermint Extract, 1 fl oz
 -
 Rodelle Gourmet Pure Vanilla Extract, 8 Oz
 -
 Domino Sugar, Granulated, 4LB Canister
 -
 Philadelphia Cream Cheese Brick (8 oz Boxes, Pack of 2)
 -
 OREO Mint Flavored Creme Chocolate Sandwich Cookies, Family Size, 20 oz
 -
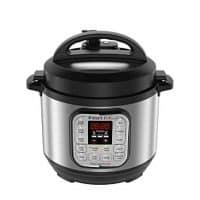
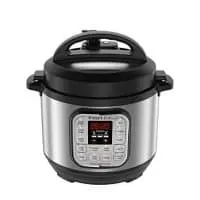 instant pot
 -
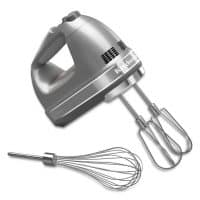
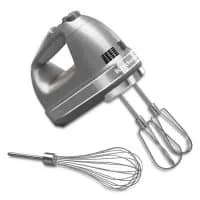 Hand Mixer
 -
 Hamilton Beach 10-Cup Food Processor & Vegetable Chopper with Bowl Scraper, Stainless Steel (70730)
 -
 Pressure Cooker Sling, Silicone Bakeware Sling for 3Qt Instant Pot, Multi-function Cooker Anti-scalding Bakeware Lifter Steamer Rack,BPA-Free Silicone Egg Steamer Rack (Gray)
 -
 Hovely 7 Inch Non-stick Springform Pan/Cheesecake Pan/Leakproof Cake Pan Accessories for Pressure Cooker
Nutrition Information
Yield
12Serving Size
1Amount Per Serving Calories 308Total Fat 19gSaturated Fat 11gTrans Fat 0gUnsaturated Fat 6gCholesterol 59mgSodium 44mgCarbohydrates 36gFiber 2gSugar 31gProtein 3g

Sue
Tuesday 28th of September 2021
Hi, I don't have an instant pot but am very interested in making this recipe. How would you make it in traditional oven? TIA!
Anand Dwipesh
Sunday 1st of November 2020
Yummy 😋😋