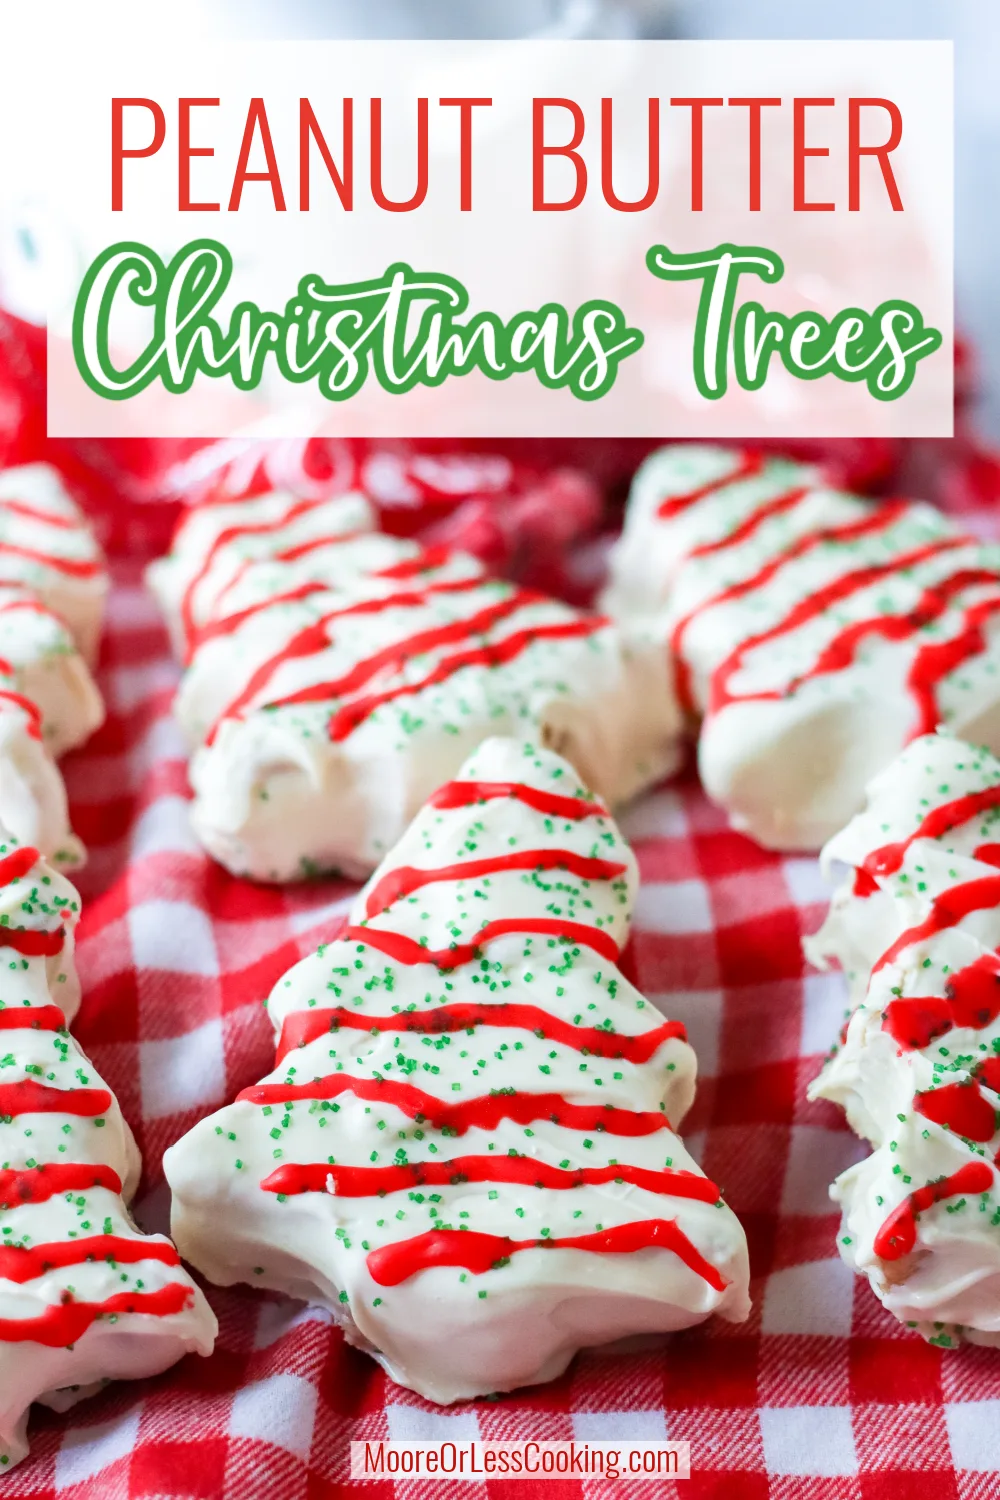
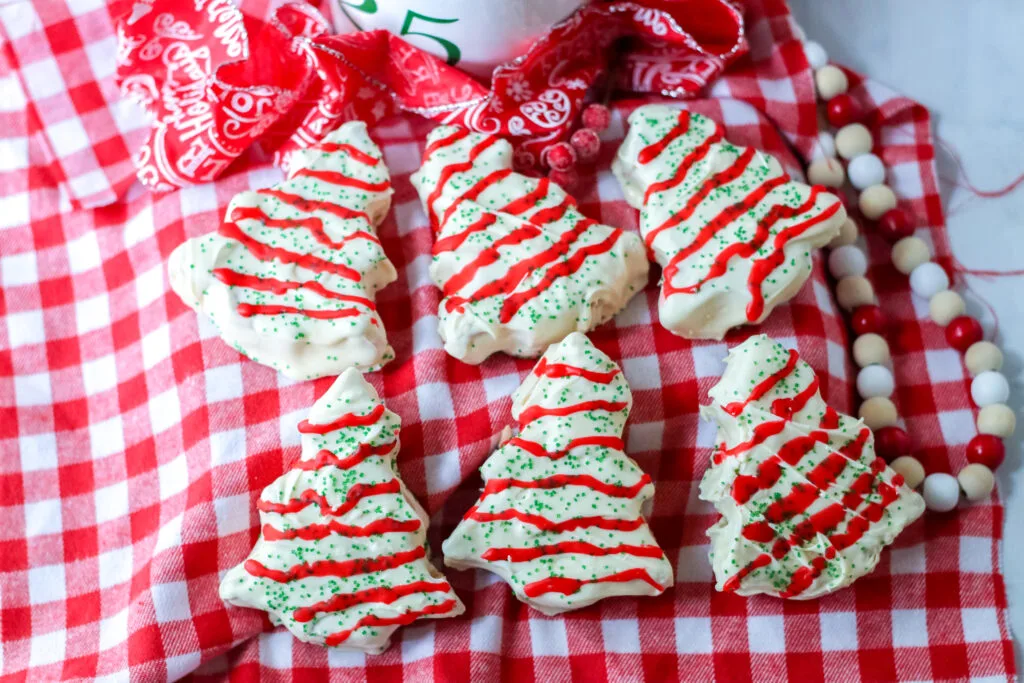
Dipped in white chocolate, these no-bake Peanut Butter Christmas Trees are just waiting to be decorated with red and green icing, sugar, and sprinkles. They’re an easy festive sweet treat for the holidays!
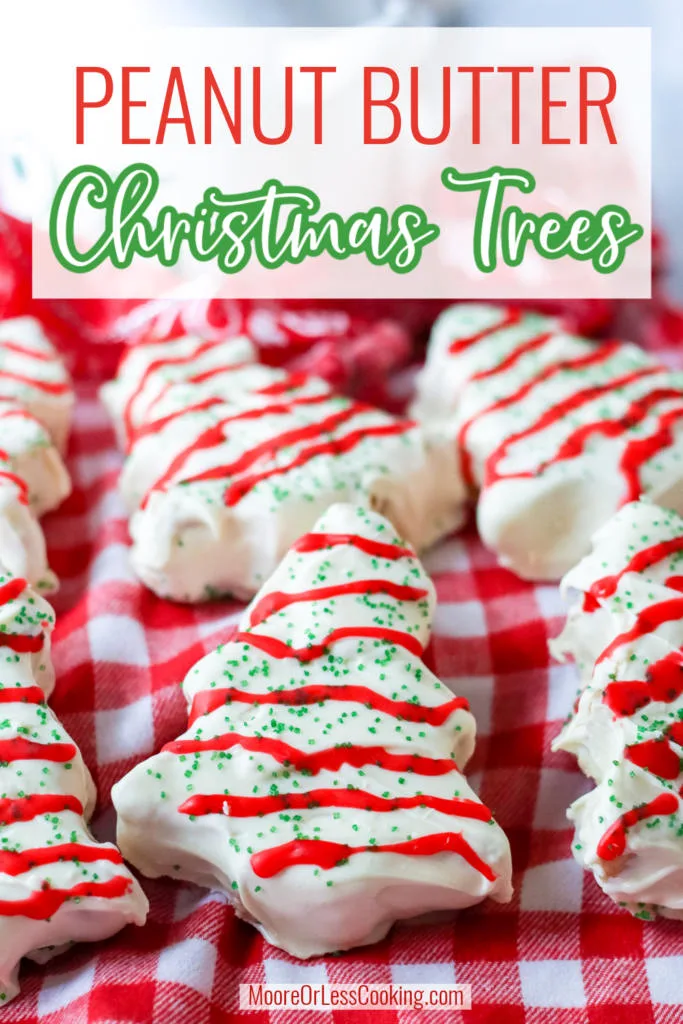
There’s nothing better than homemade Christmas treats and here, these Peanut Butter Christmas Trees are a fun way to make a copycat version of two popular commercial candies. They give a nod to everyone’s favorite Reese’s peanut butter cups as well as Little Debbie holiday Christmas trees – right down to the red and green decor!
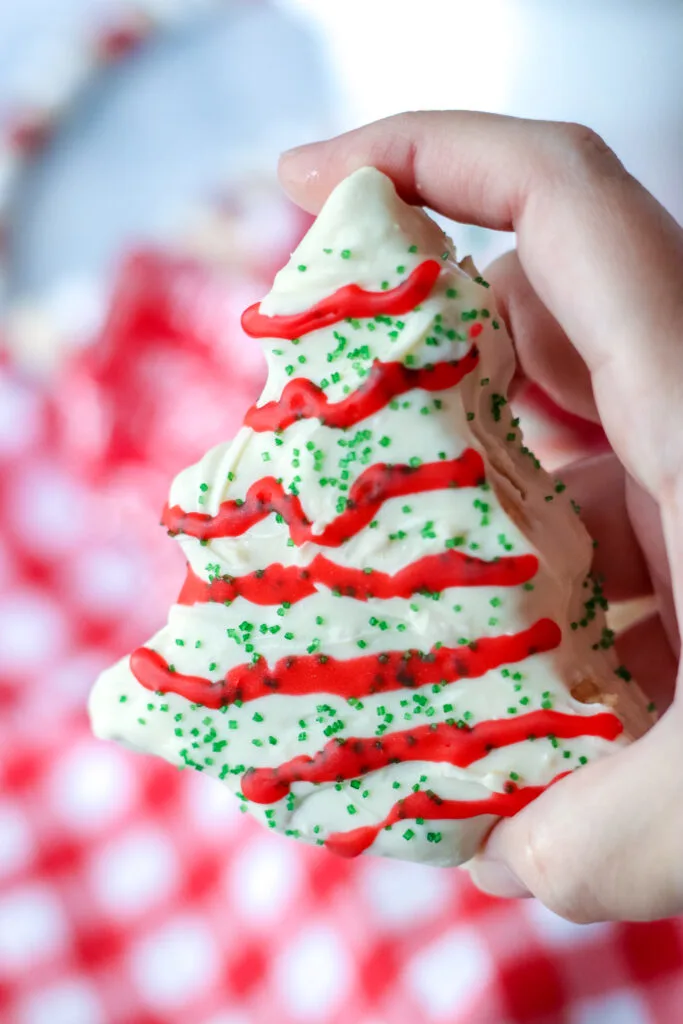
Plus, making homemade treats that need to be decorated is a great way to include the kids! Once the trees are frozen, dip them in white chocolate coating and then use red and green gel writing icing, sanding sugar, and/or sprinkles to decorate. Of course, they’re perfect for snacks and holiday parties, but they also make great food gifts.
Ingredients Needed:
Cream Cheese – Set it out to soften so that it will mix well with the other ingredients.
Butter – I use unsalted. This is important because most peanut butter (like Jiff or Skippy) already contains salt. Set the butter out to soften so it will mix well with the other ingredients.
Creamy Peanut Butter – Use your favorite brand.
Powdered Sugar – Use your favorite brand.
White Melting Chocolate – I like white almond bark because it coats well, which is exactly what’s made for.
Red Cookie Icing – I like the gel writing icing because it’s easy to handle when decorating.
Green Sanding Sugar – Colored sugar and or sprinkles are perfect for these trees.
How To Make Peanut Butter Christmas Trees:
STEP 1: Make the filling. Using a mixer, beat softened cream cheese and butter until smooth. Mix in the peanut butter and lastly, the powdered sugar until well combined.
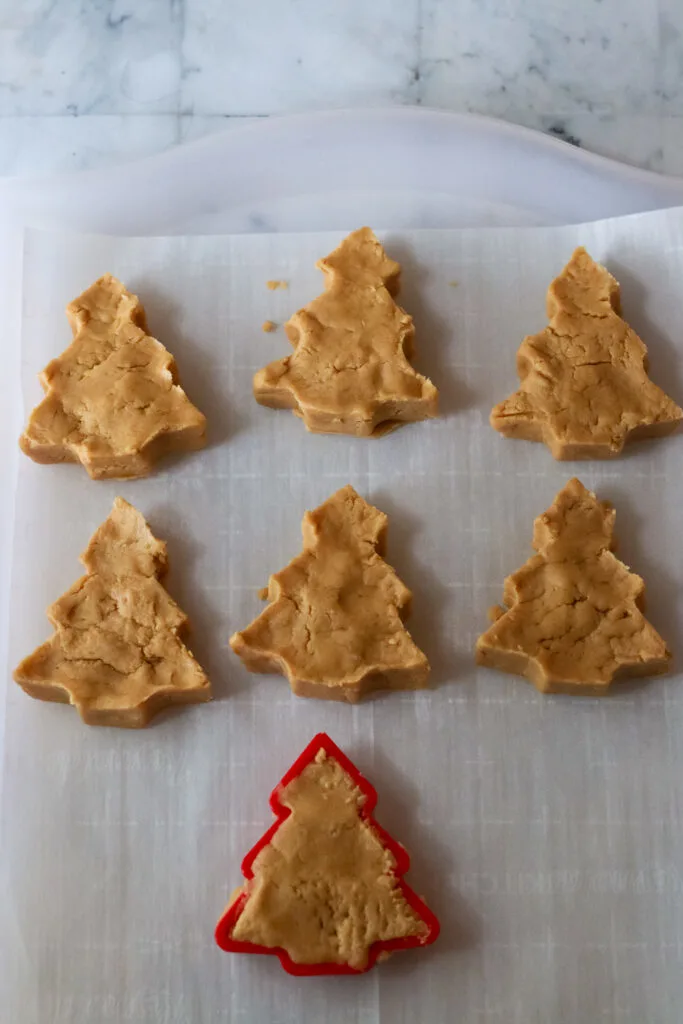
STEP 2: Form the Christmas trees. Using a spatula, scoop out some peanut butter mixture and fill your Christmas tree cookie cutter with it, pressing it in and smoothing it out. Place the filled cookie cutter on a parchment-lined baking sheet and carefully push the dough out of the cutter and onto the sheet.
STEP 3: Freeze the trees. Once you have all the trees made, place the tray in the freezer for 2 hours to freeze.
STEP 4: Melt the white chocolate. In a microwave-safe bowl, melt the white chocolate almond bark in 30-second increments, until melted and smooth.
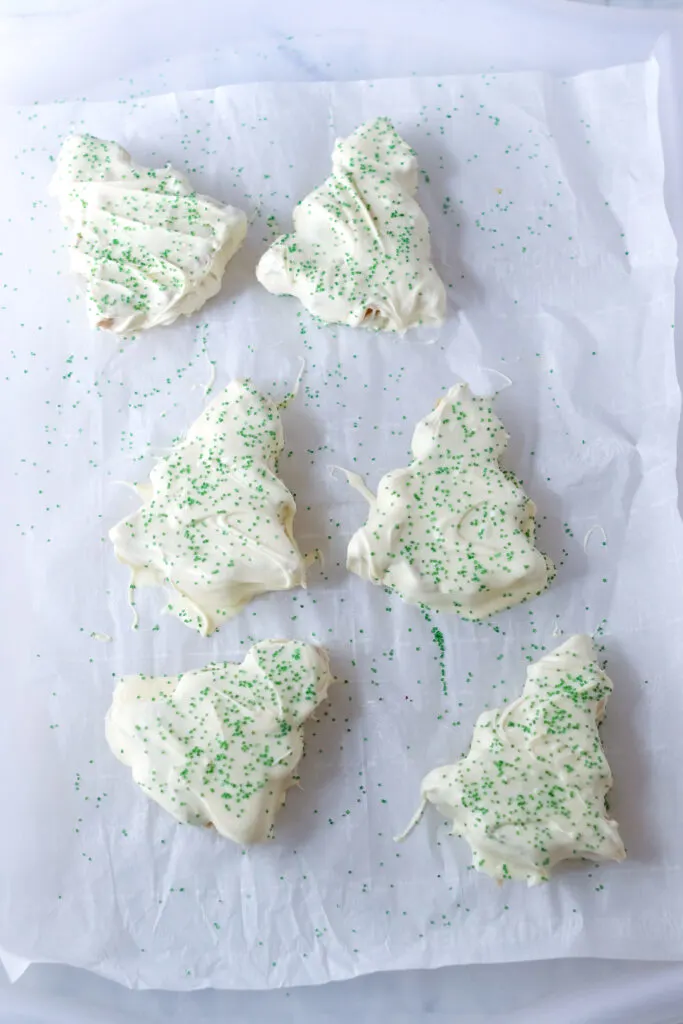
STEP 5: Coat the Christmas trees. Using 2 forks, dip the trees in the white chocolate, making sure all sides are well-coated. Let the excess drip back into the bowl before carefully placing the dipped tree back on the parchment paper. Continue this process with all the trees.
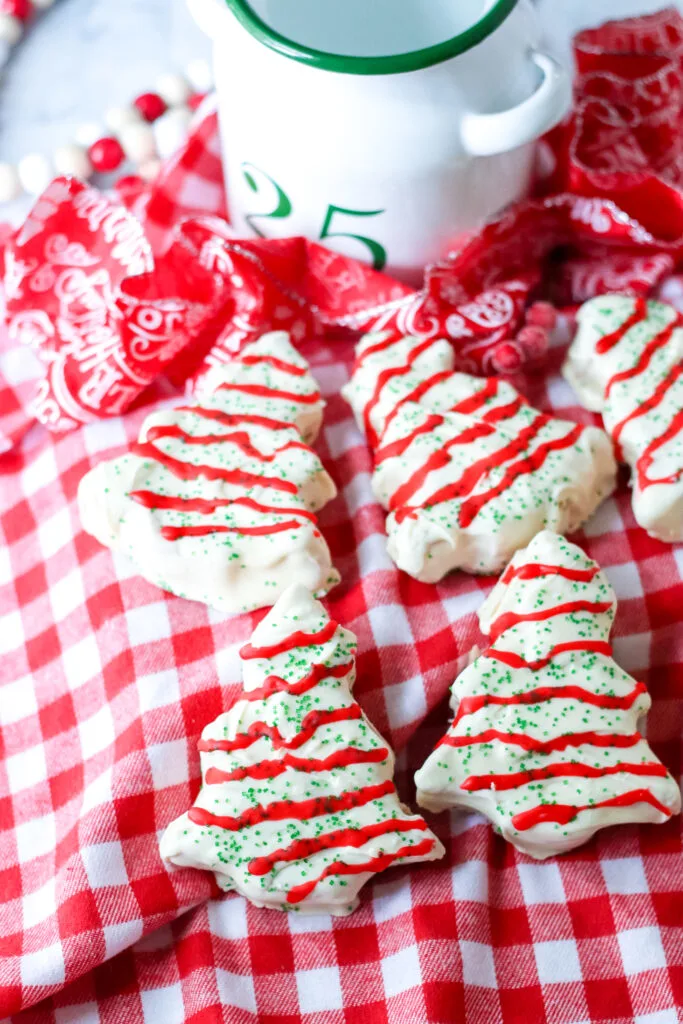
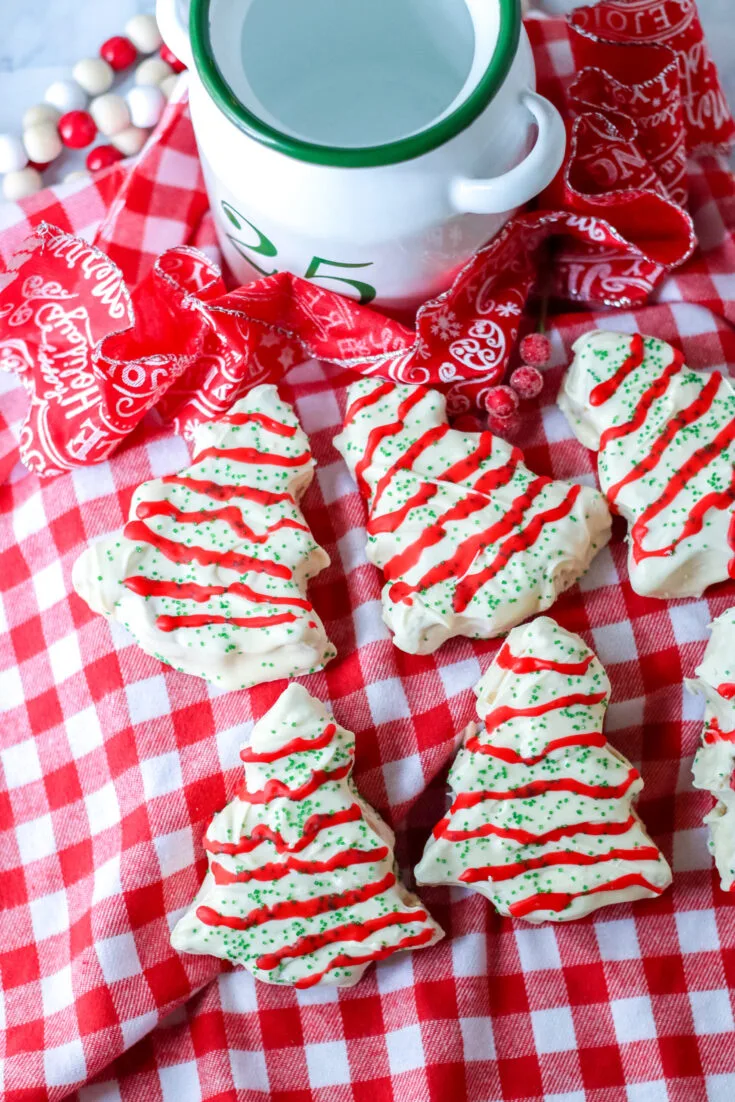
STEP 6: Decorate. Add the green sanding sugar and pipe on the red lines with the writing icing.
STEP 7: Let the coating and decorations harden and set before serving.
My Best Pro Tip:
Make sure you let the peanut butter trees have a long session, at least 2 hours, to harden in the freezer. If they aren’t hard, they’ll fall apart when you try to dip them in the chocolate. Just chilling them in the fridge won’t work. You can always make these ahead of time and give them a full overnight session in the freezer.
What Type Of Chocolate Is Best To Use?
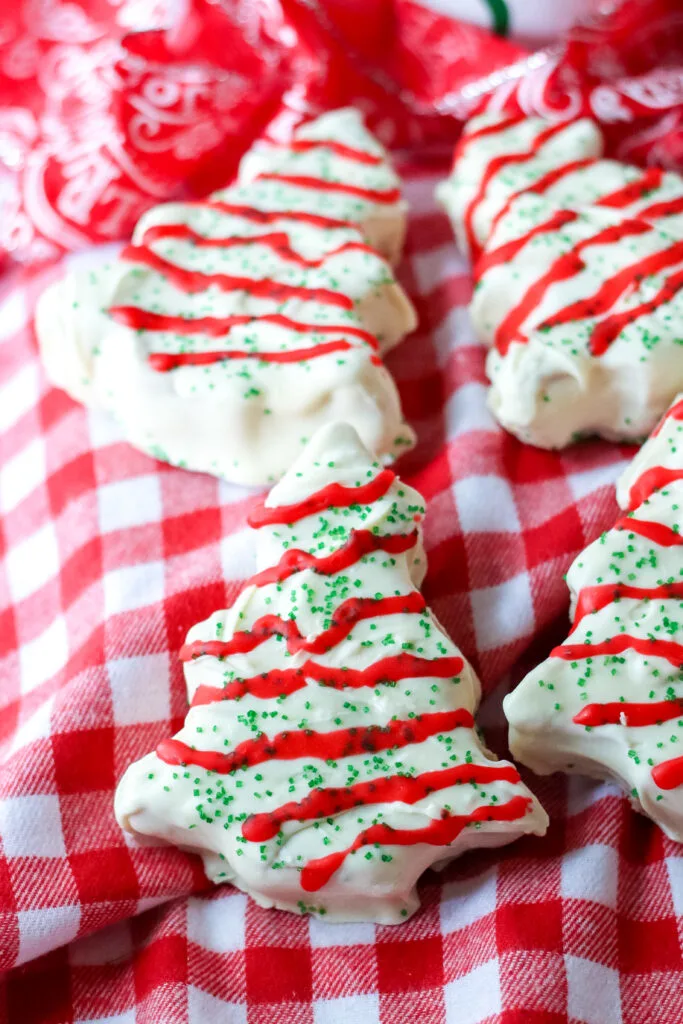
I love using almond bark, white, or darker brown chocolate since it’s specifically made to use as a coating. You can also use chocolate melting wafers since they’re also designed for dipping. When the almond bark and/or wafers dry, they harden into the perfect coating consistency and also make decorating easier.
If you melt chocolate chips, white or dark, they have a different consistency, since they’re made for baking purposes, and don’t always perform well as a sturdy coating.
How To Dip The Frozen Peanut Butter Trees:
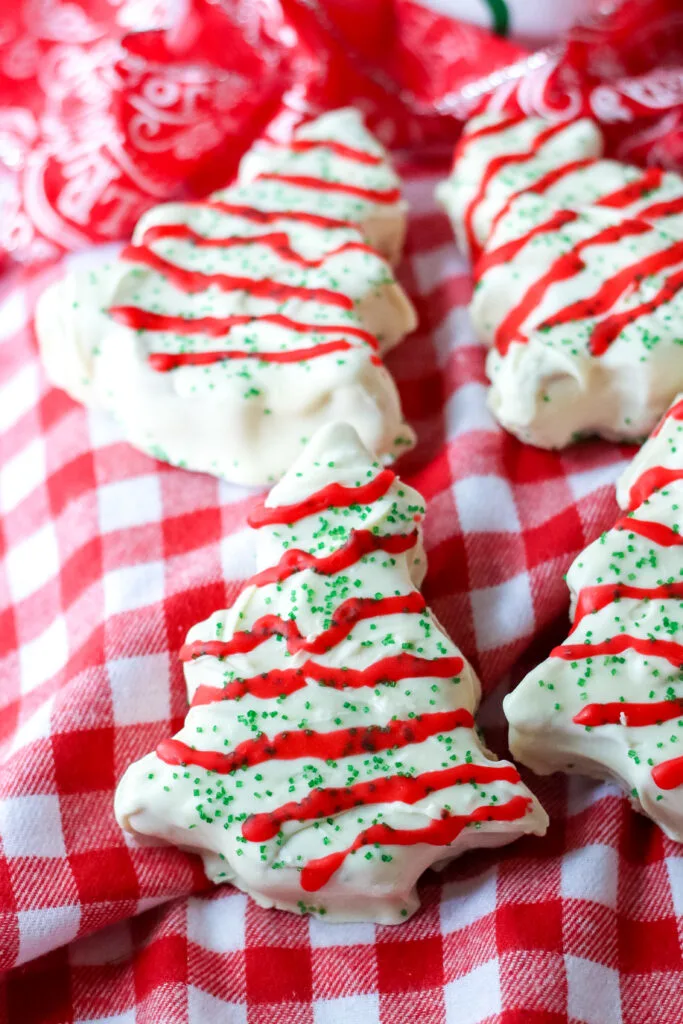
Use two forks to gently scoop under the frozen tree and lower it into the melted white chocolate. Make sure all sides are covered. Using the two forks, lift the coated tree from underneath and let the excess chocolate drip back into the bowl. Carefully place the tree back on the parchment paper.
What Can I Use Instead Of Peanut Butter?
You can use almost any nut butter for a change of flavor. Try almond butter, cashew butter, or sunflower butter.
Variations:
Shapes: You can use any holiday cookie cutter shape that you think would work for dipping and decorating. How about a bell, an ornament, a candy cane, a star, or a stocking? You could literally make an assortment of Peanut Butter Christmas items to dip and decorate!
Chocolate: You can always change up the white chocolate to dark chocolate, or, if you’re using melting wafers, they come in a variety of colors, such as red and green.
Decorations: Any sanding sugars, sprinkles, or gel icing can be used to create your own unique decorations. Make each one different!

How To Store:
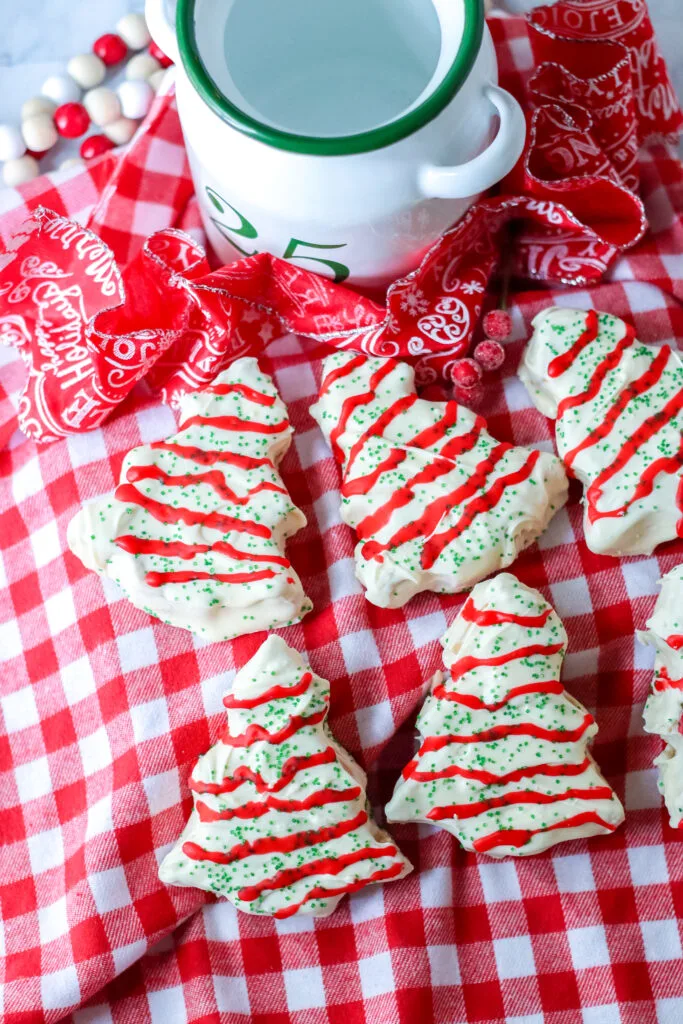
The coated and decorated Peanut Butter Christmas Trees should be stored in an airtight container for 3-5 days in the refrigerator.

Related Chocolate-Dipped Christmas Treats:
Chocolate-Covered Honeycomb Candy
Peanut Butter Christmas Trees
Dipped in white chocolate, these no-bake Peanut Butter Christmas Trees are just waiting to be decorated with red and green icing, sugar, and sprinkles. They're an easy festive sweet treat for the holidays!
Ingredients
- 1 (8 ounce block) cream cheese, softened
- 1/2 cup butter, softened
- 1 (17.3-18 ounce) jar creamy peanut butter
- 1 package, 2 pounds powdered sugar
- 2 pounds white melting chocolate/almond bark
- Red cookie icing
- Green sanding sugar
Instructions
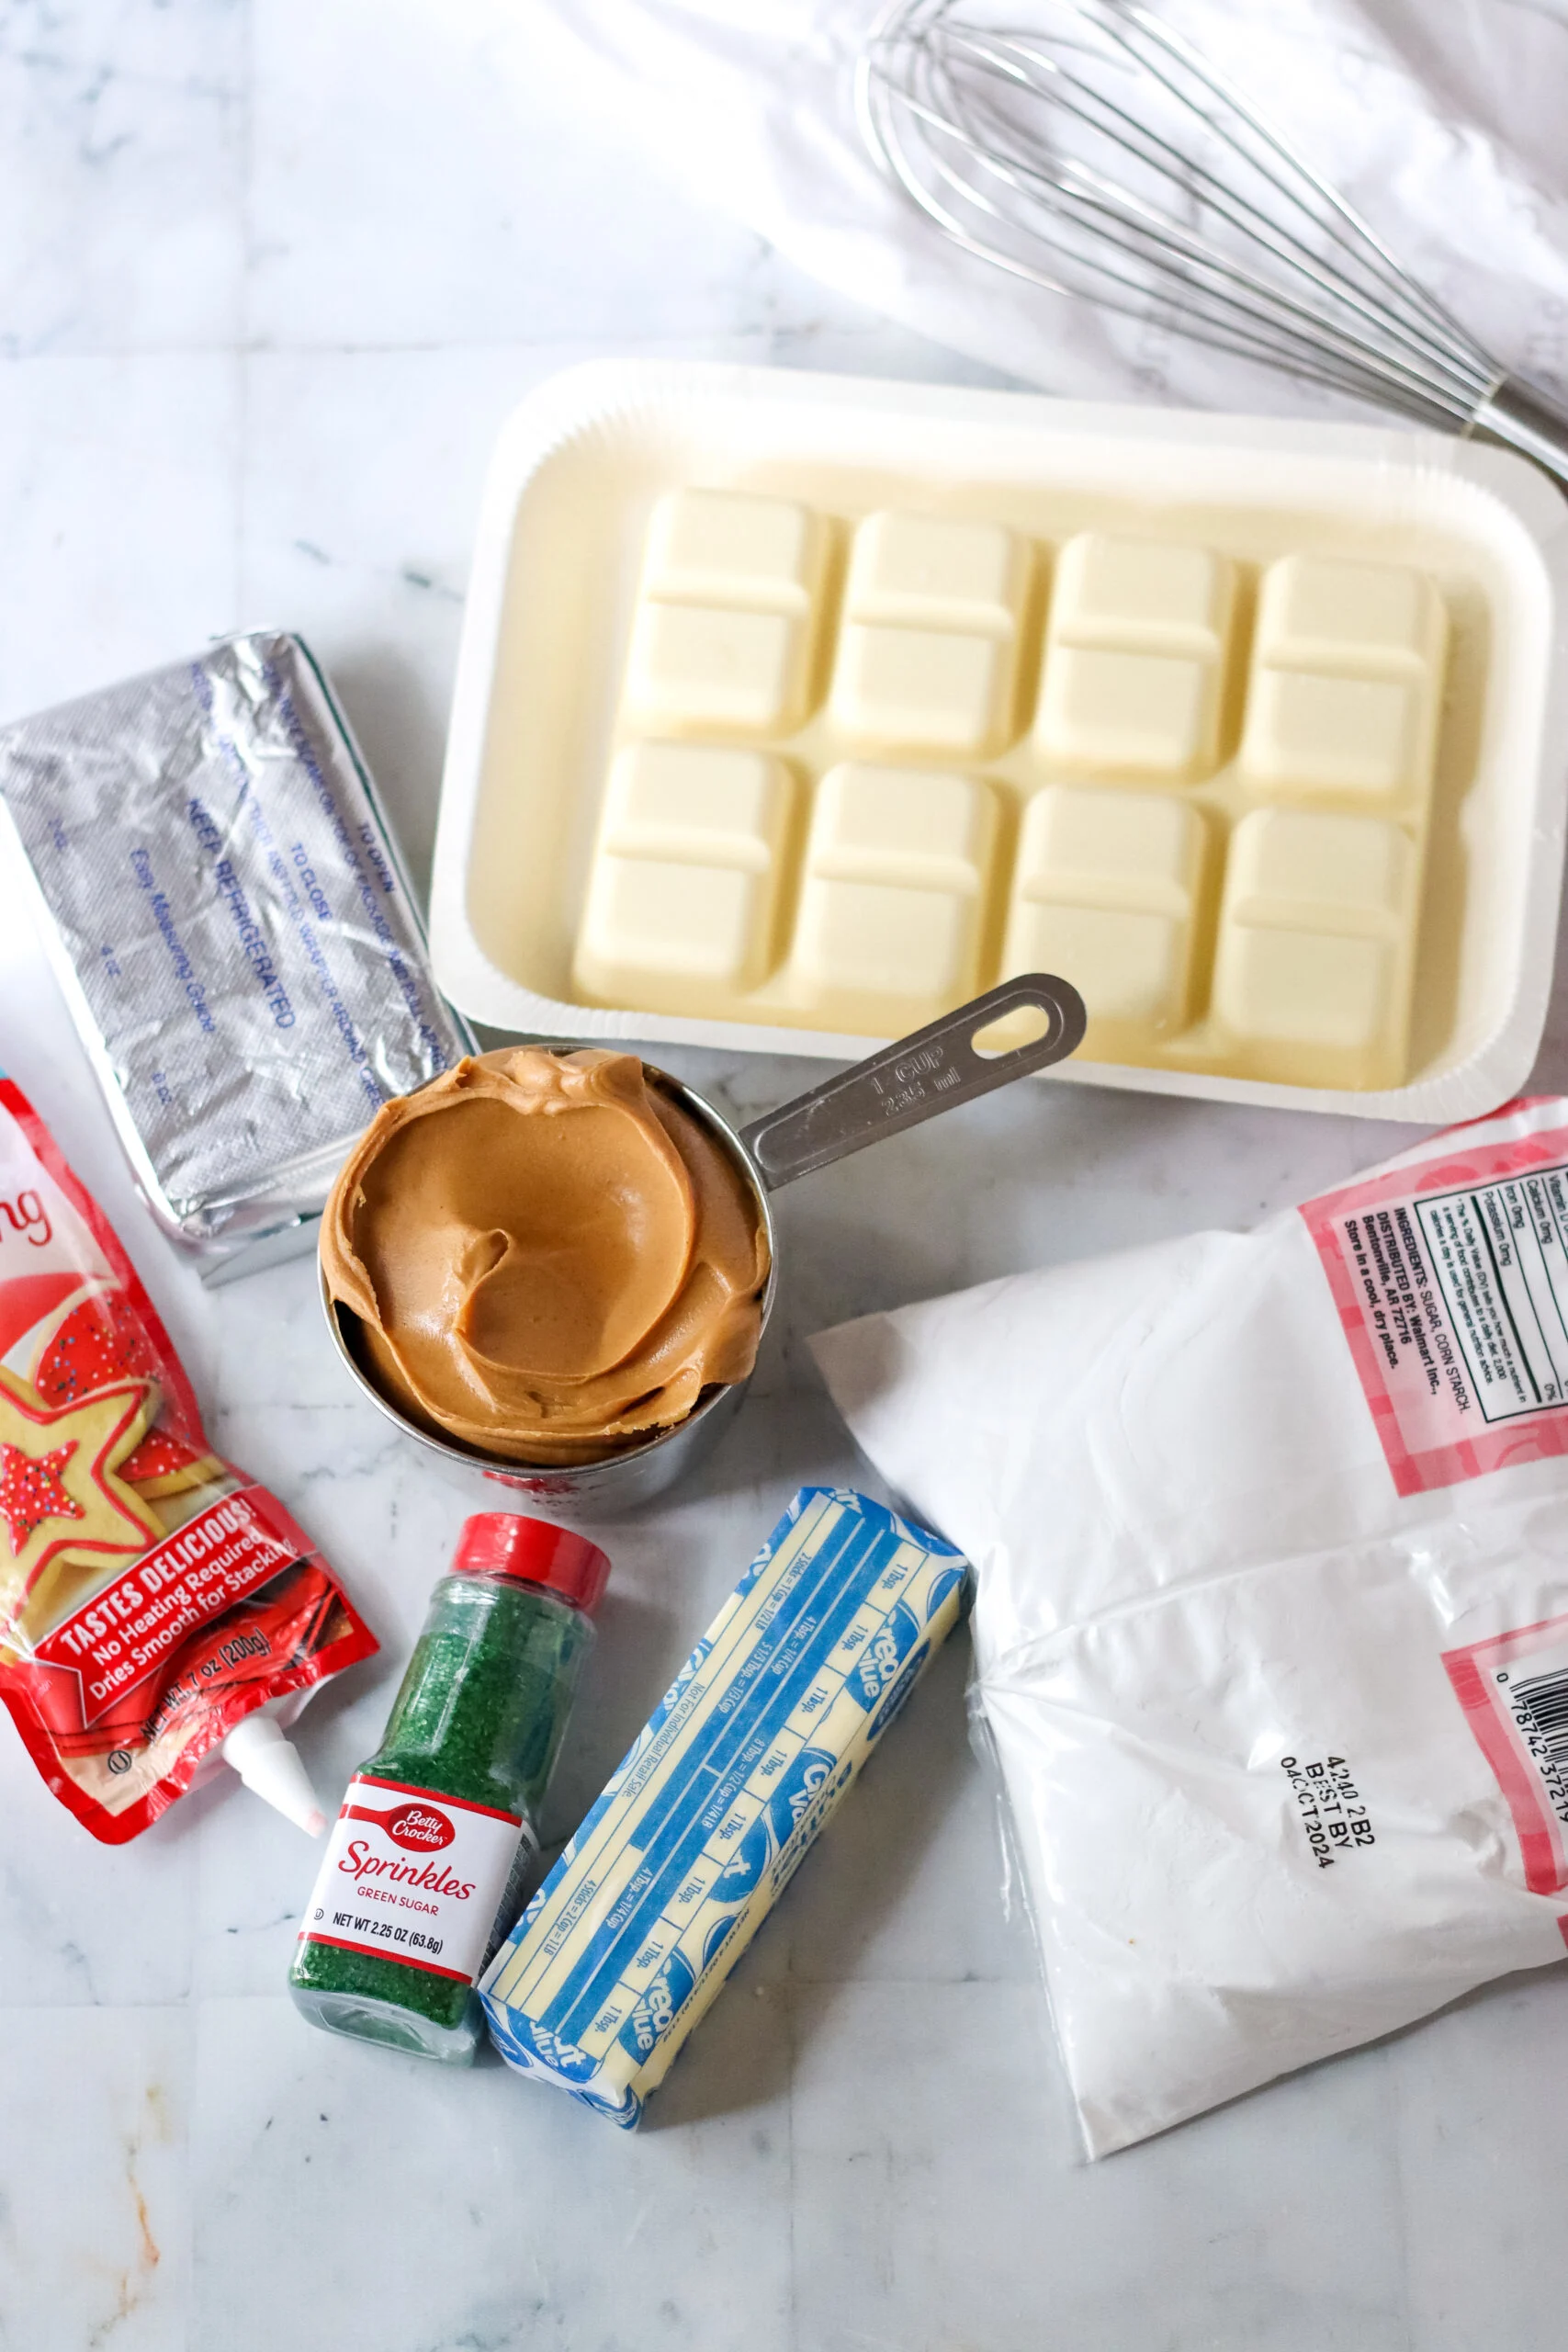
- Gather all of the ingredients.
- In a large bowl using an electric or stand mixer, beat cream cheese and butter until smooth.
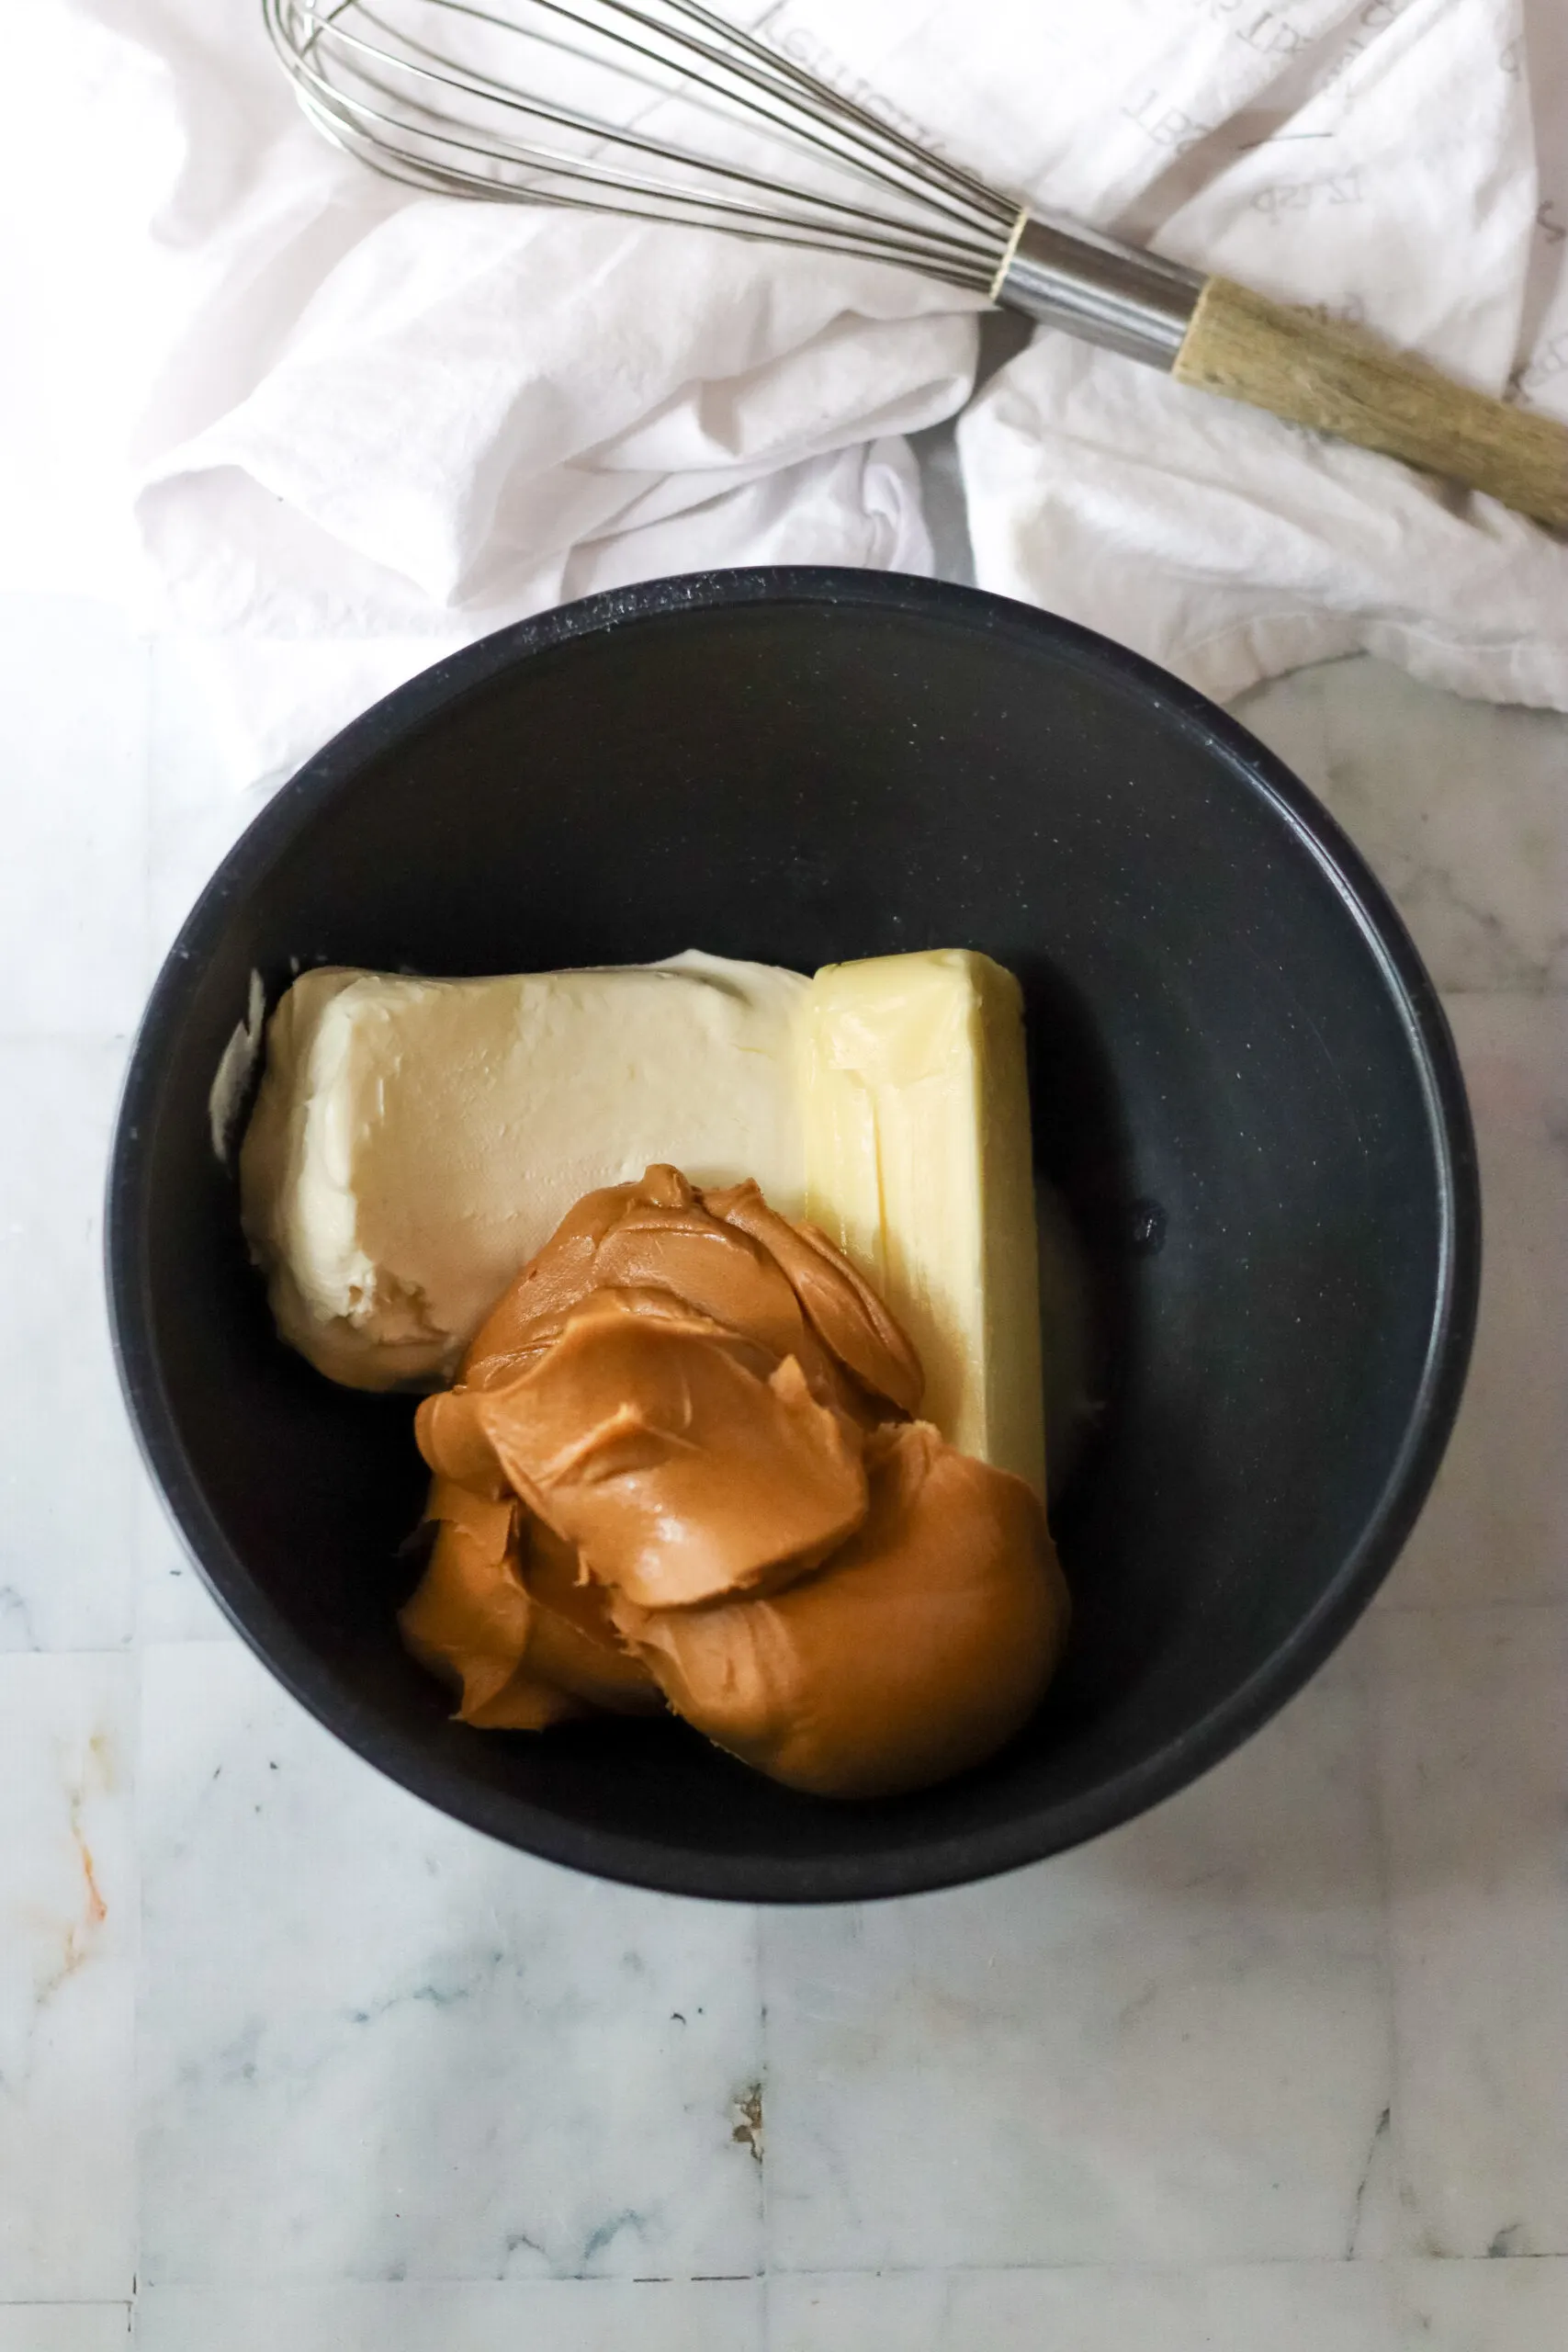
- Add in the peanut butter until combined.
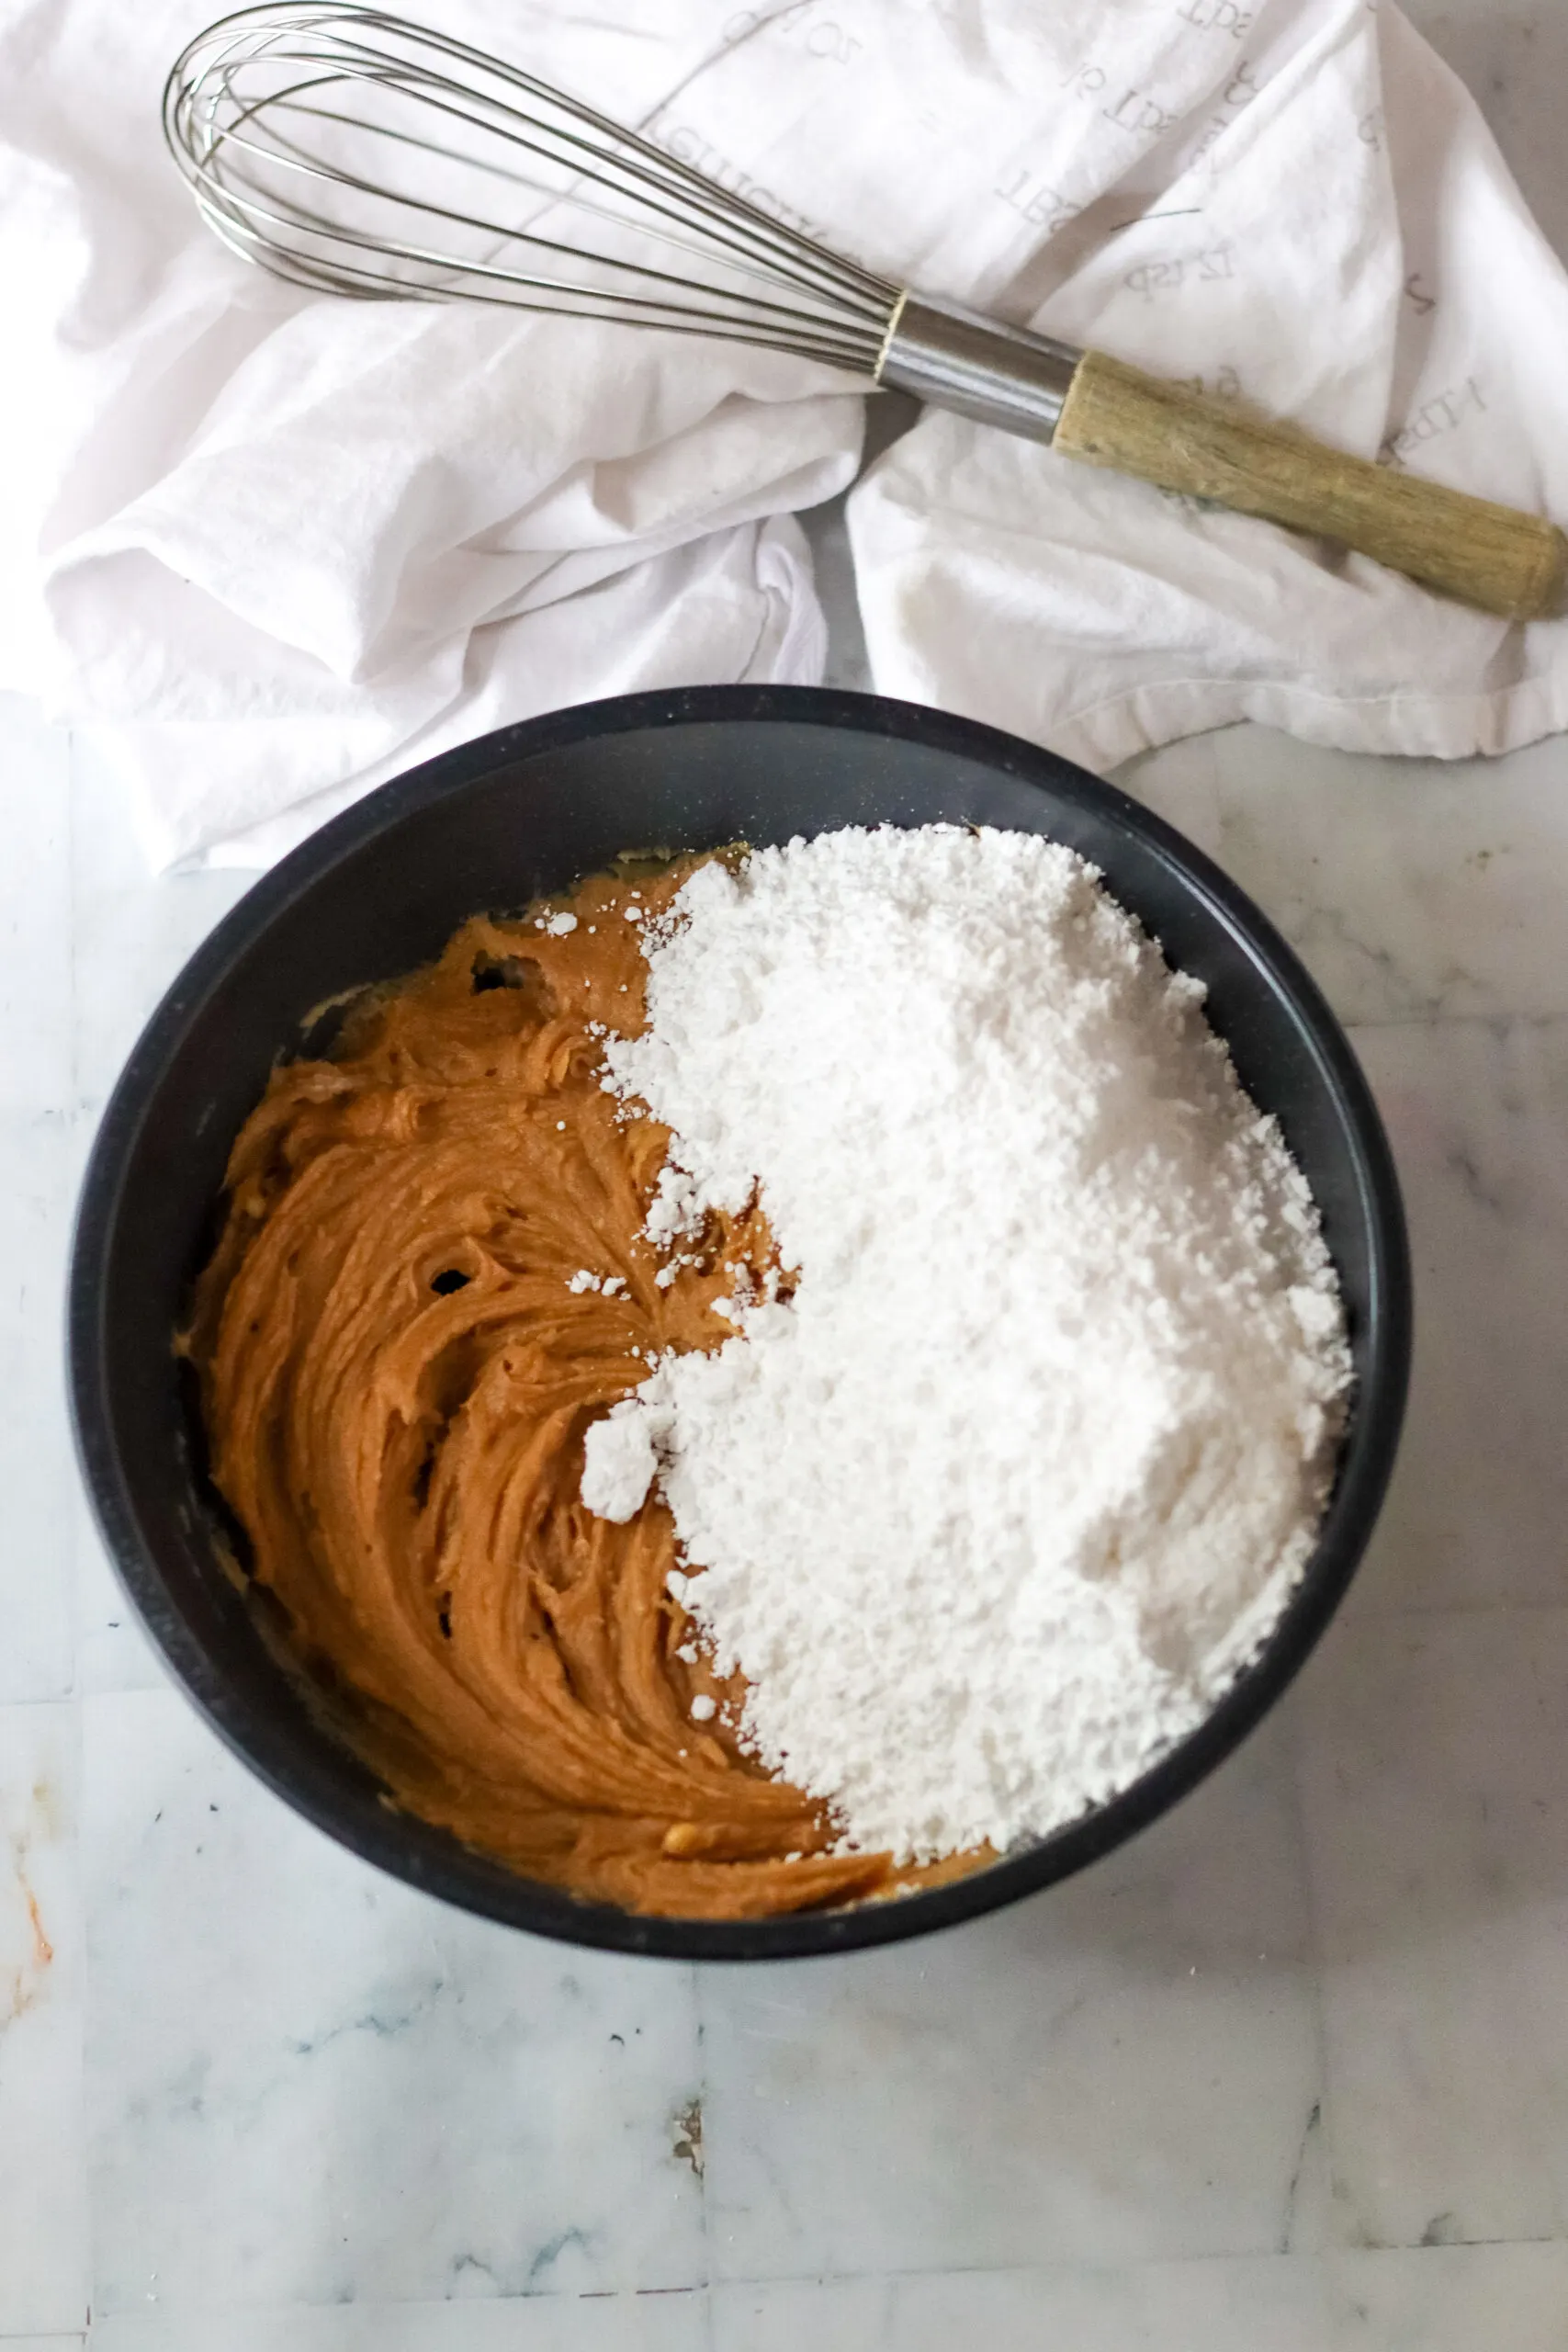
- Next, beat in the sugar until well mixed.
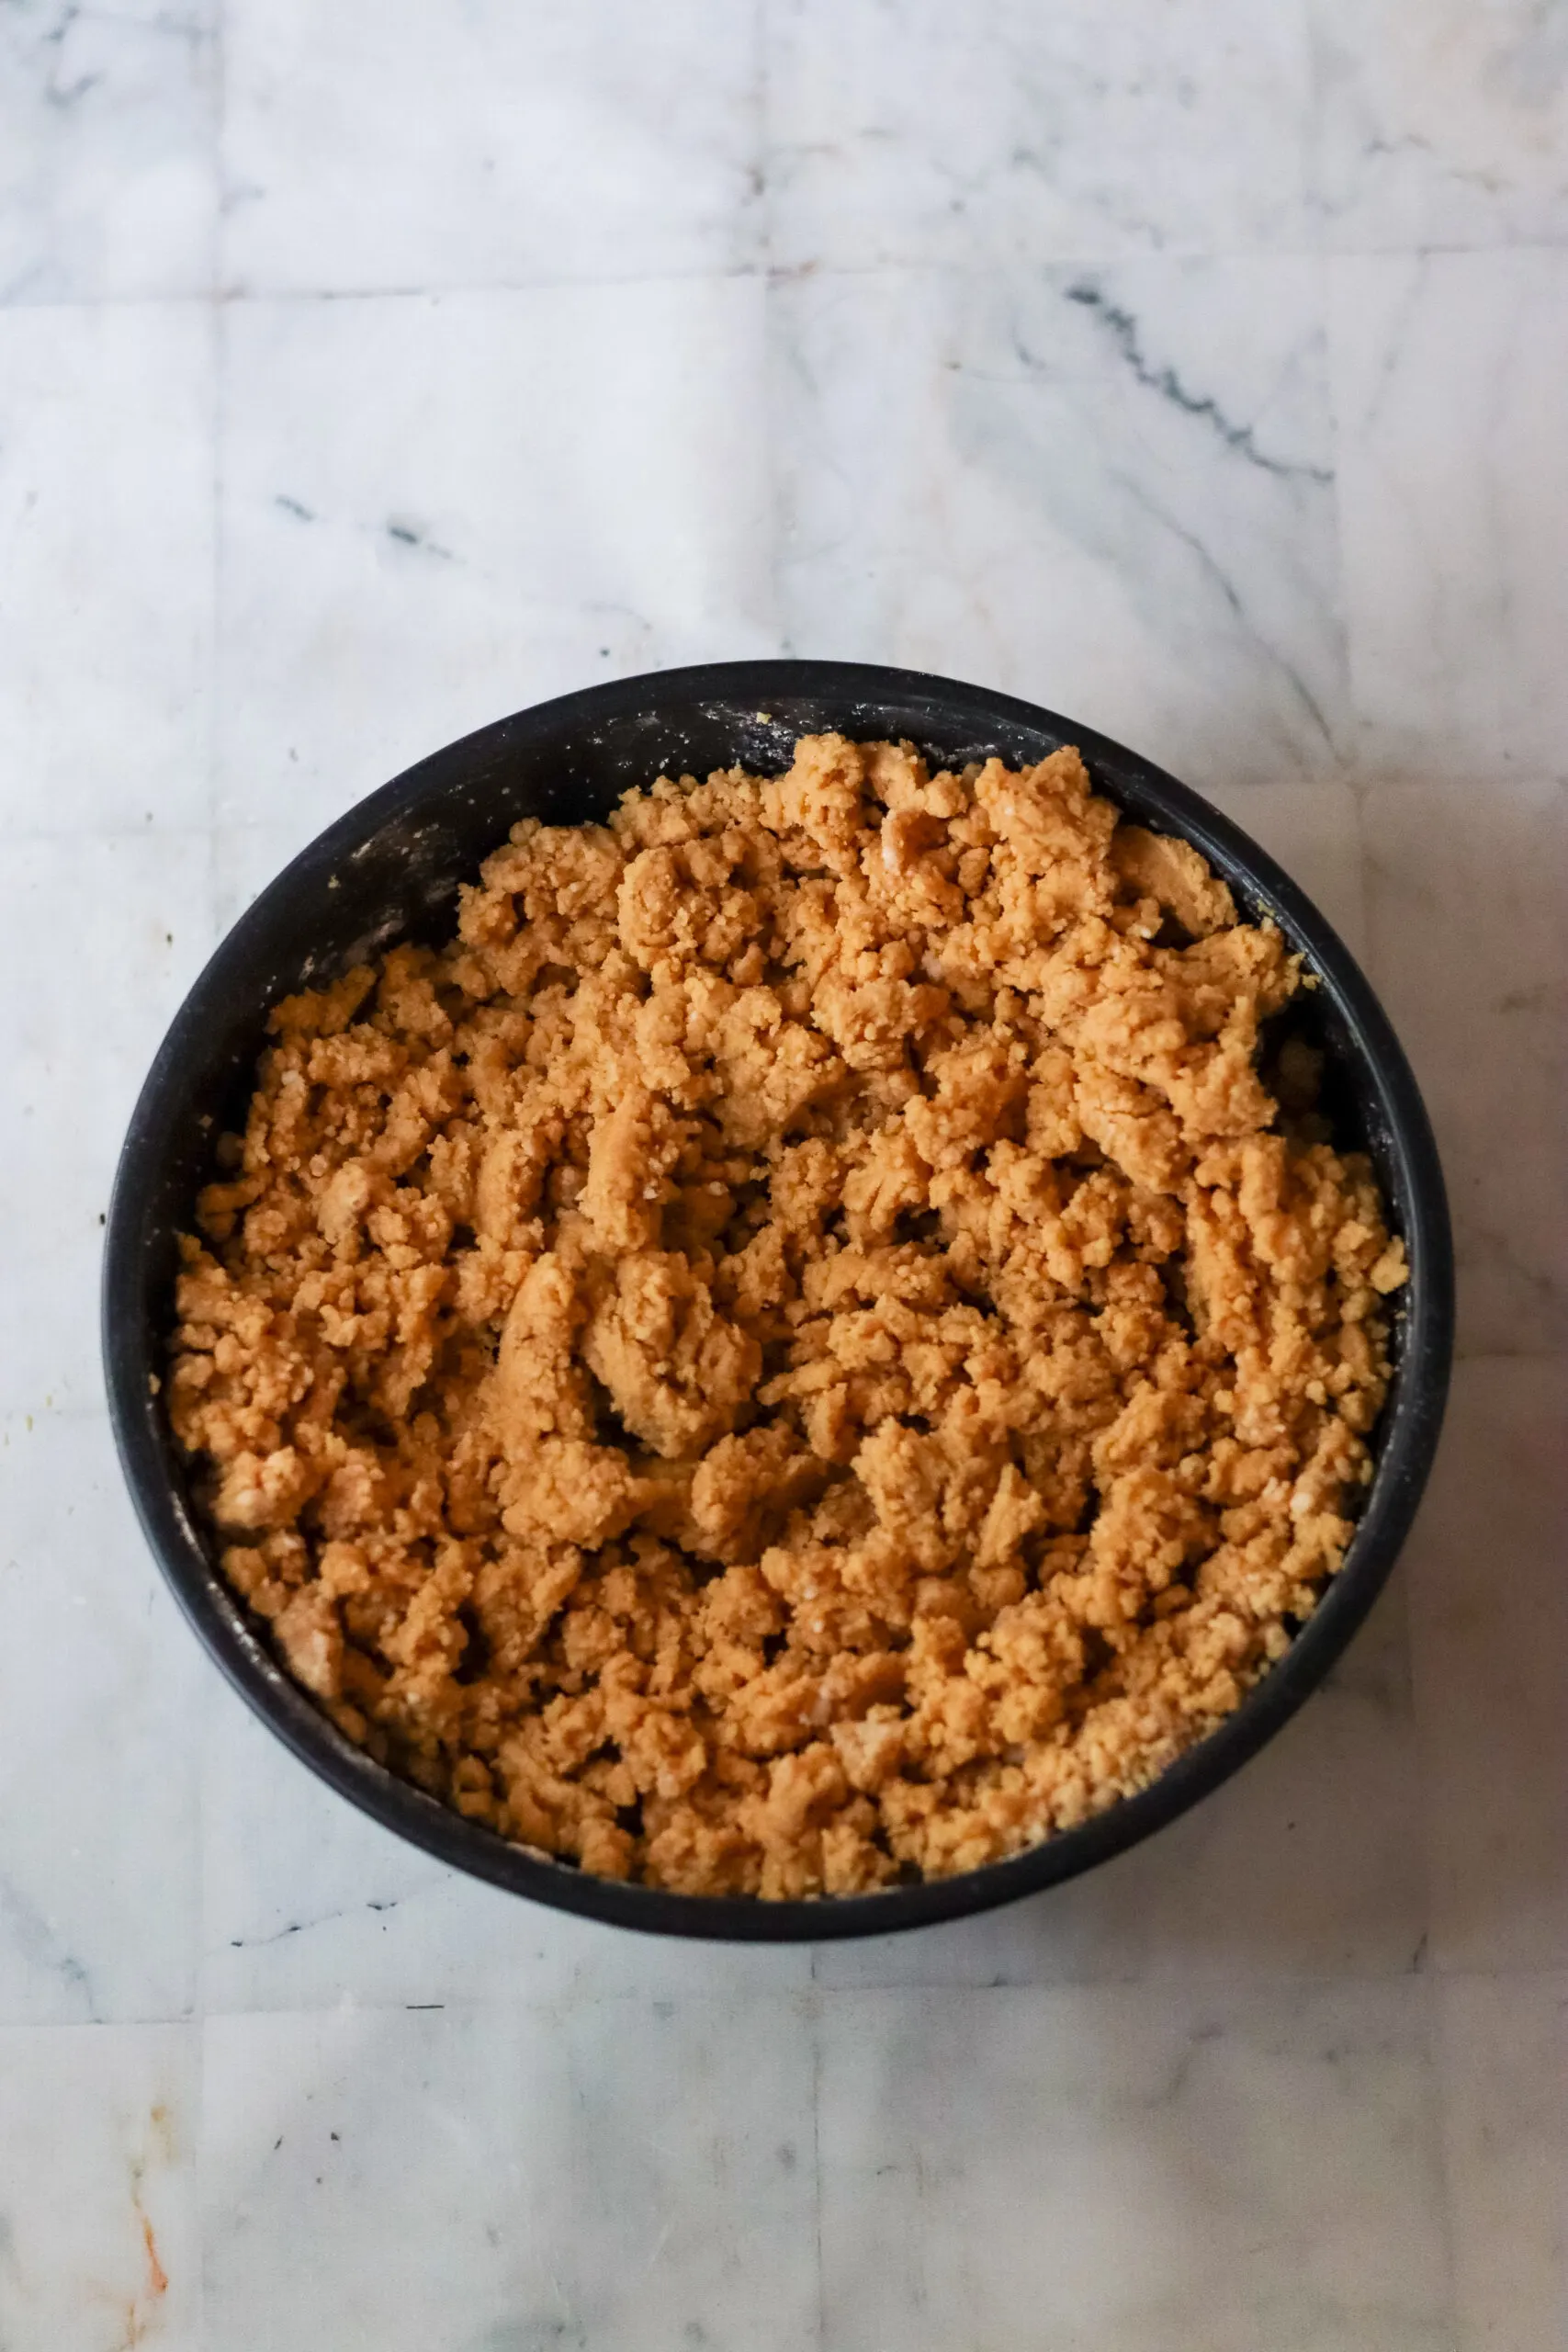
- Next, take a Christmas tree cookie cutter and fill it with peanut butter dough smoothing out each side.
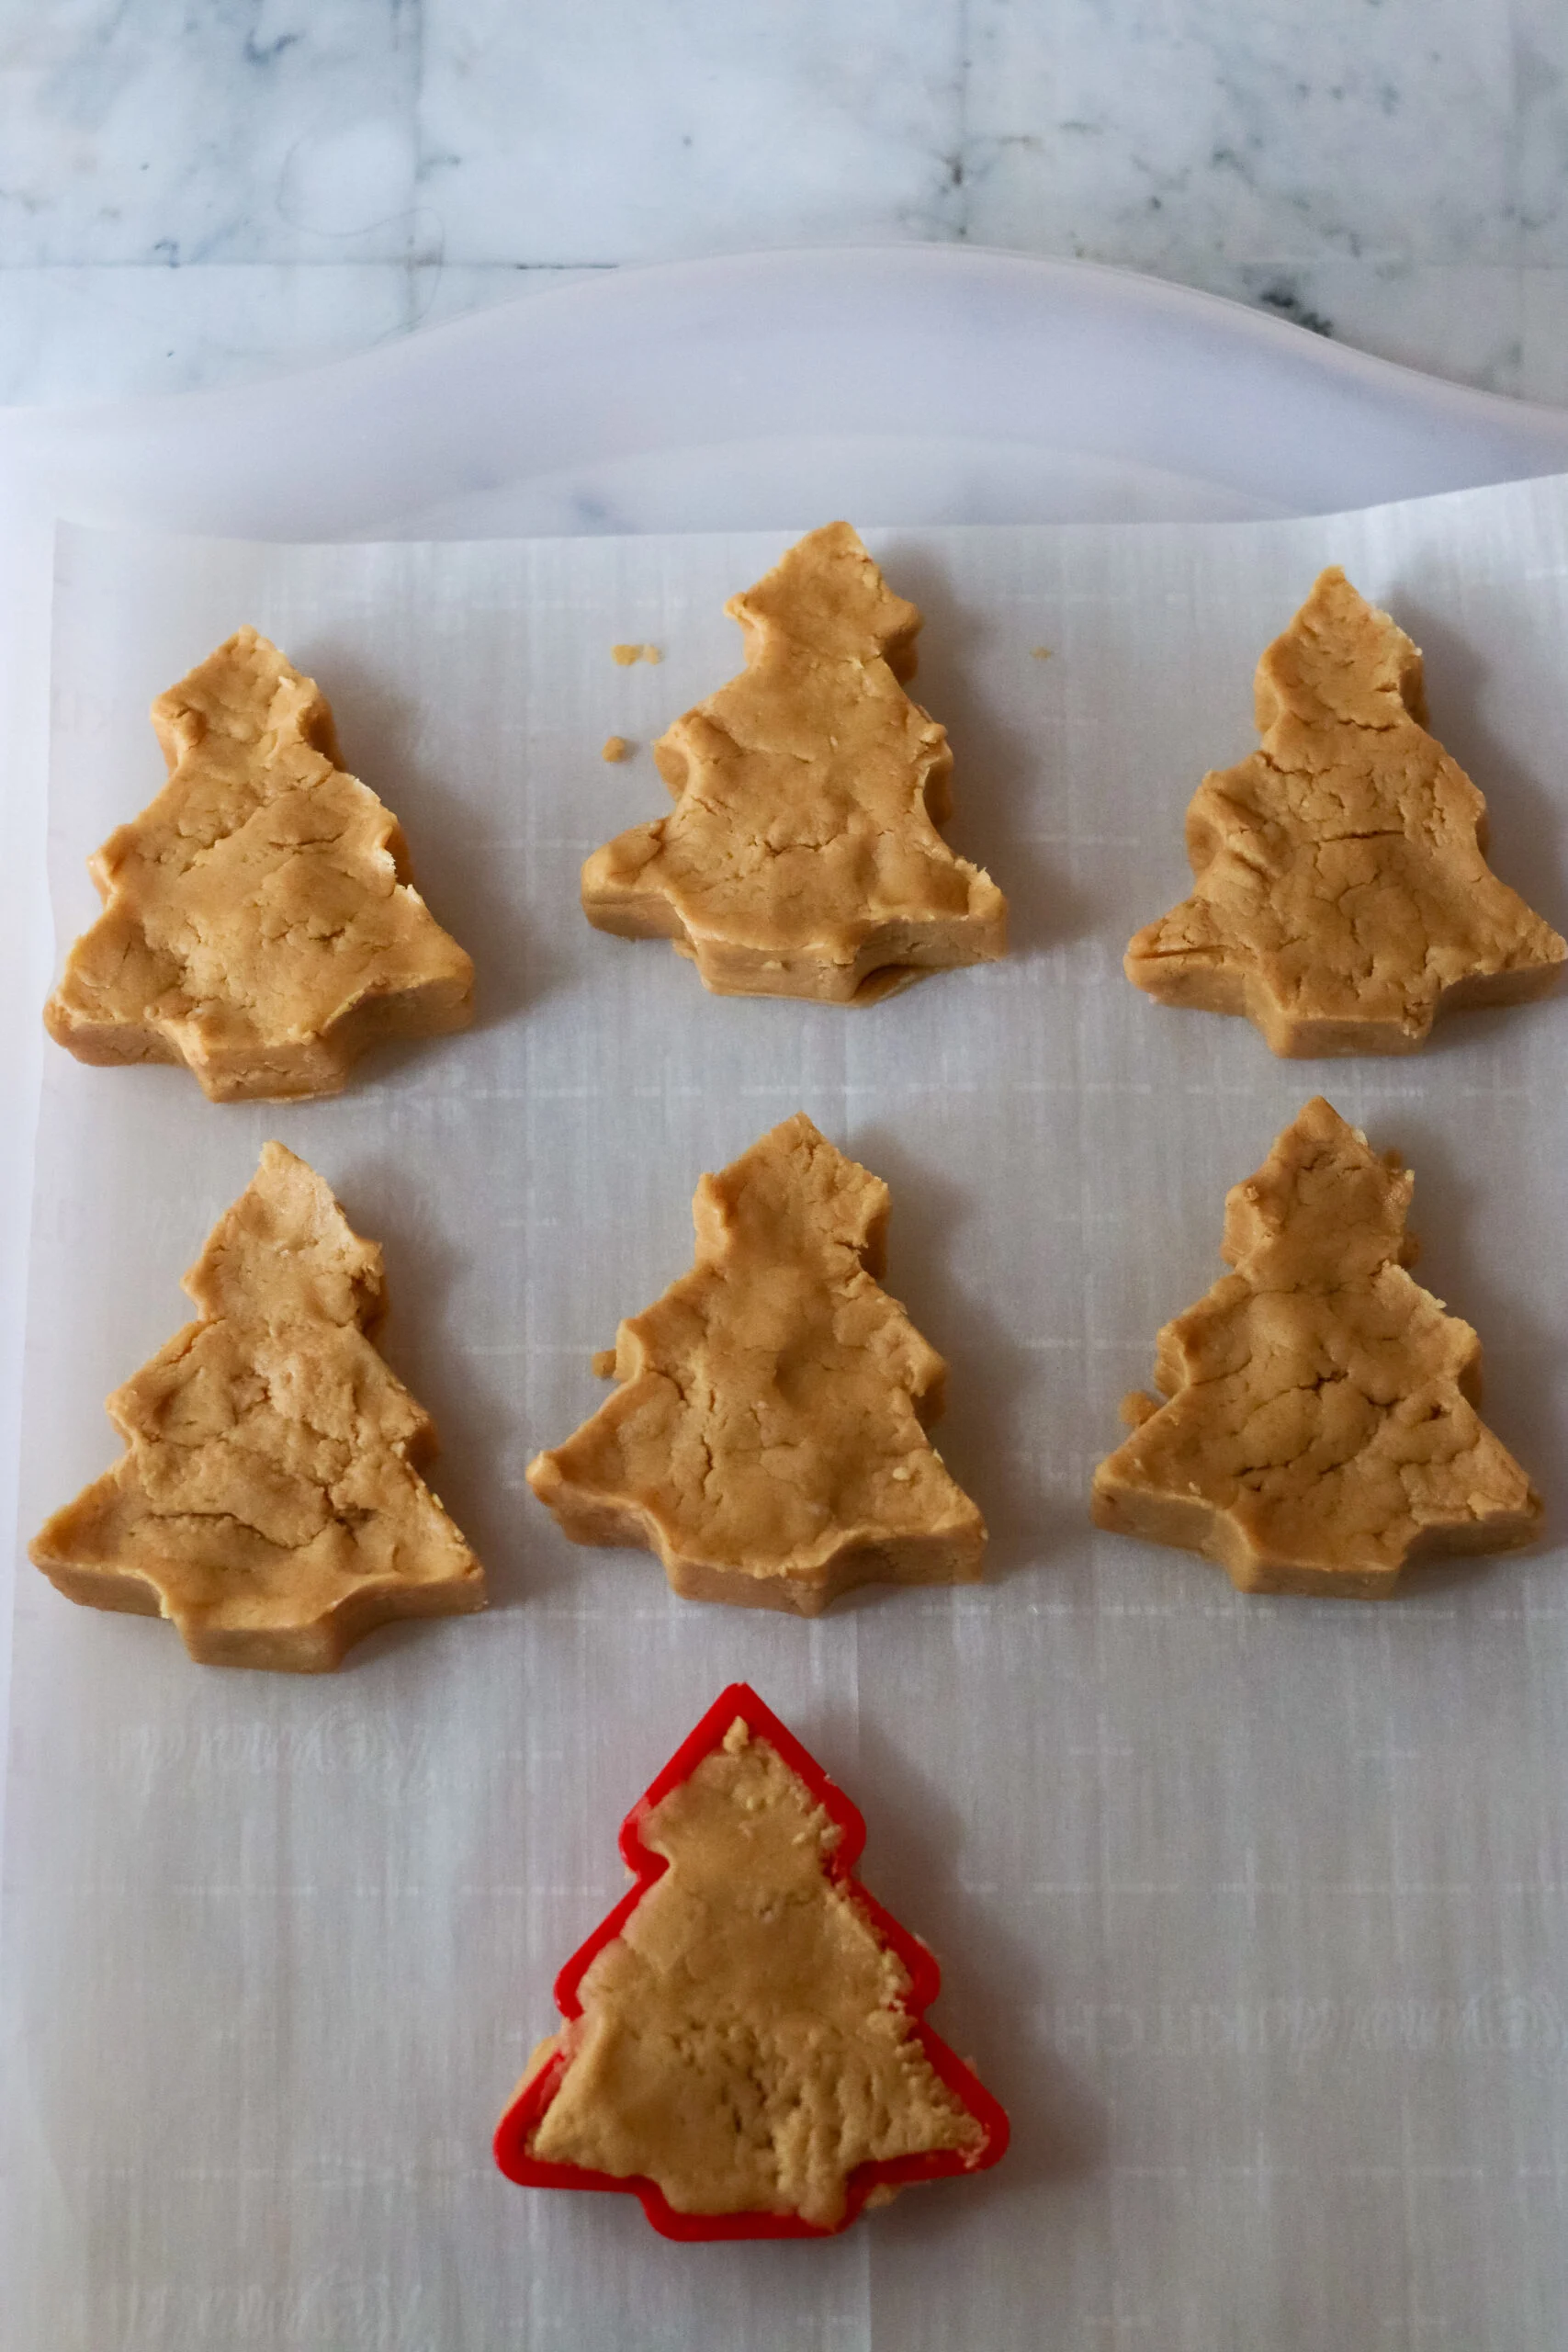
- Then place the cookie cutter on a parchment-lined baking sheet and carefully push the dough out of the cutter and onto the sheet.
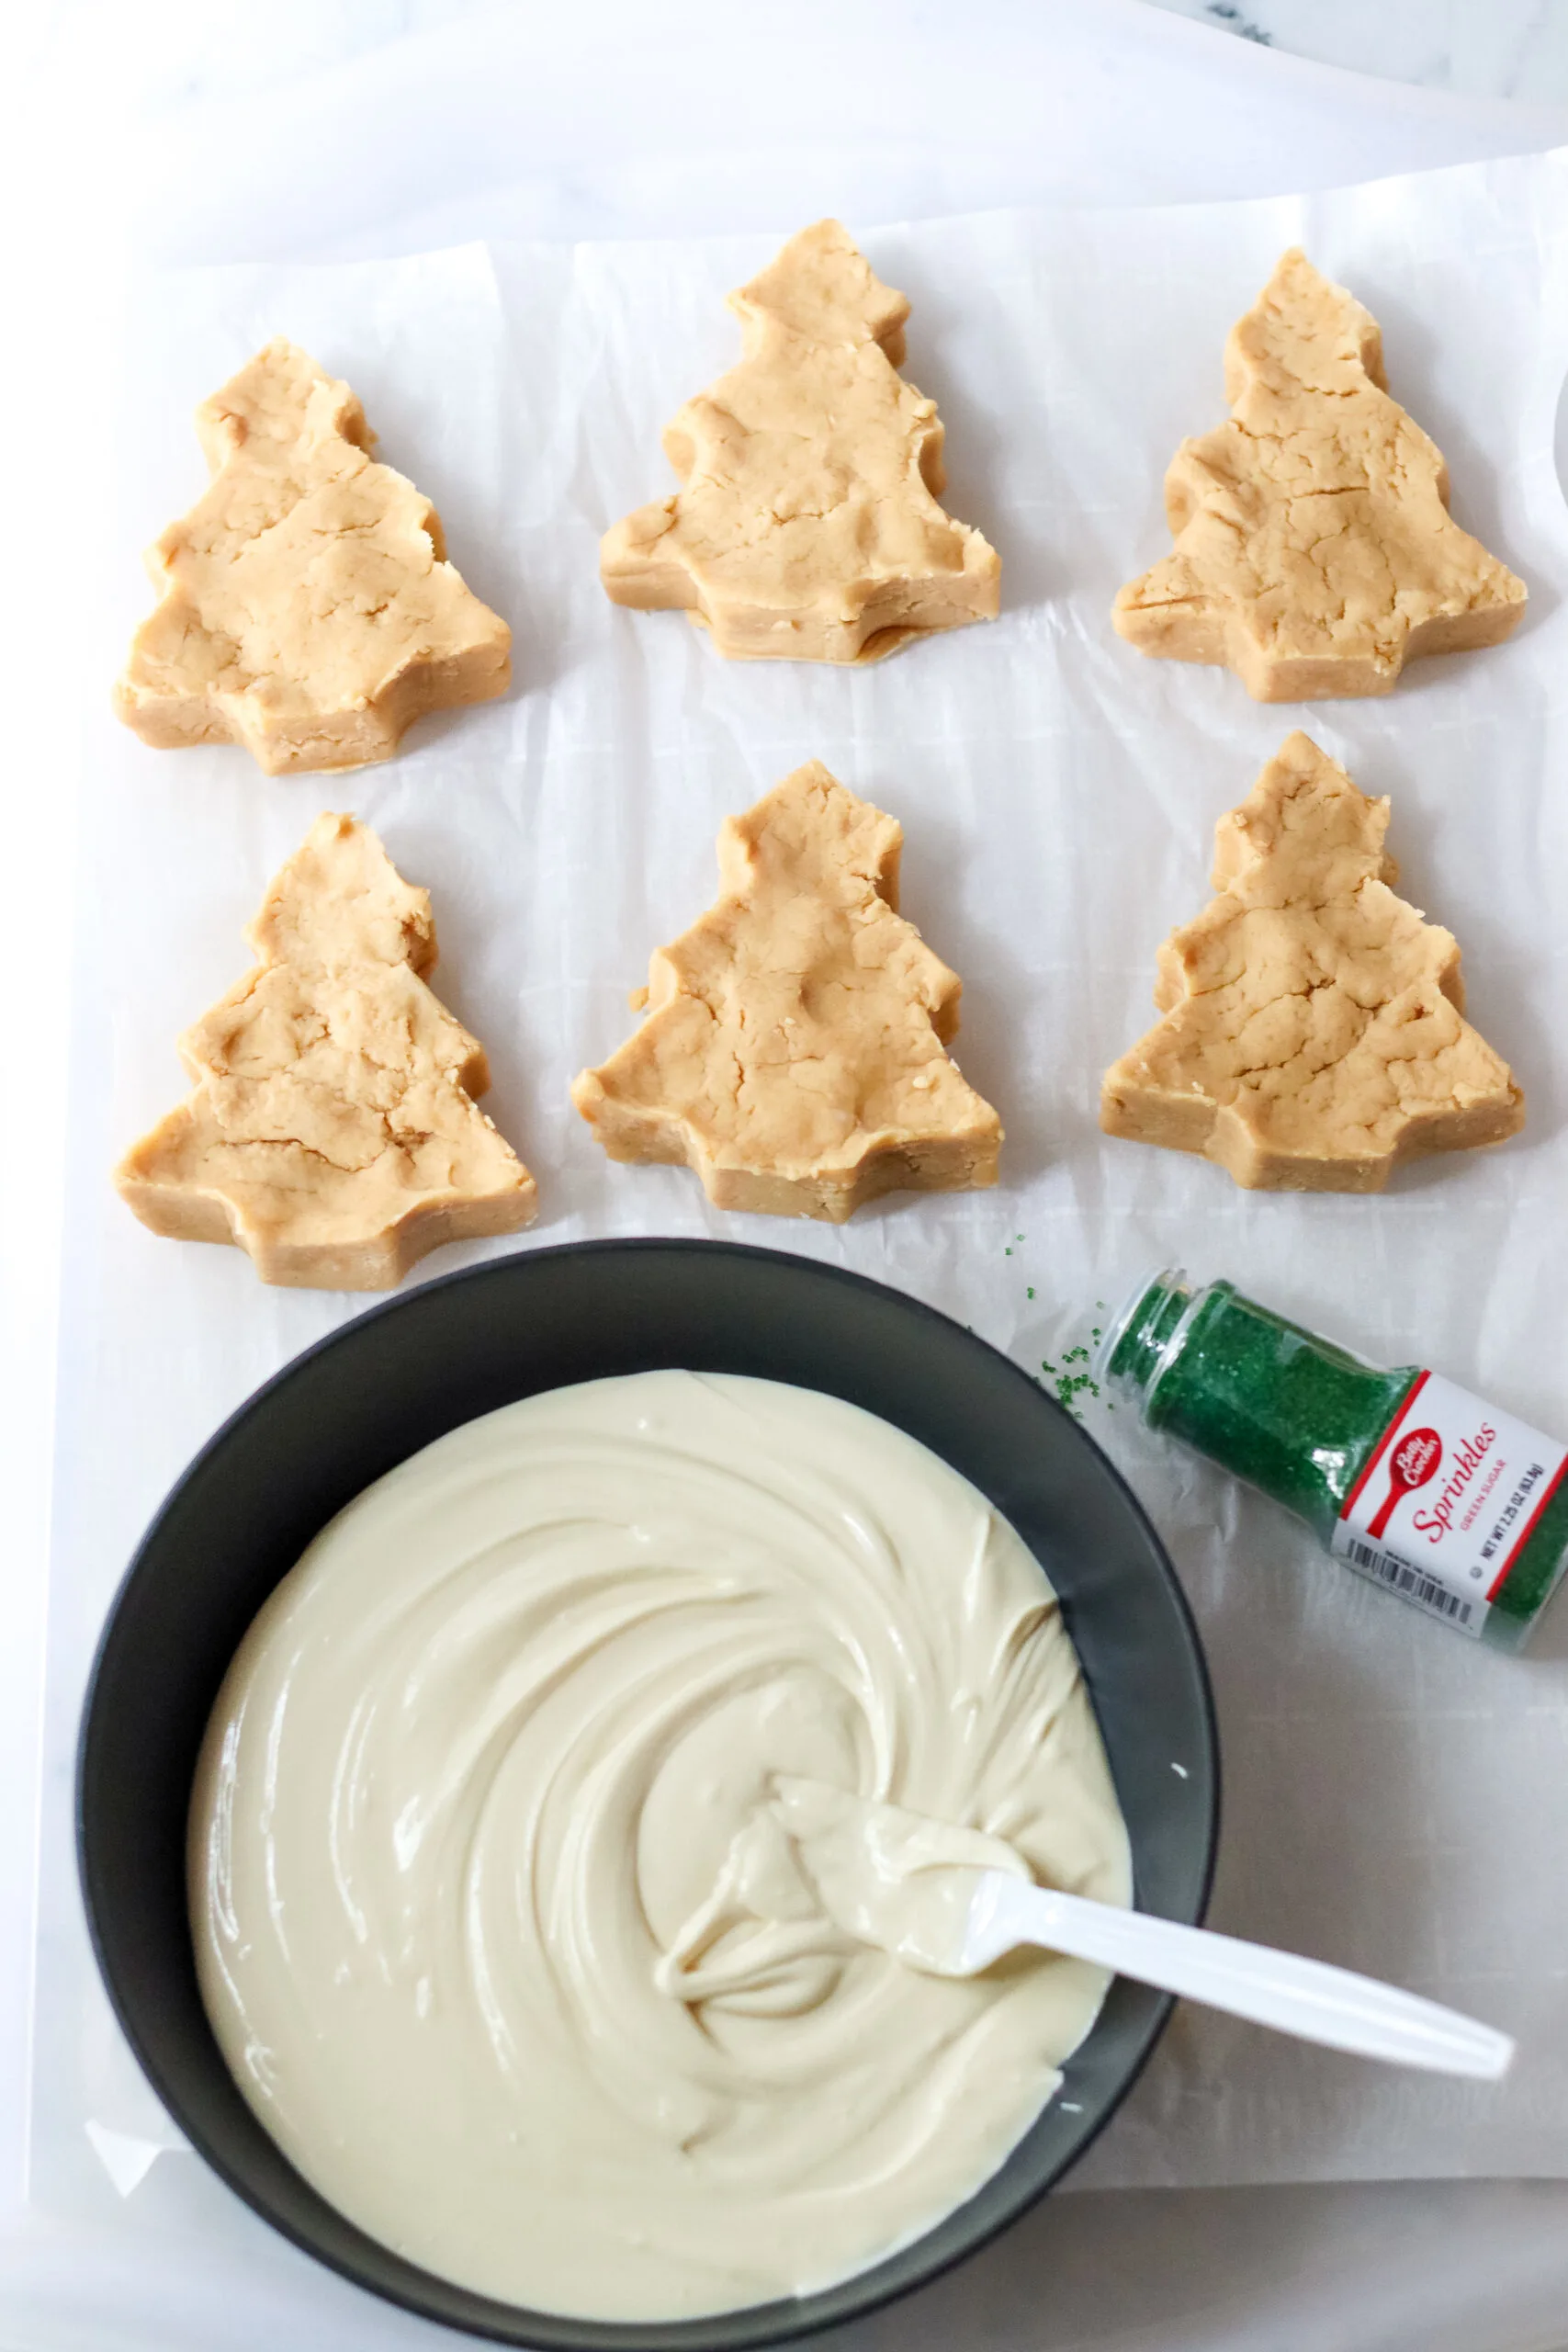
- Next, place them in the freezer for 2 hours to freeze.
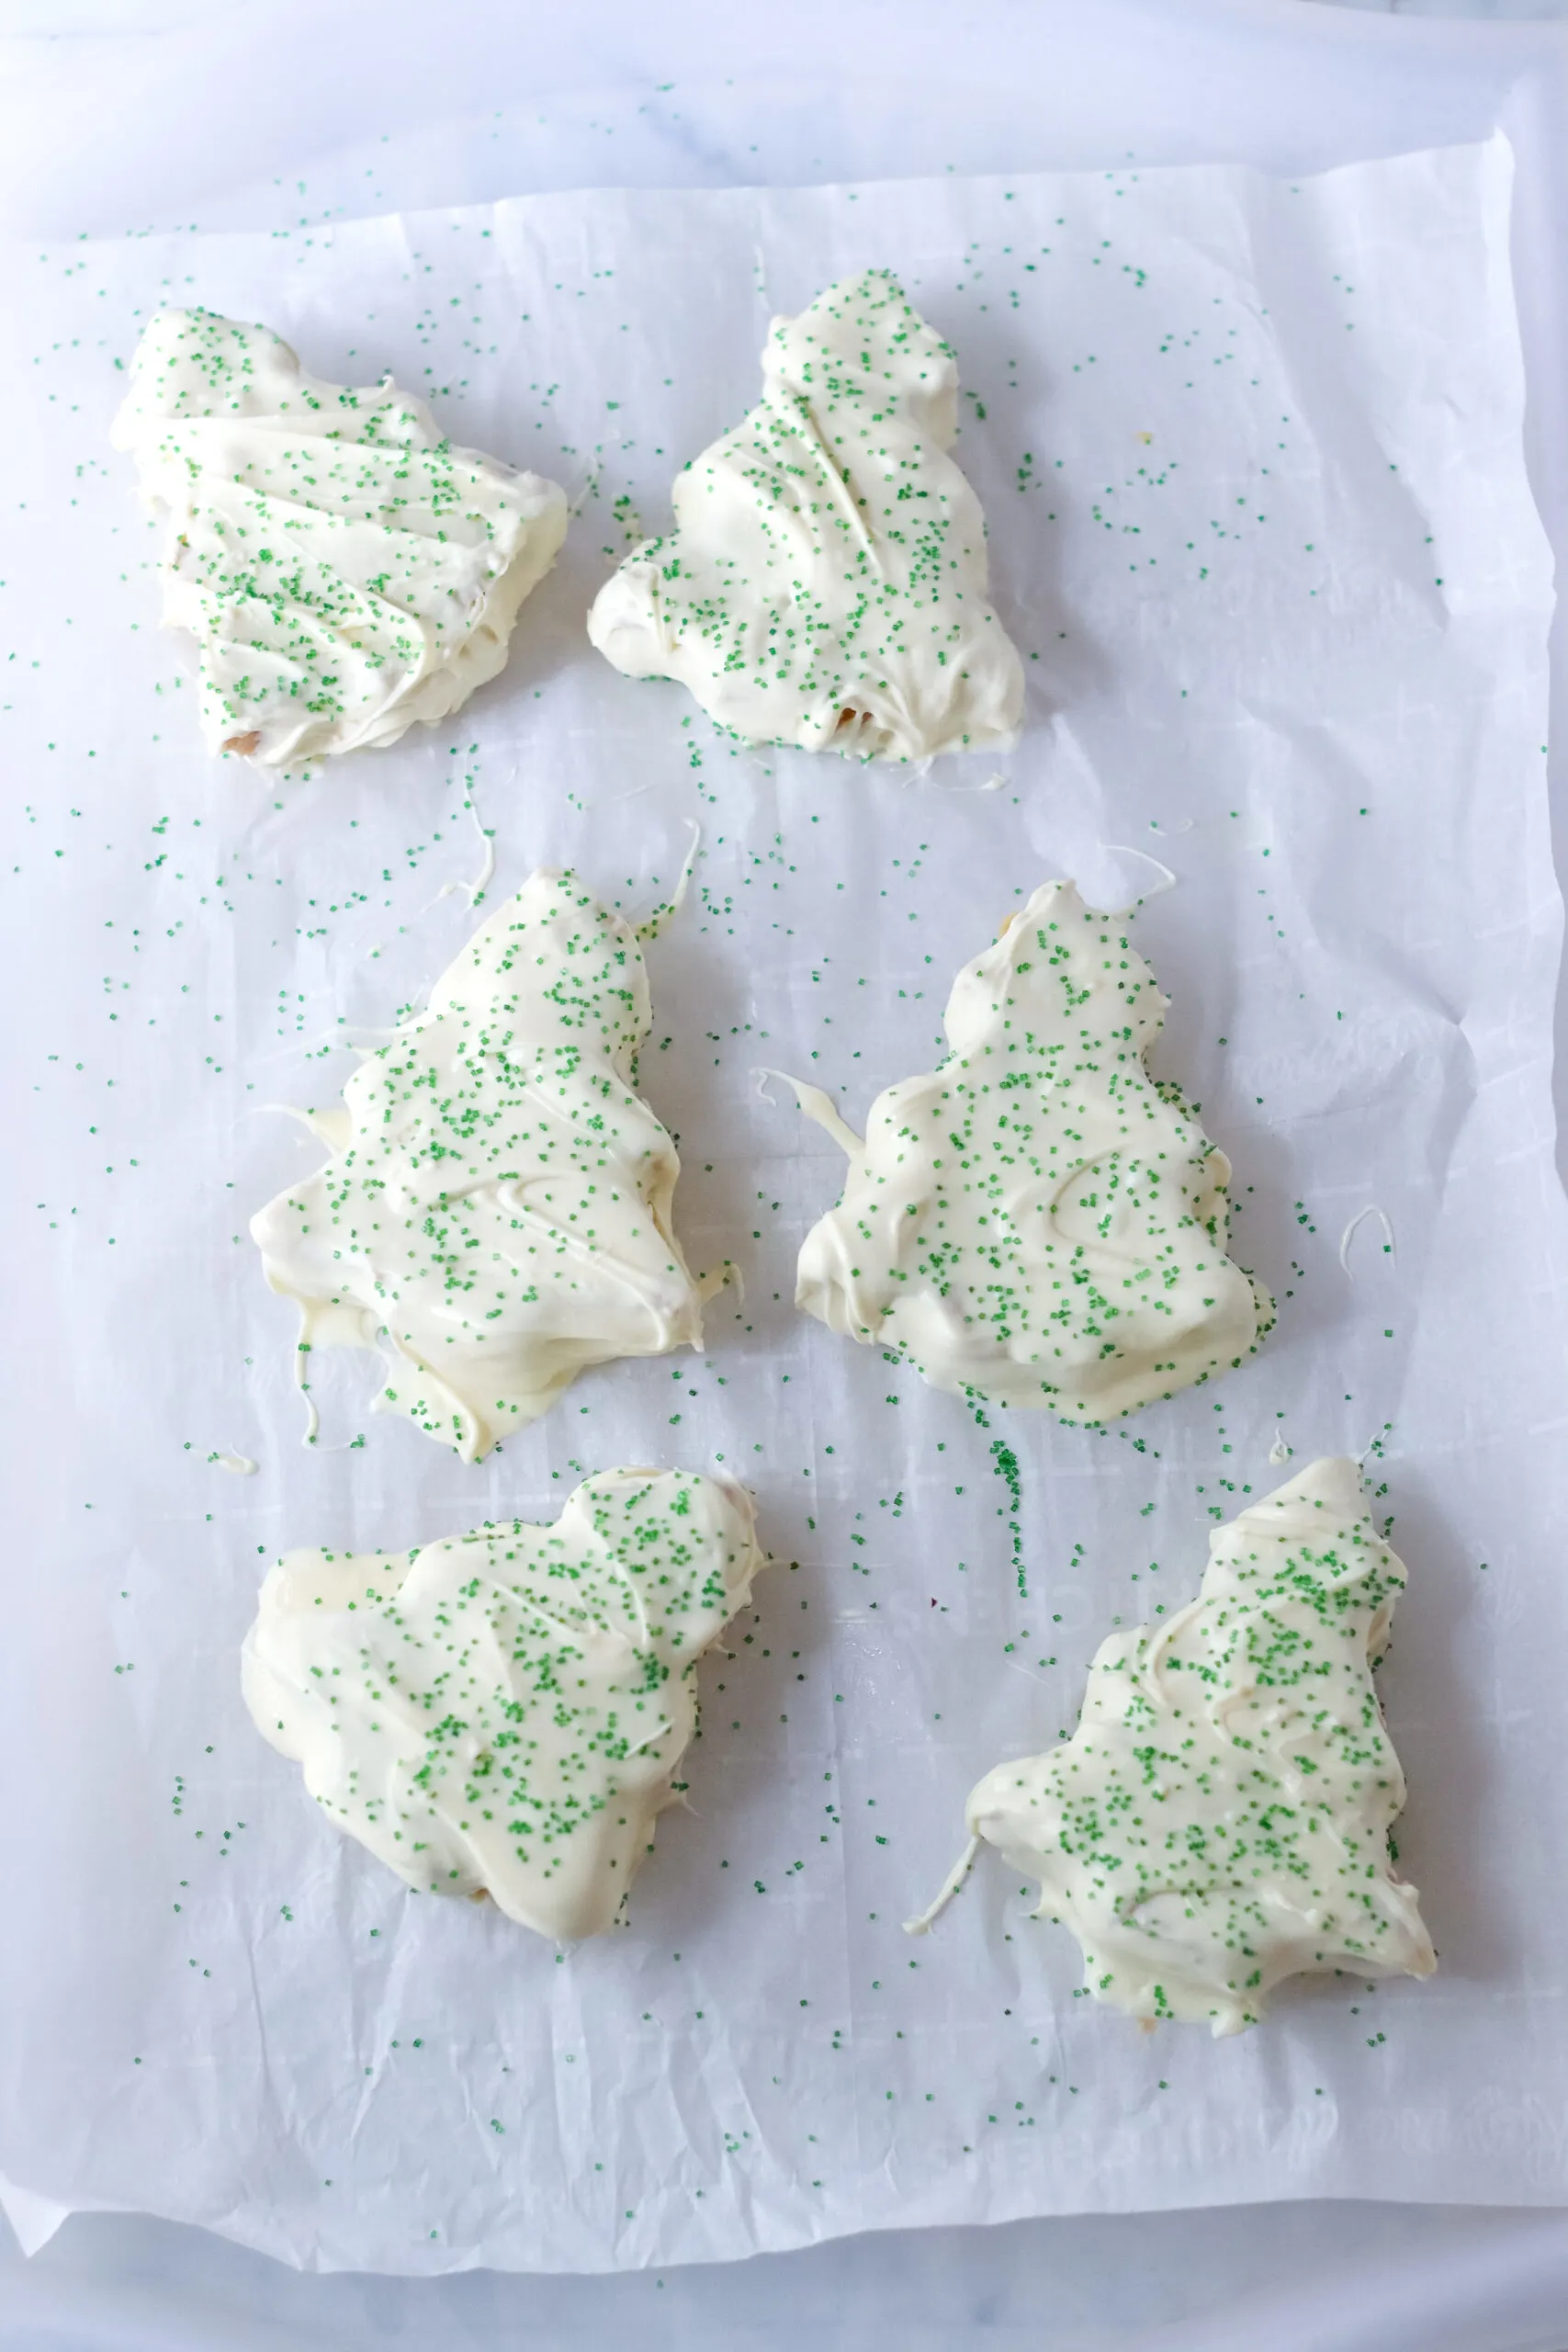
- In a microwave-safe bowl in 30-second increments melt the chocolate until melted and smooth.
- When the chocolate is ready use 2 forks dip the trees in the chocolate and make sure it gets completely coated.
- Gently shake off the excess chocolate.
- Place the dipped tree back on the parchment paper and immediately add the green sugar.
- Next pipe on the red lines with the cookie icing.
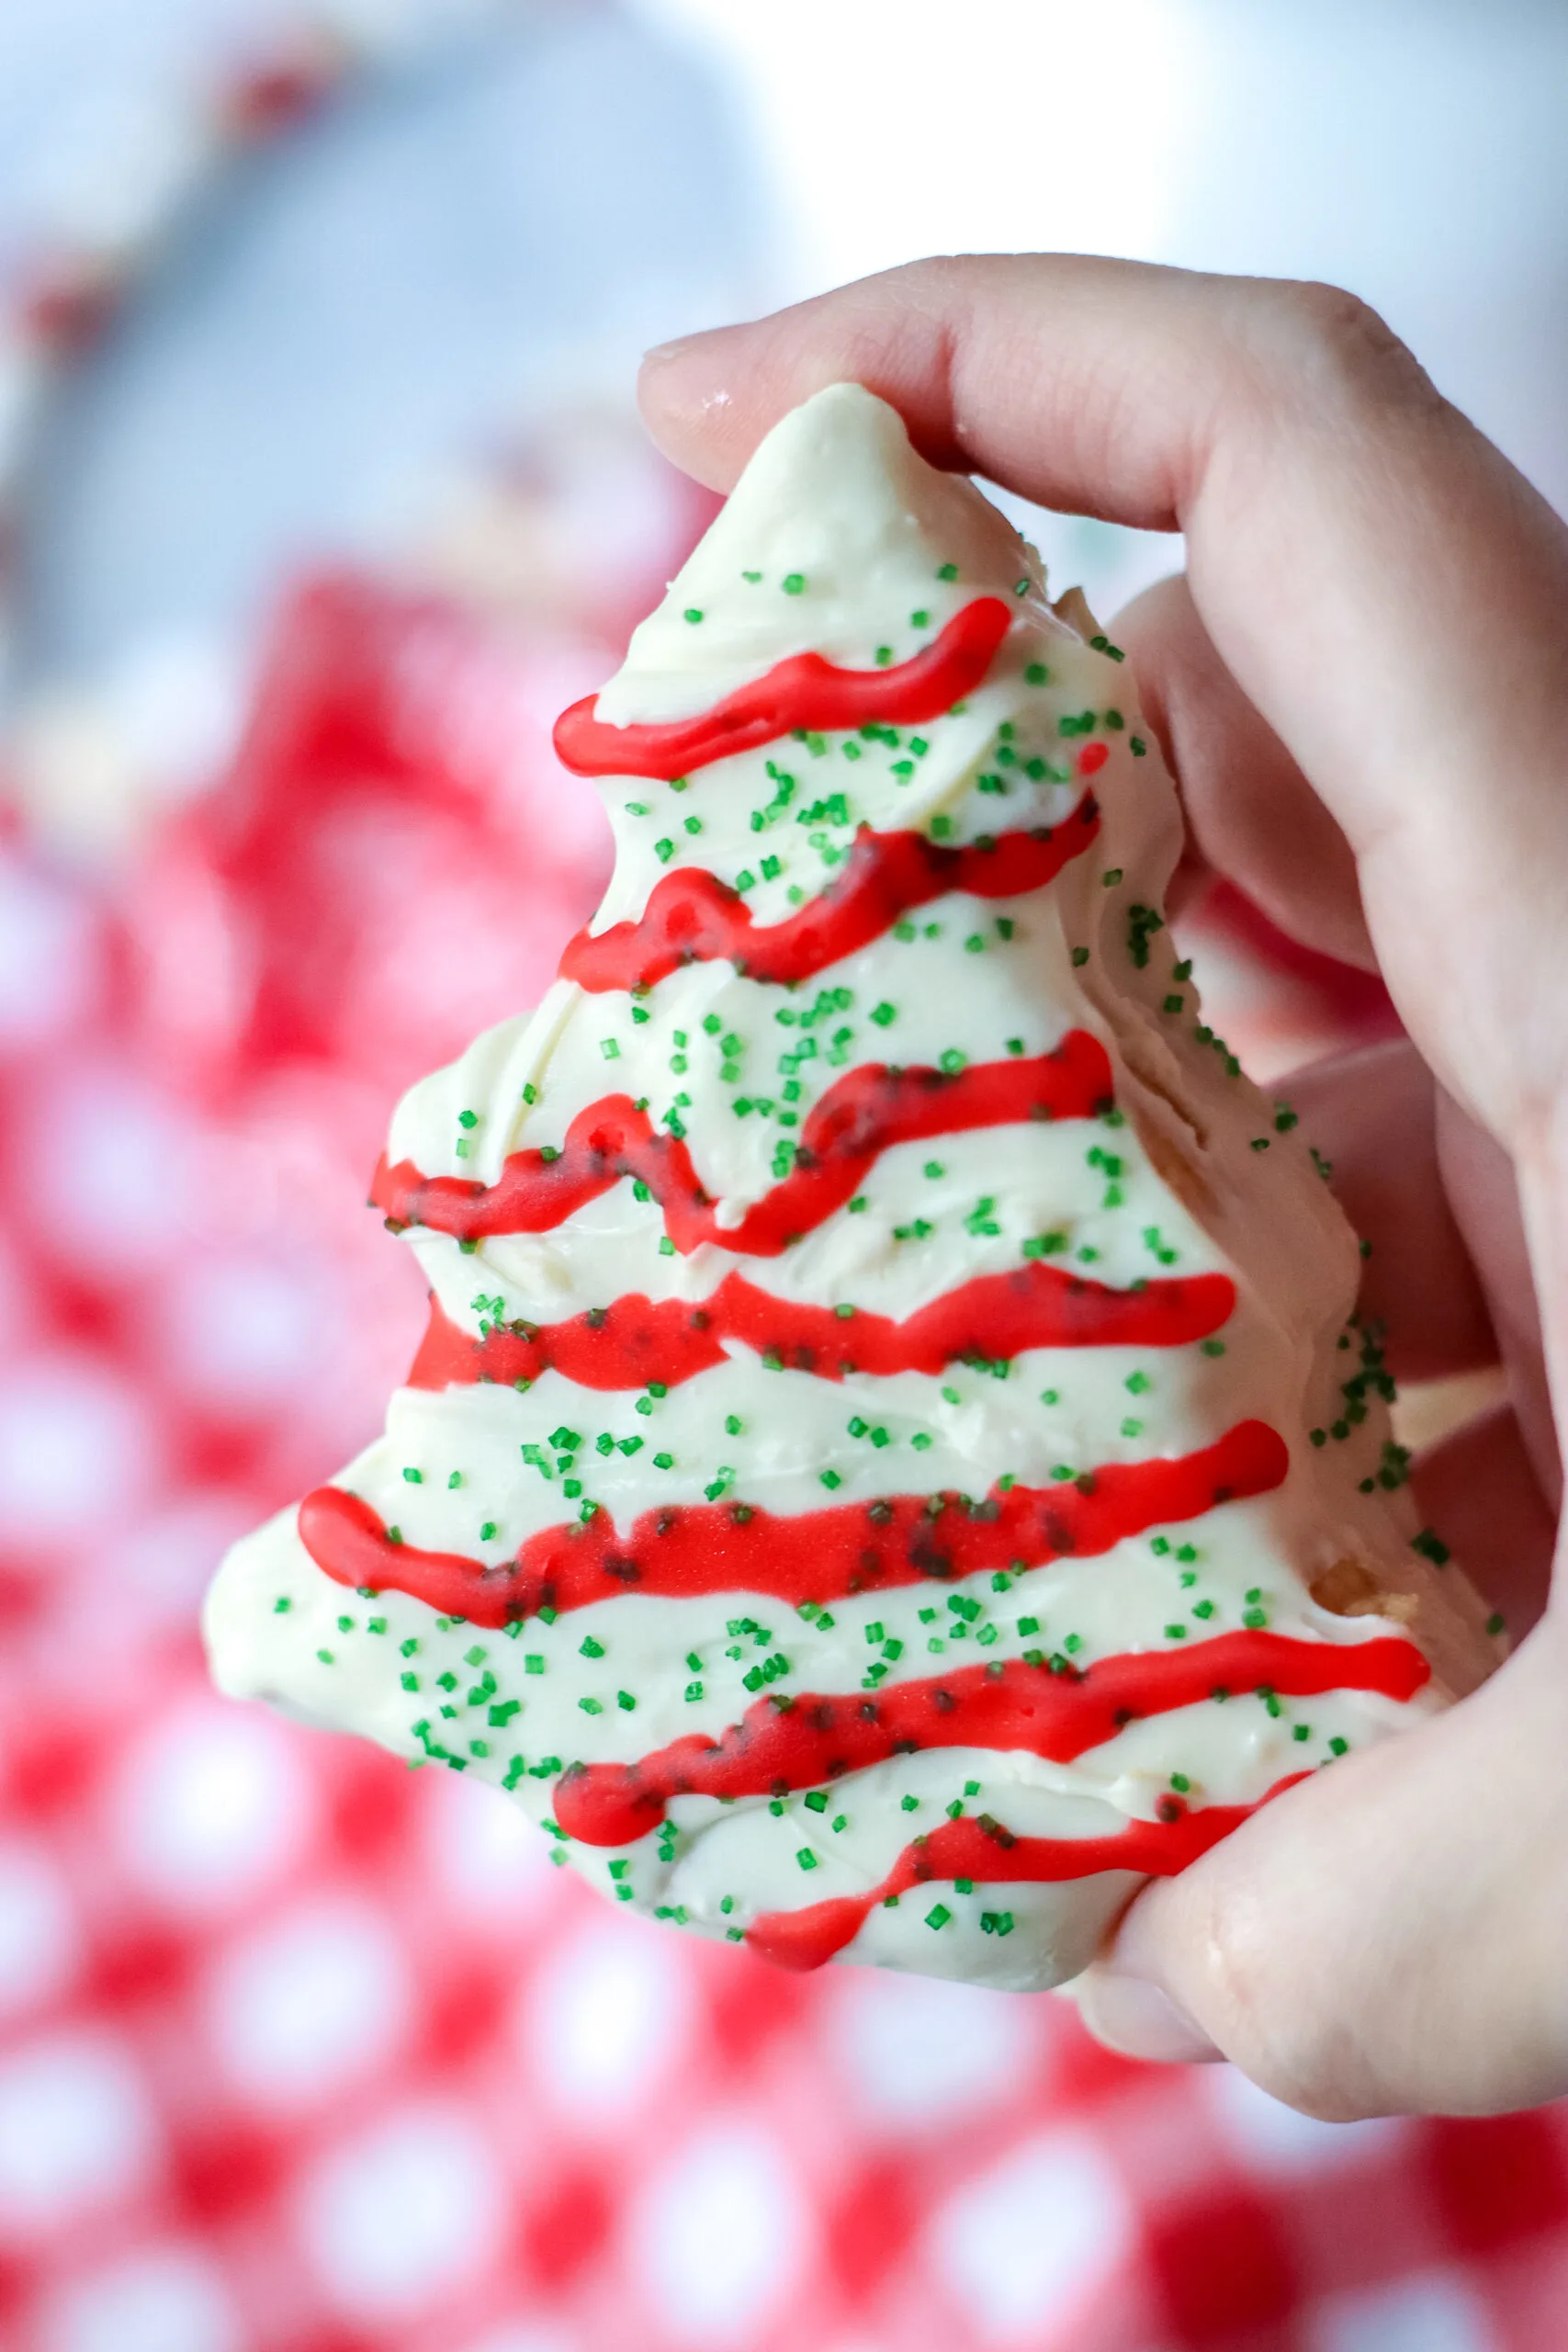
- Let harden and serve!
Notes
Tips and tricks
- Store leftovers in the refrigerator in an airtight container for 3-5 days.
- You can use crunchy peanut butter if you prefer.
- Using melting chocolate or almond bark is going to be a better choice than chocolate chips because it melts easier and provides a better consistency.
- You can make these, form them and freeze them and then transfer them to a freezer bag and dip them at a later time if you want to make them ahead of time.
- These are definitely easier to dip if you chill them in the freezer, not the refrigerator.
- You can make these much smaller if you have a small cookie cutter or shape them by hand.
Recommended Products
As an Amazon Associate and member of other affiliate programs, I earn from qualifying purchases.
-
 Colored Sugar Sprinkles
 -
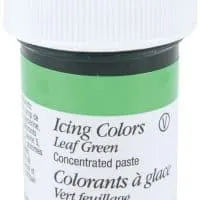 Wilton 610-809 Icing Gel, Leaf Green, 1 Ounce
 -
 White Almond Bark Coating, Candy Coating, Microwaveable Almond Coating For Baking, Toppings, and Sweets (2-Pack)
 -
 SKIPPY Peanut Butter Spread - Creamy - Natural - 15 Ounce
 -
 Philadelphia Cream Cheese Brick (8 oz Boxes, Pack of 2)
 -
 Domino Powdered Sugar, 32 Oz
Nutrition Information
Yield
12Serving Size
1Amount Per Serving Calories 819Total Fat 33gSaturated Fat 20gTrans Fat 0gUnsaturated Fat 11gCholesterol 40mgSodium 165mgCarbohydrates 125gFiber 3gSugar 116gProtein 7g
